Category: Sunday sketch
Sunday sketch #182
Earlier this year, I came up with a very quick design in EQ8. Sometimes it takes me ages to settle on a design I like; other times, I hit on something pretty quickly.
I had seen a sort of rocket shape somewhere, so played around with it a bit, altering the width and height of each rocket as well as the layout. I settled on this design – it just felt simple and fun.

I didn’t post it as a Sunday sketch at the time. I liked the design so much that I contacted Love Patchwork & Quilting to see if they would be interested in a pattern based on the design – and they were. Fast-forward ~6 months, and Rockets* will be published this week in issue 82 🙂
The actual quilt that I made looks a bit different from the design shown here. Given that it’s all about rockets, it seemed more logical to use a dark background, and a slightly different colour scheme. (And when it comes to quilts, dark backgrounds pose fewer challenges than white backgrounds, for me at least!**)
Check back later this week for a post about the published quilt pattern. I can’t wait to see how it looks in the magazine!
* Often magazines will change the name of submitted quilts, depending on what they’ve published before and what else is in the pipeline. So I’ve no idea if this is actually what they’ll call the published pattern!
** I find that quilts with white background fabrics require a few extra steps: seams with brightly coloured fabrics sometimes need to be trimmed back, so that the colours don’t show through the white fabric; all the stray threads on the back need to be trimmed before basting and quilting, so they don’t break loose and show up through the white fabric; and I need to skip my usual unbleached batting for a pure white batting that will keep the brightness of the white fabric. Of course, all this is doable, but I’ve found that I avoid white backgrounds if I can!
Sunday sketch #181
Another hand-drawn sketch this week, and a super-simple one at that.

You can see from the scale of the background dots and my fill lines just how small this design was on the page of my Rhodia dot pad – only a few centimetres across! I love a good triangle, and I just started placing them on the page, following only one rule: each triangle I added had to touch an adjacent triangle, but only at a tip (no back-to-back edges allowed). I stopped when I was happy with the random arrangement.
Those of you who know how much I like symmetry and order can probably see that despite the ‘improv’ nature of this design, it’s still fairly well balanced in terms of positive vs negative space, and the number of shapes in each quadrant. Even when I’m not trying to be ‘ordered’, it happens 🙂
I like the idea of super-sizing this design to make a bed-sized quilt. Which would mean fairly large triangles, but that would also mean a fairly quick make – and what’s not to like about that?
Sunday sketch #180
One of the artists I follow on Instagram is Stanislaw Wilczynski (@digimatism). He’s a tattoo artist, based in Moscow, who combines suprematism, minimalism and composition to create ‘digimatism’: “pure, non-evocative, abstract shapes created by means of digital technologies”. Basically, simple yet stunning geometric tattoos. Some of his designs use small angled lines repeated (apparently) at random, which inspired me to create this week’s design.
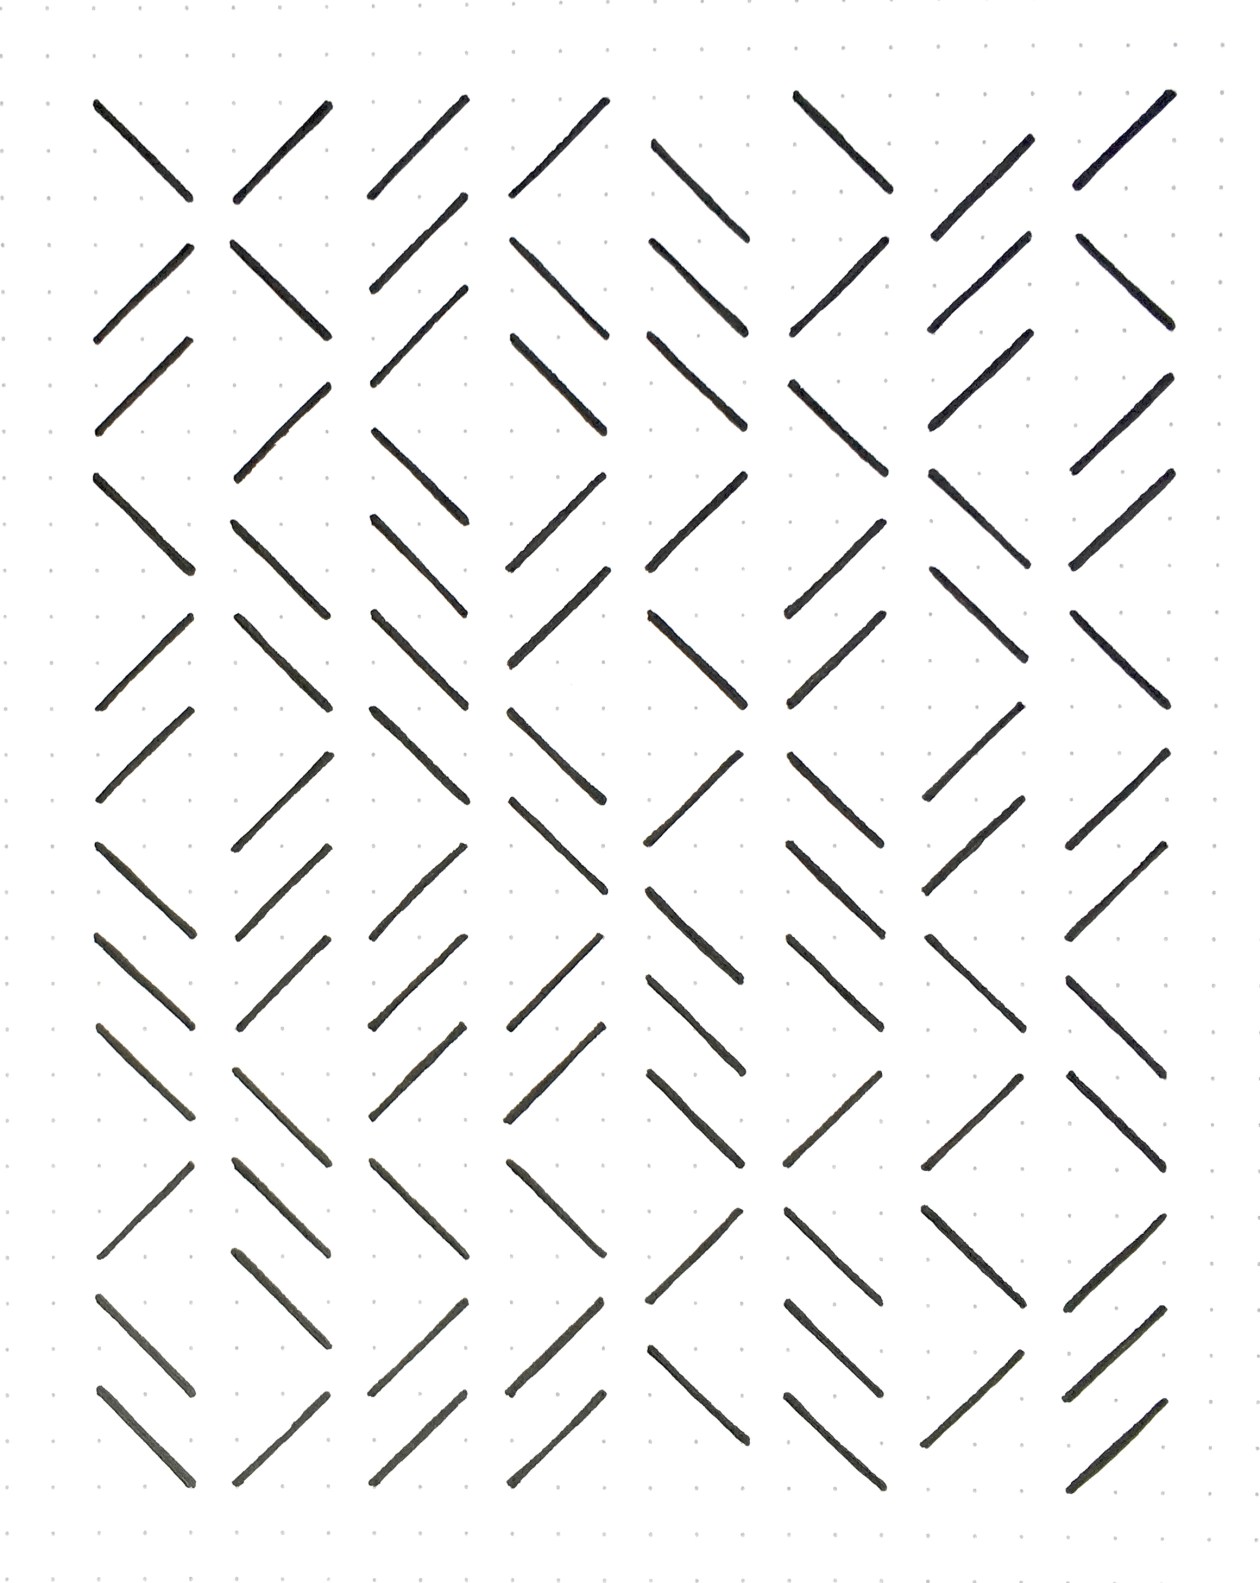
This design could be pieced fairly easily by designing a 2 x 2 block with a diagonal stripe down the middle (maybe using paper piecing for accuracy). Rotating the block would allow you to change the direction of the stripe, and the blank spaces between some of the stripes could be achieved by adding 2 x 1 rectangles between the blocks. The blocks are arranged in columns, which could be separated with sashing.
I decided to play around with the design a bit more, adding a few more lines in.
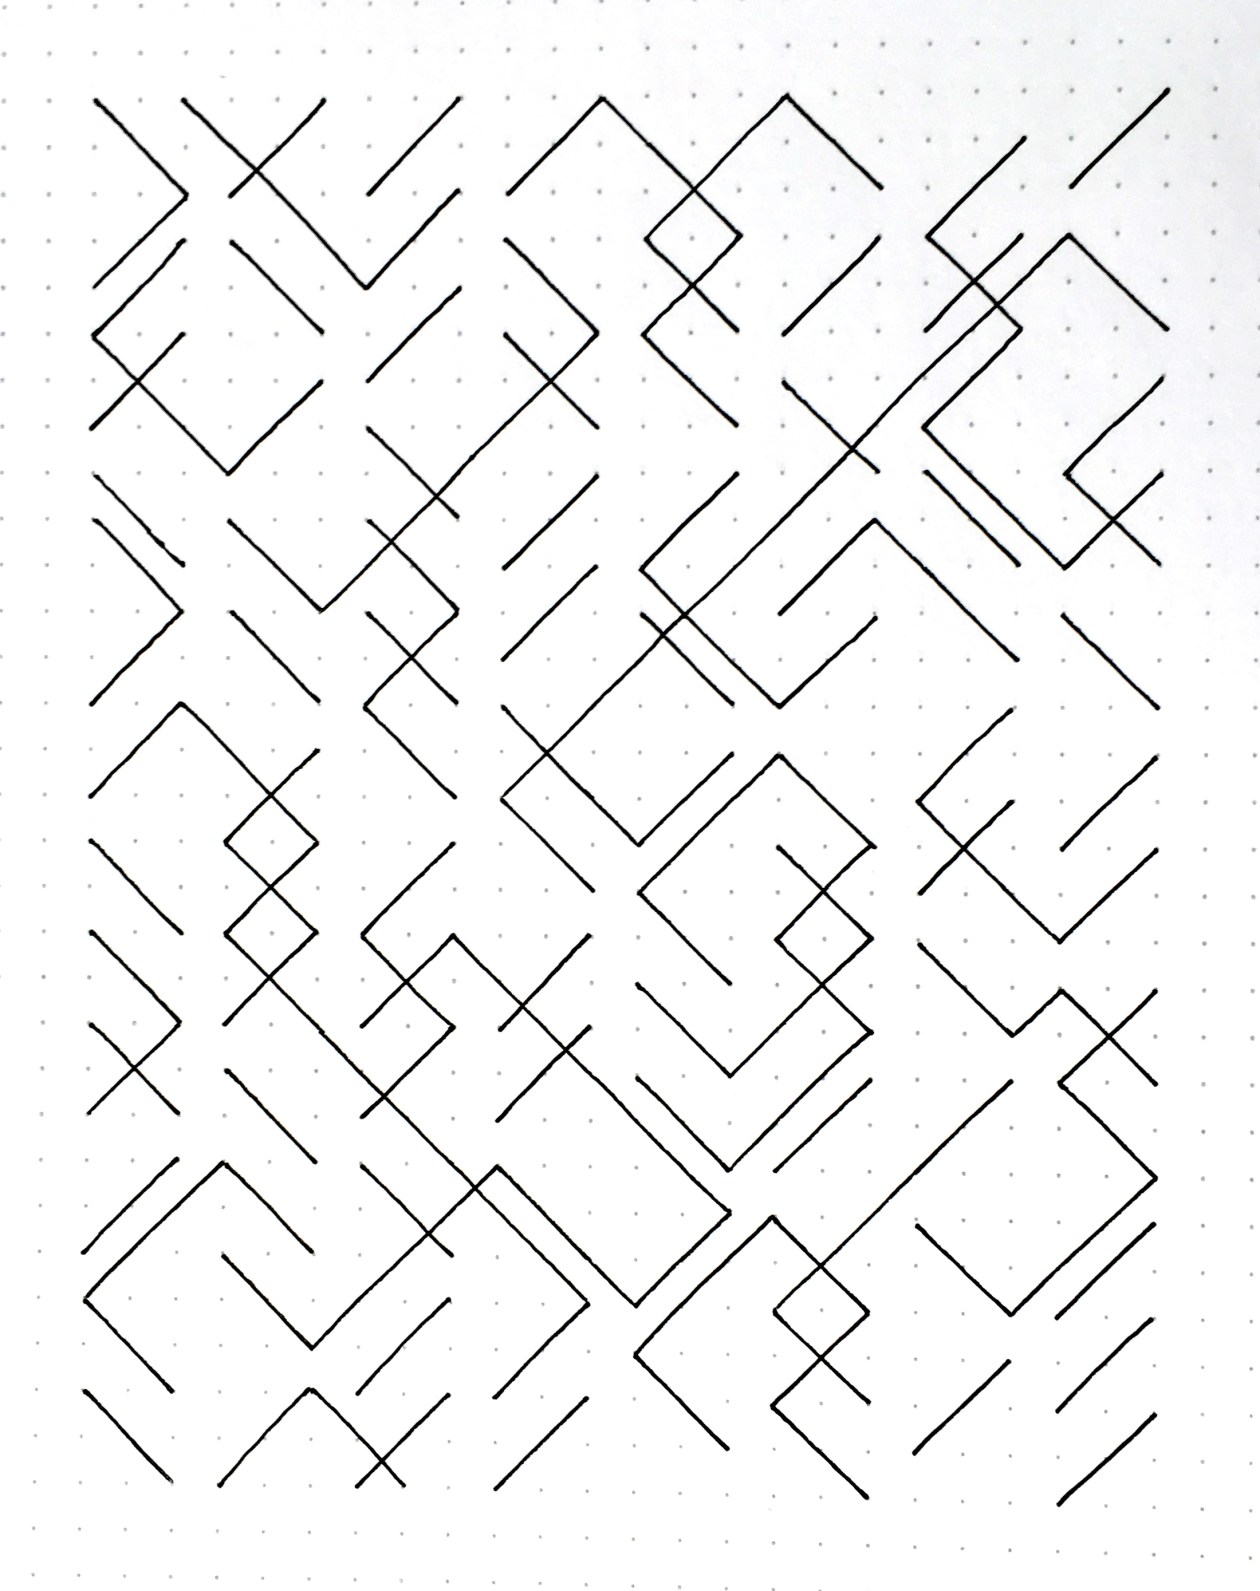
I set myself a rule for adding lines: each new line had to be perpendicular to the two lines it was connecting. I didn’t want any angles other than right angles in there. Not every line is joined up with another; I tried to balance the length and position of the new joins across the whole design. Although I can see some areas that are busier than others.
Like the first design, this one could be made into a quilt using paper-piecing – although it could be pretty cumbersome and time-consuming to figure out all the different blocks and their placement. Perhaps it’s just useful as a thought experiment instead 🙂
