Tagged: half-square triangles
Sunday sketch #5
This week: repetition of a simple block containing stars of alternating orientation. I wanted to take HSTs and HRTs a step further, combining them to create new shapes. I tried two ‘colour’ schemes: one with dark stars against a white background, and one with white stars against a dark background. I like the secondary pattern that pops up between the blocks.
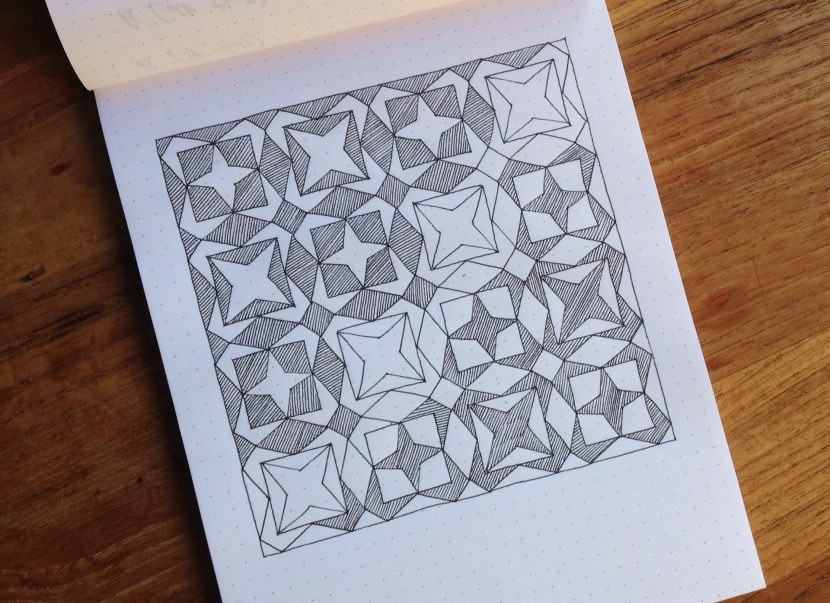
I didn’t start out with the intention of using both designs in one diagram; I just wanted to see what each one would look like and I was too lazy to draw it all out a second time. But now that I see them both together, I quite like the idea of transitioning from one to the other across a single quilt. I’d need to work more on making the transition smoother across the middle.
Progress with problematic points
It’s been a few weeks, but I’m finally making some progress with my half-square triangles quilt.
You may remember I made a small mistake last time, and ended up with half-square triangles that were a little too large. Well, I eventually cut all 150+ squares down to 4.5″, and now have a nice bag of scraps for some future project.
We only have one space in the house where I can lay out squares and find a good design that I’m happy with: the bed. On Friday, I finally placed all the squares in a 12 x 12 arrangement and found a design I liked. Here’s a sneak peek:

I stacked up each row into a pile of squares, then sewed them together. I tried chain-piecing to save on time (and thread), which ended up working pretty well. I thought I’d get confused about which squares I was sewing, but I managed to find a system to keep it all organised.

In the space of a few hours yesterday, I sewed rows 1 and 2 together, 3 and 4, and 5 and 6.
Today I’ll do the remaining pairs, then start sewing together the pairs until (hopefully!) the whole quilt top is finished.
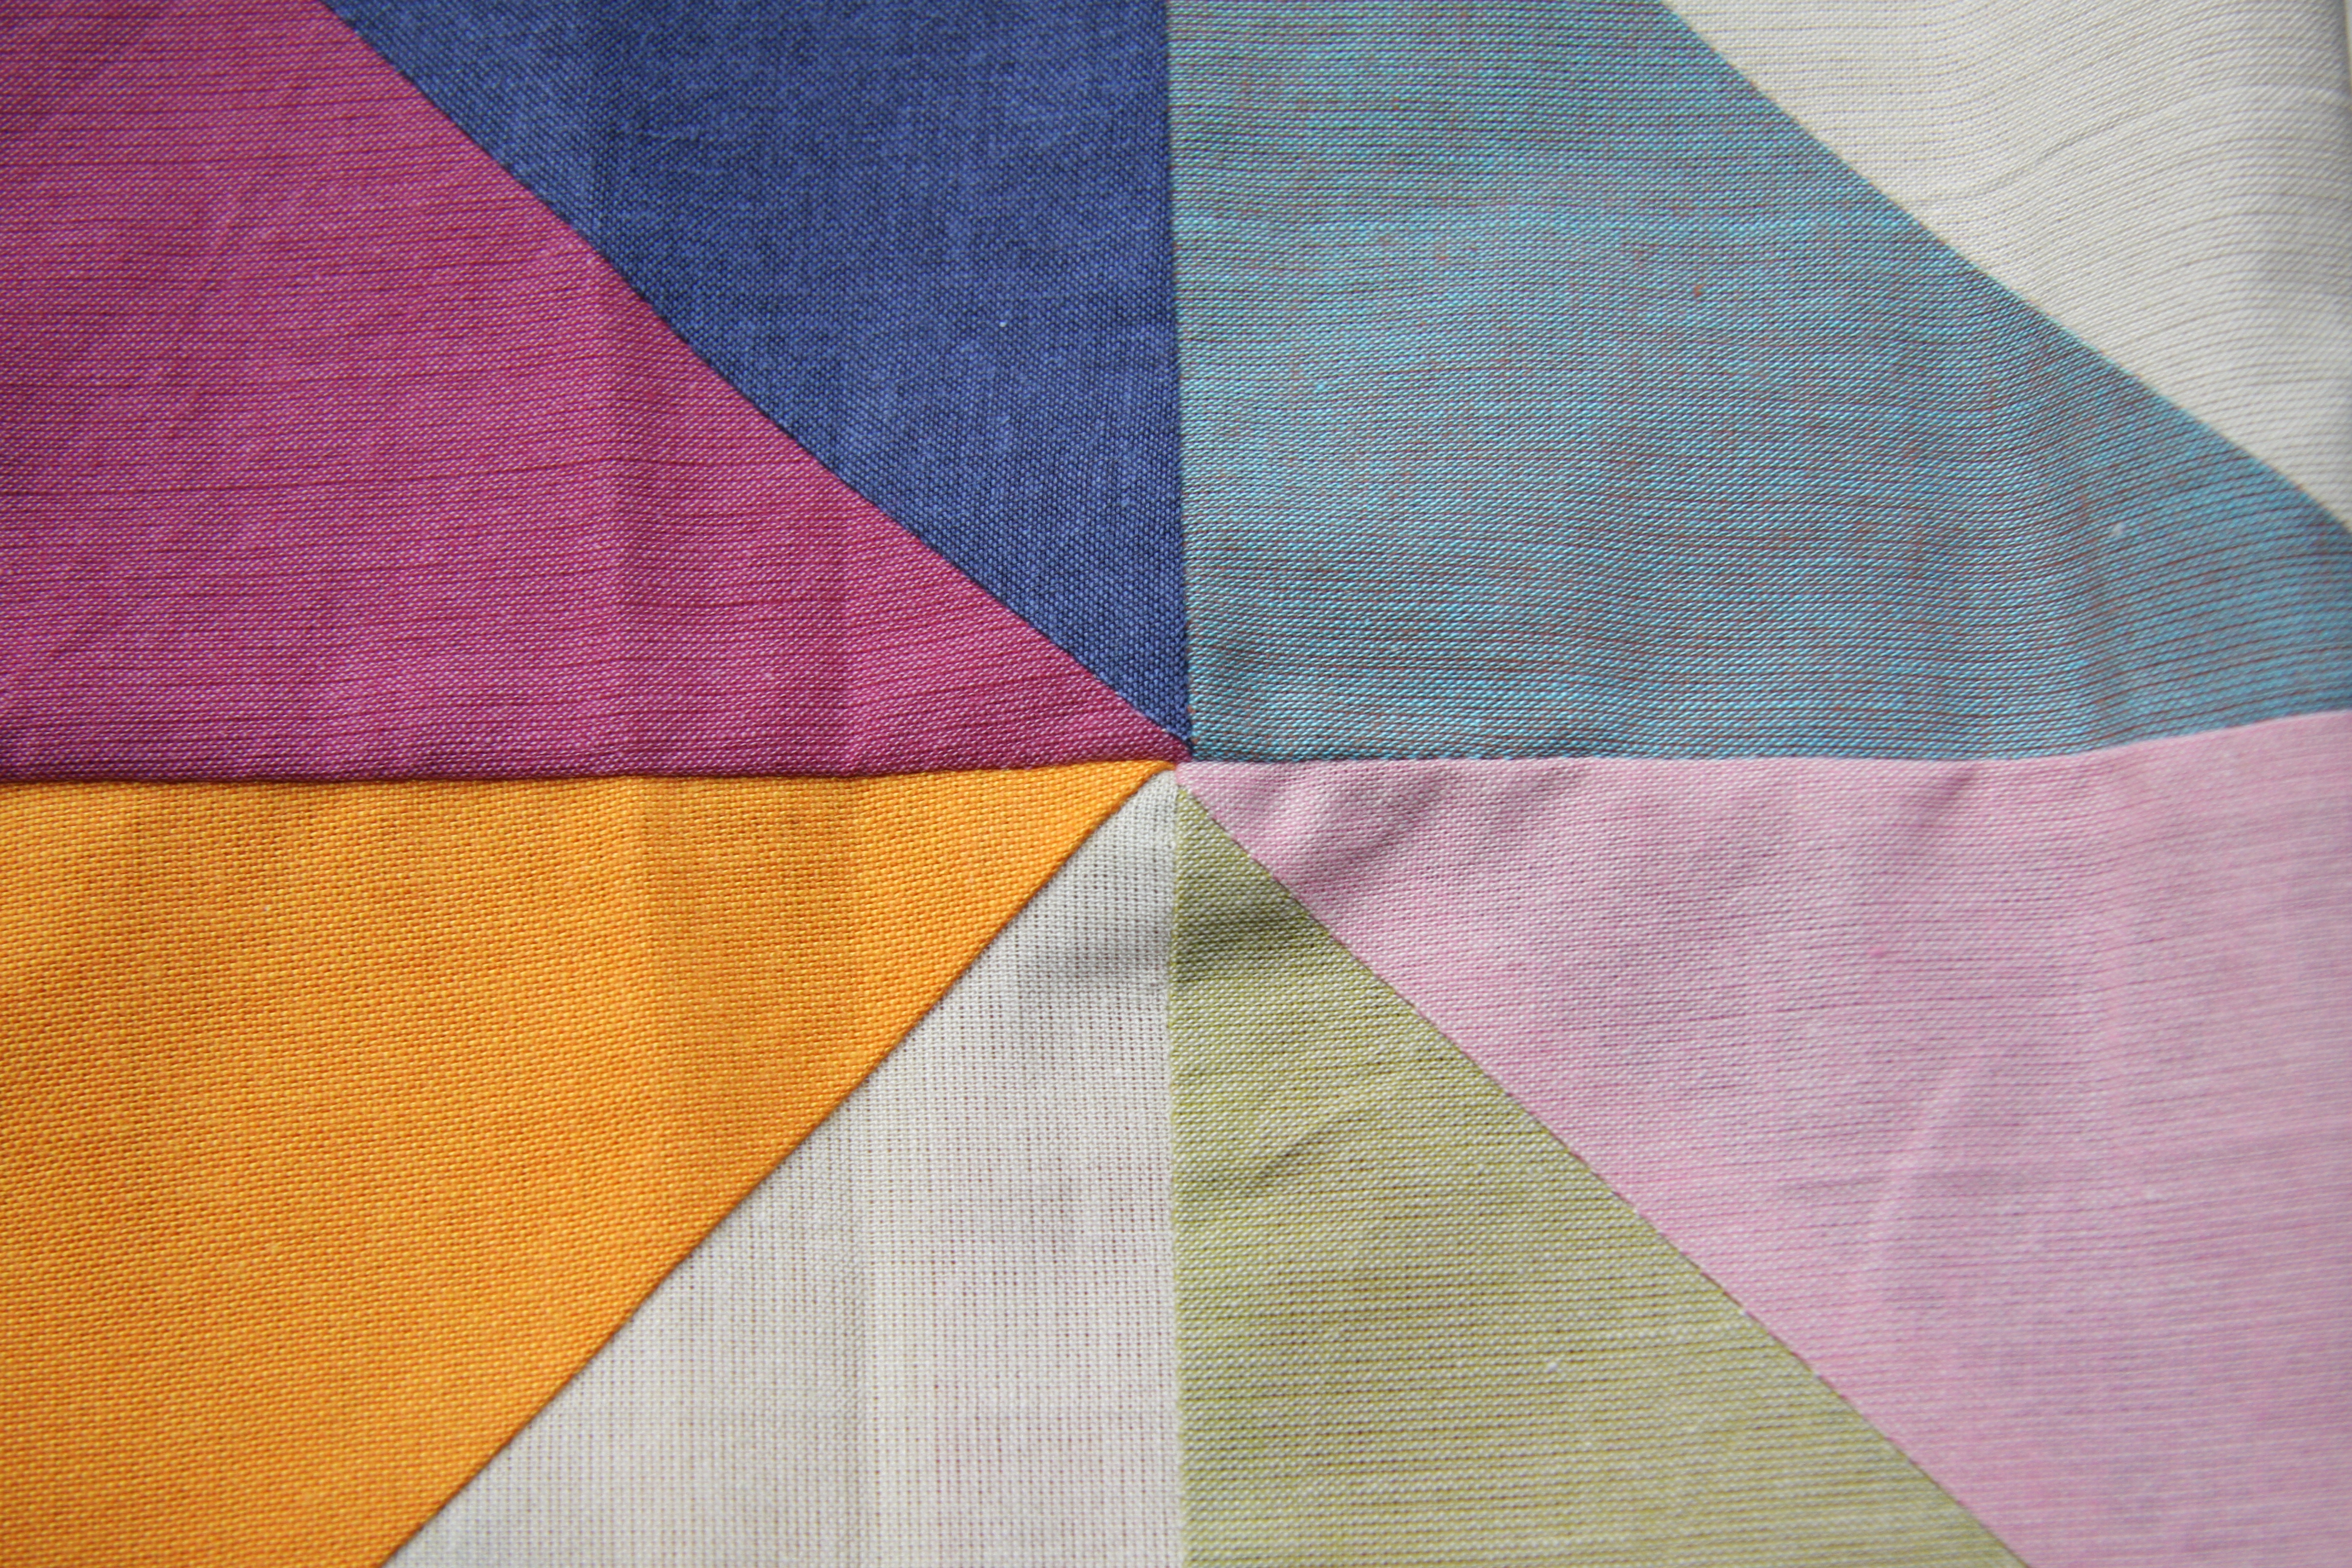
I’ve had mixed success with getting all my points lined up. The design of the quilt top is fairly random, which means that the intersections between blocks can have up to 8 fabrics meeting in the middle. Getting all those points to line up is tricky and relies on a lot of careful pinning. Sometimes I managed fairly well…
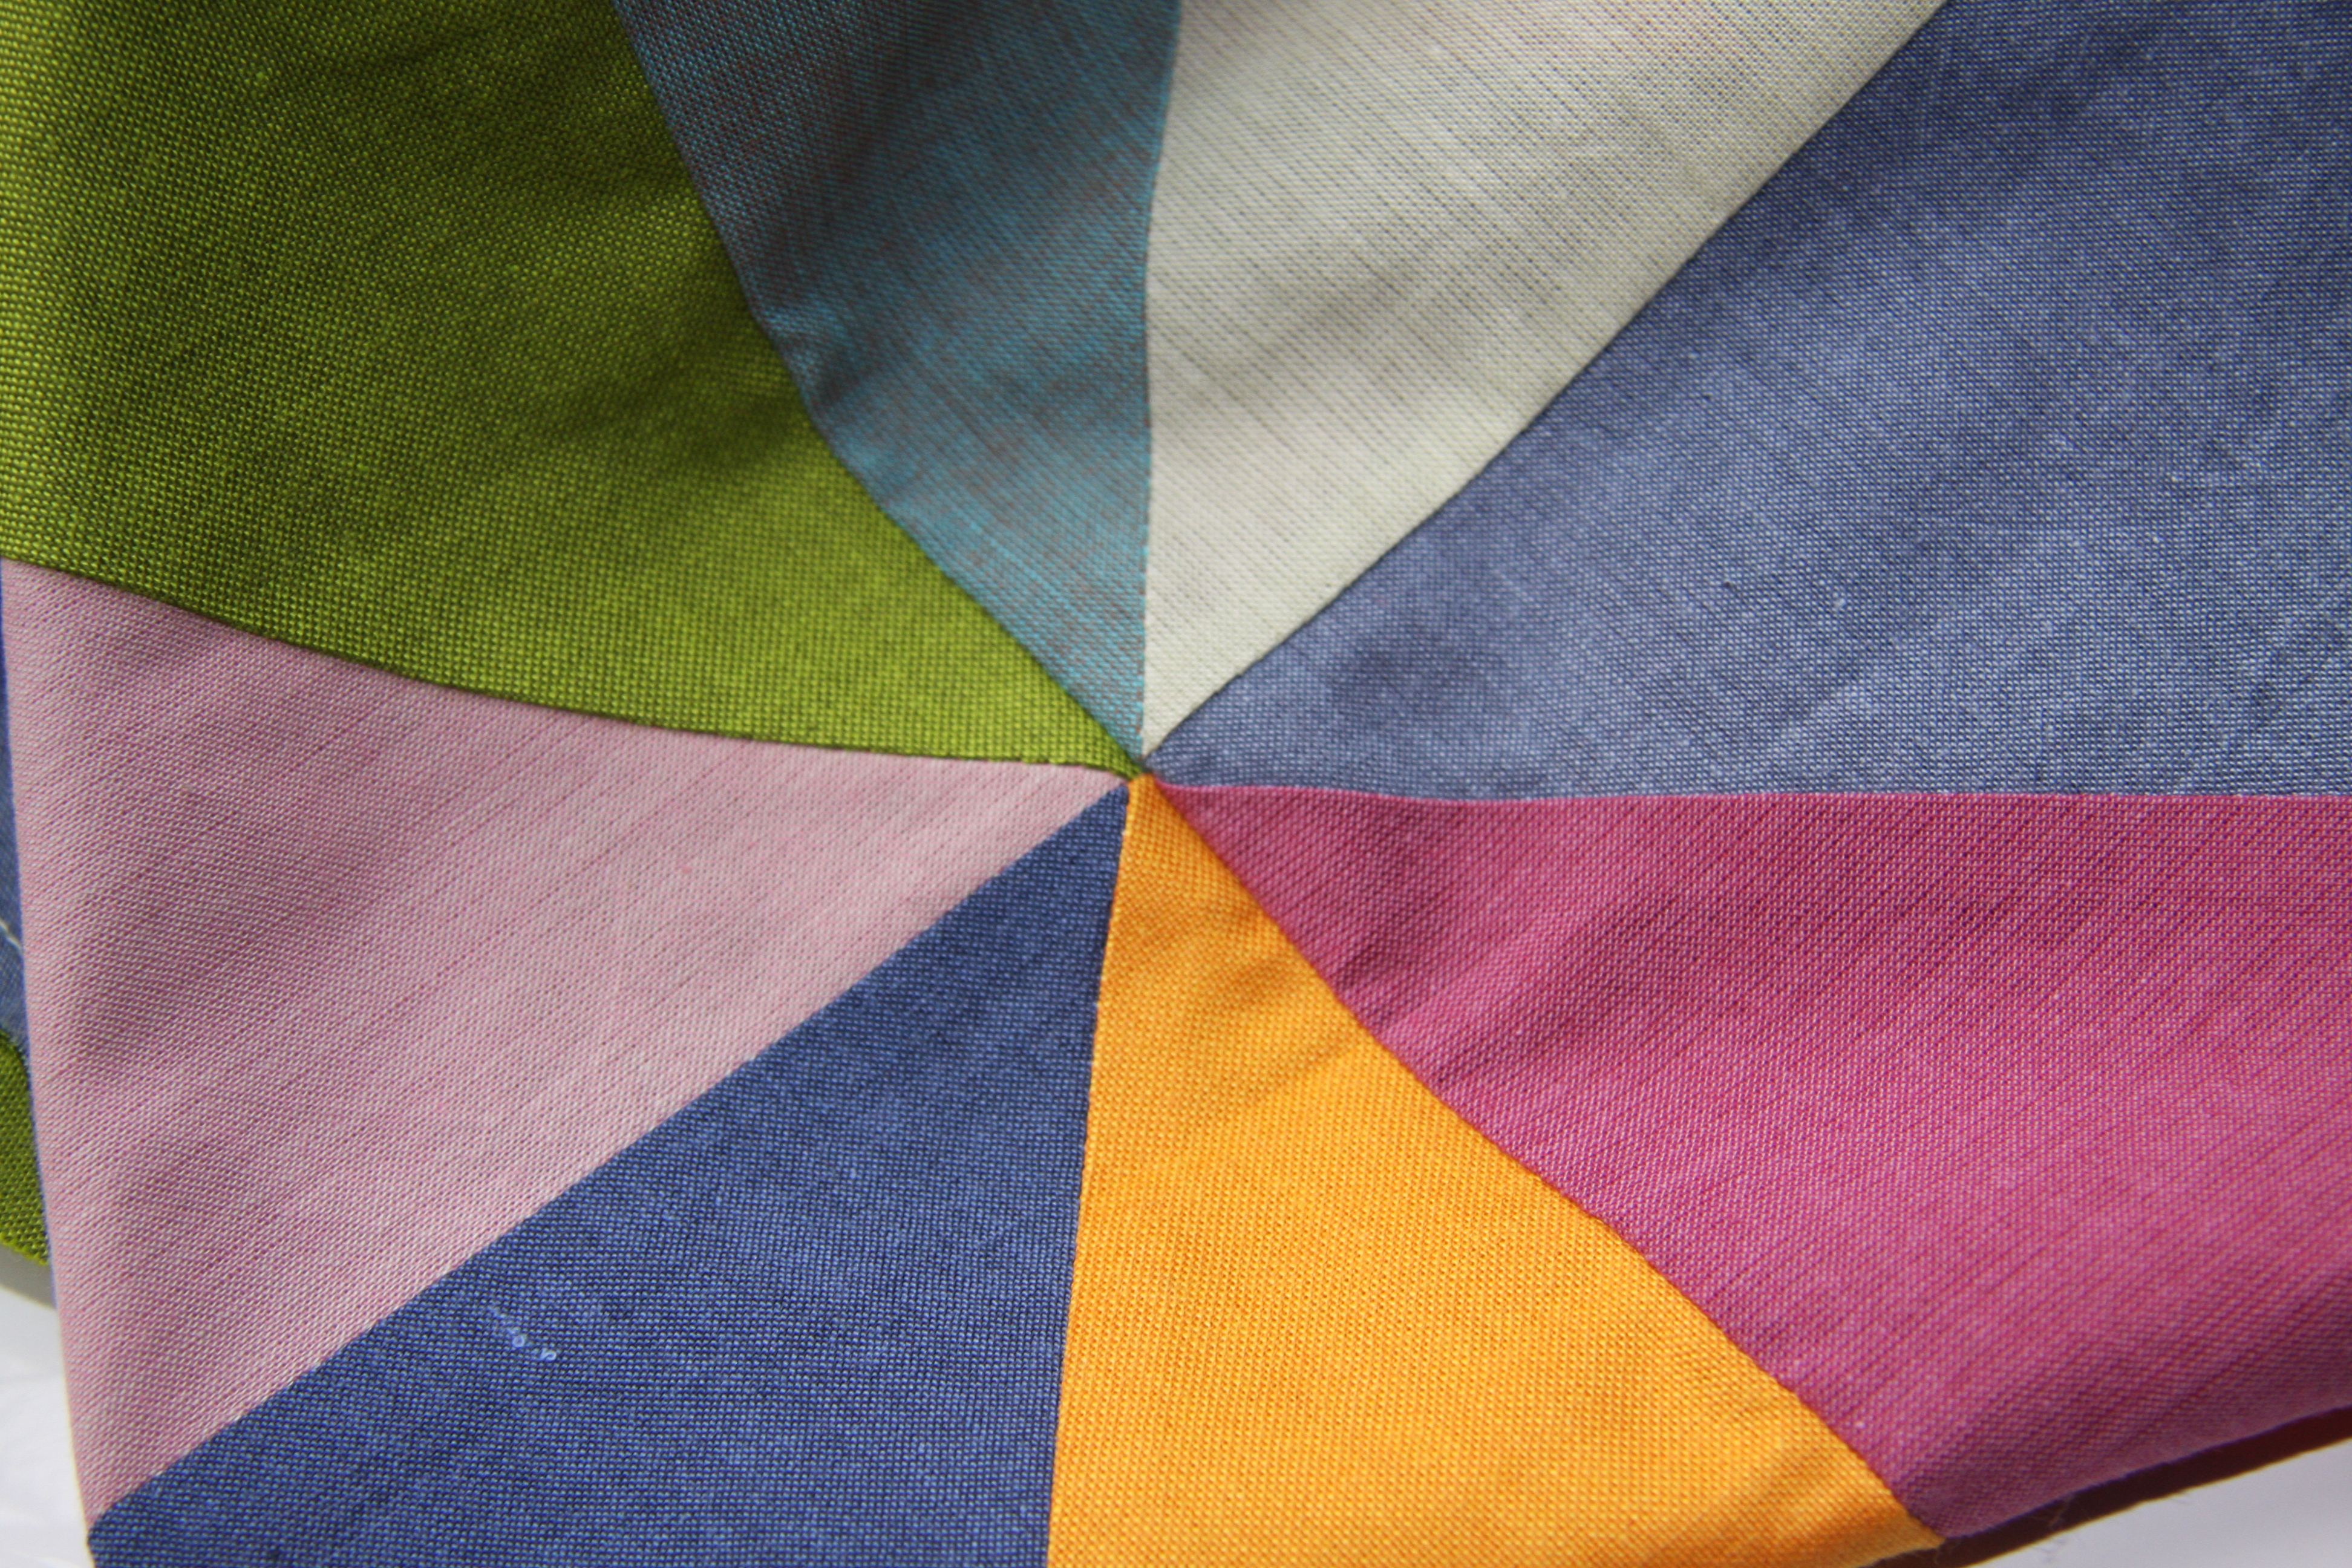
Other times, I was a smidge out:
If it was more than a smidge, I got the seam ripper out and tried again!
You can also tell from some of these images that the intersections in some places are quilt bulky, thanks to the number of seams that are coming together. I think I should’ve been more careful about which direction my half-square triangles’ diagonal seams were pressed. I pressed them all before cutting down to 4.5″, which means the seams were all facing in different directions when I laid them all out in the final design. Perhaps then I should’ve re-pressed them in single directions depending on which row they were in? That seems like a lot of work! There must be an easier way, but I haven’t figured it out yet.
It’s just after midday here in Melbourne, so I better get busy!
Started! My second quilt….
It’s been almost a month since I wrote about finishing my first quilt. I’d love to say I’ve been too busy quilting since then to write anything, but… that’s not quite true. I have made a start on Quilt #2 though!
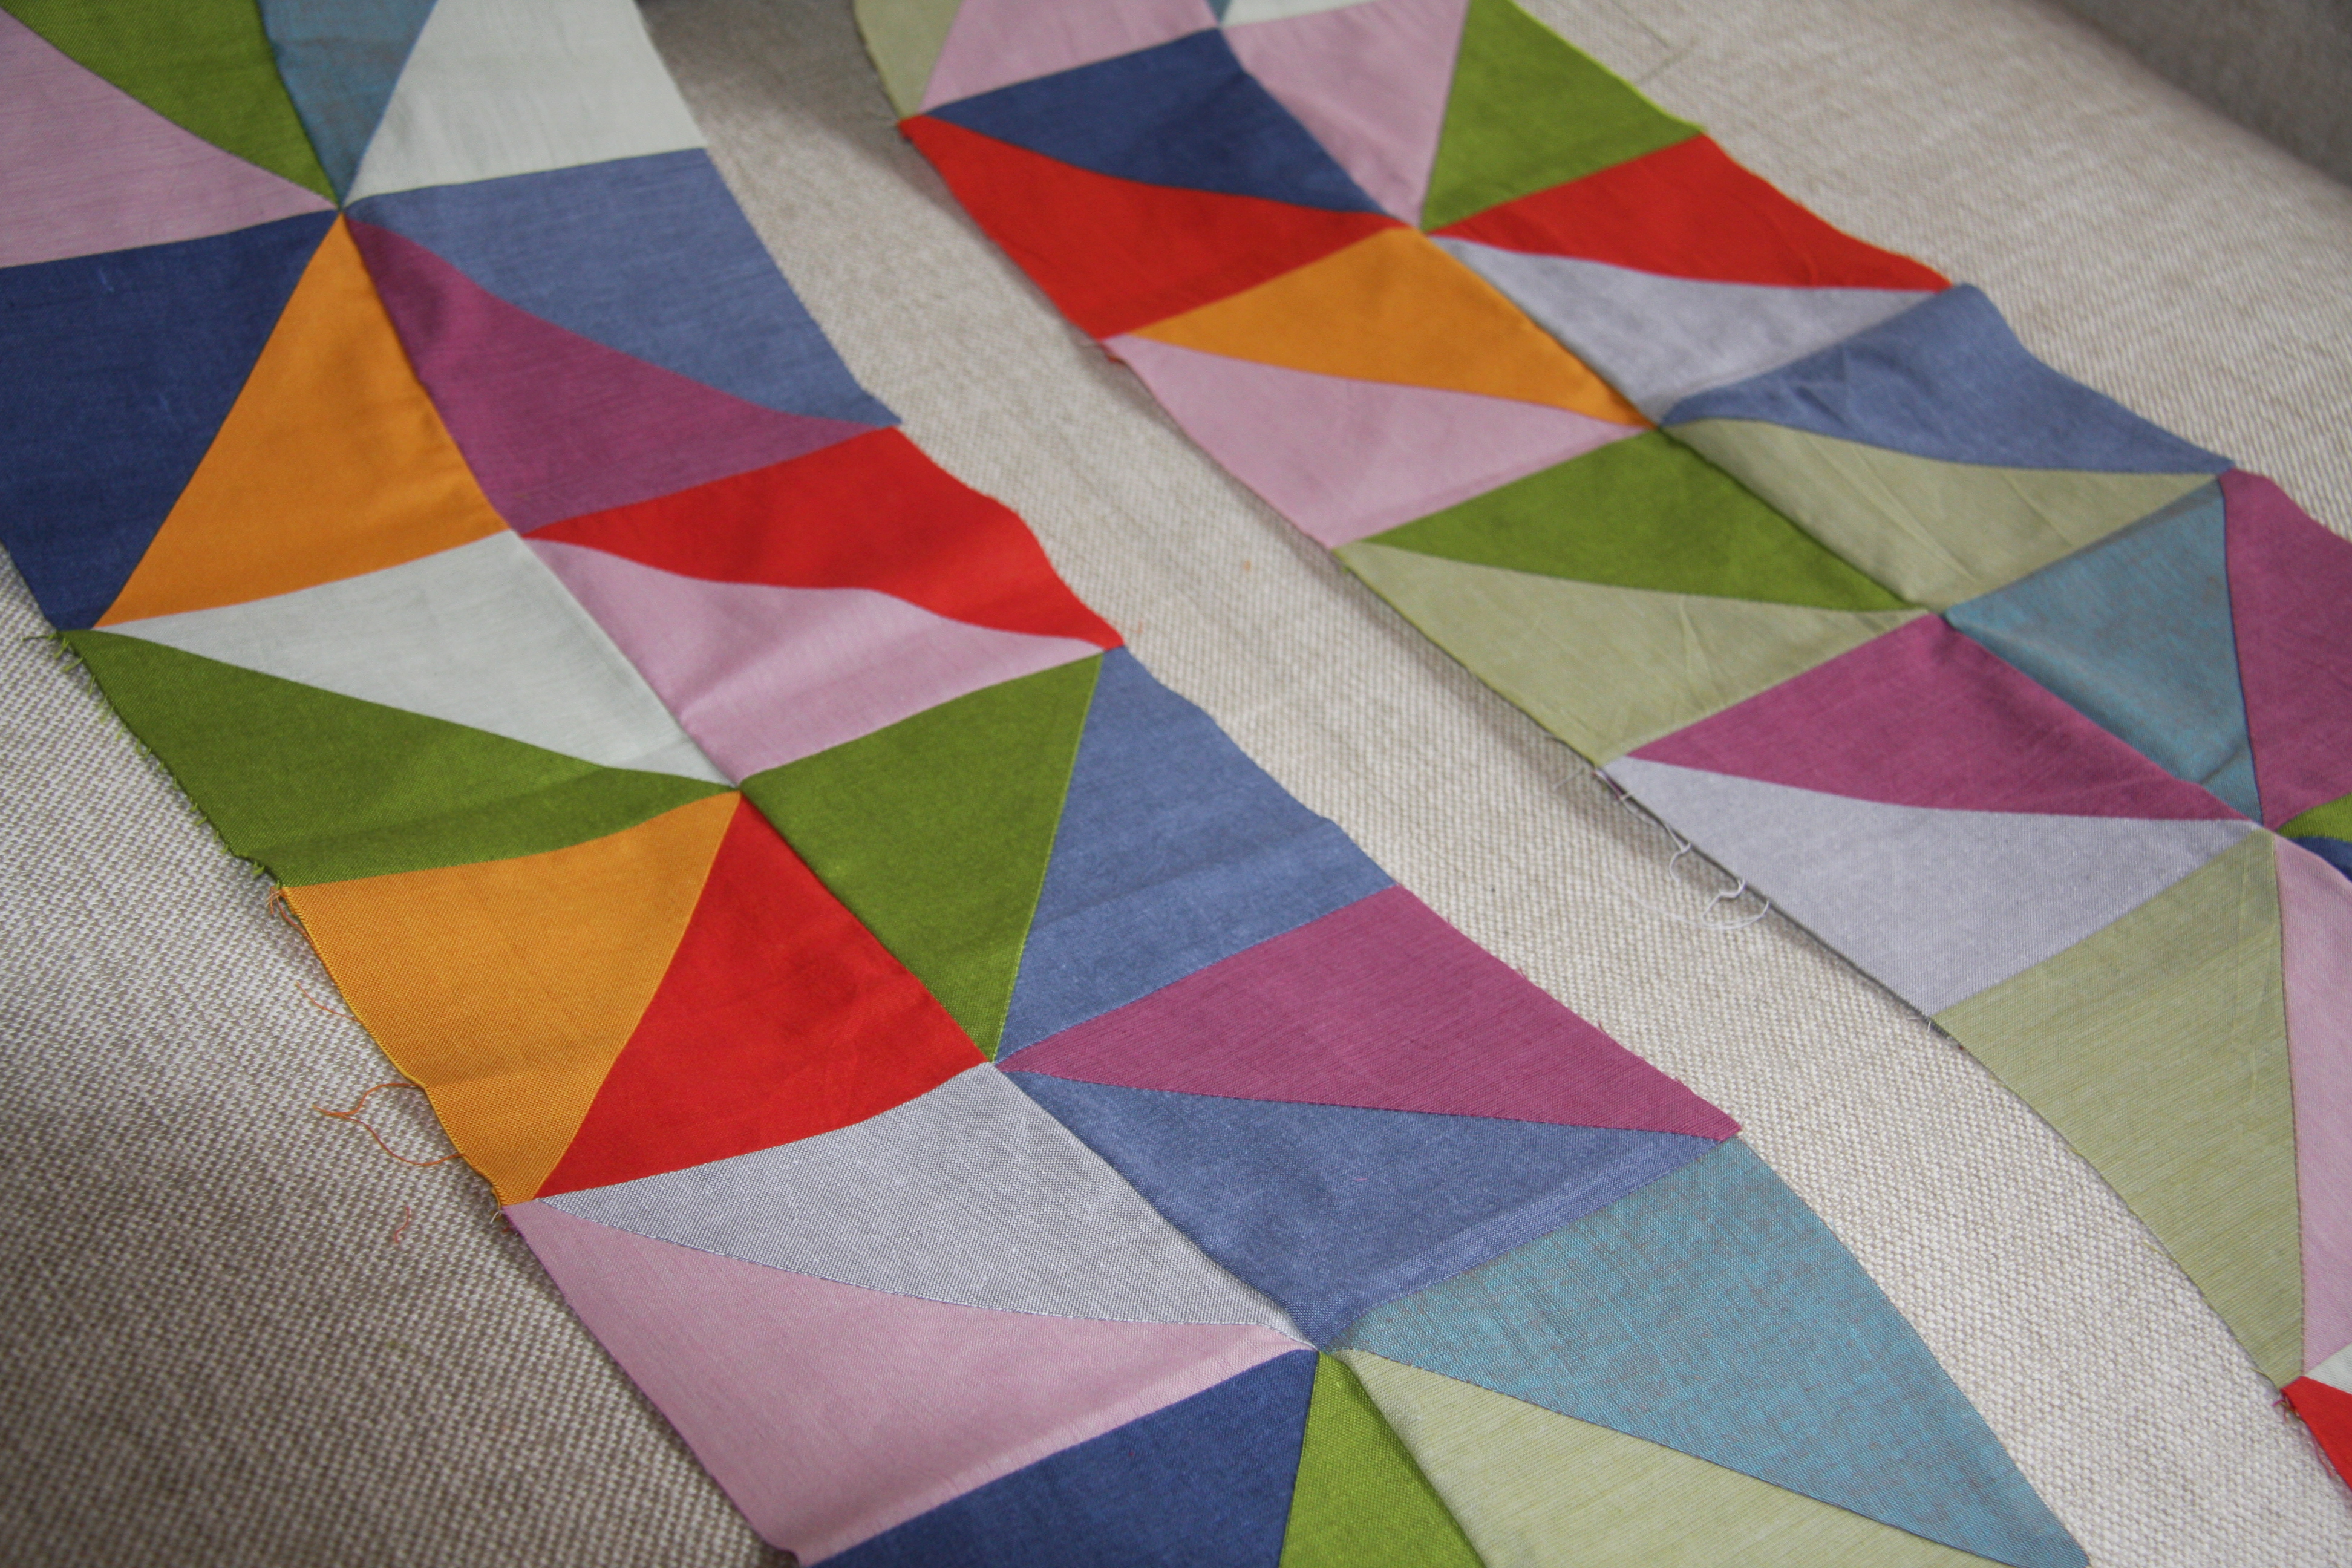
I decided to make another basic quilt using half-square triangles (HST) instead of simple squares. I wanted to make it bright and cheerful, so I bought some beautiful peppered cottons and shot cottons. Check out these colours!
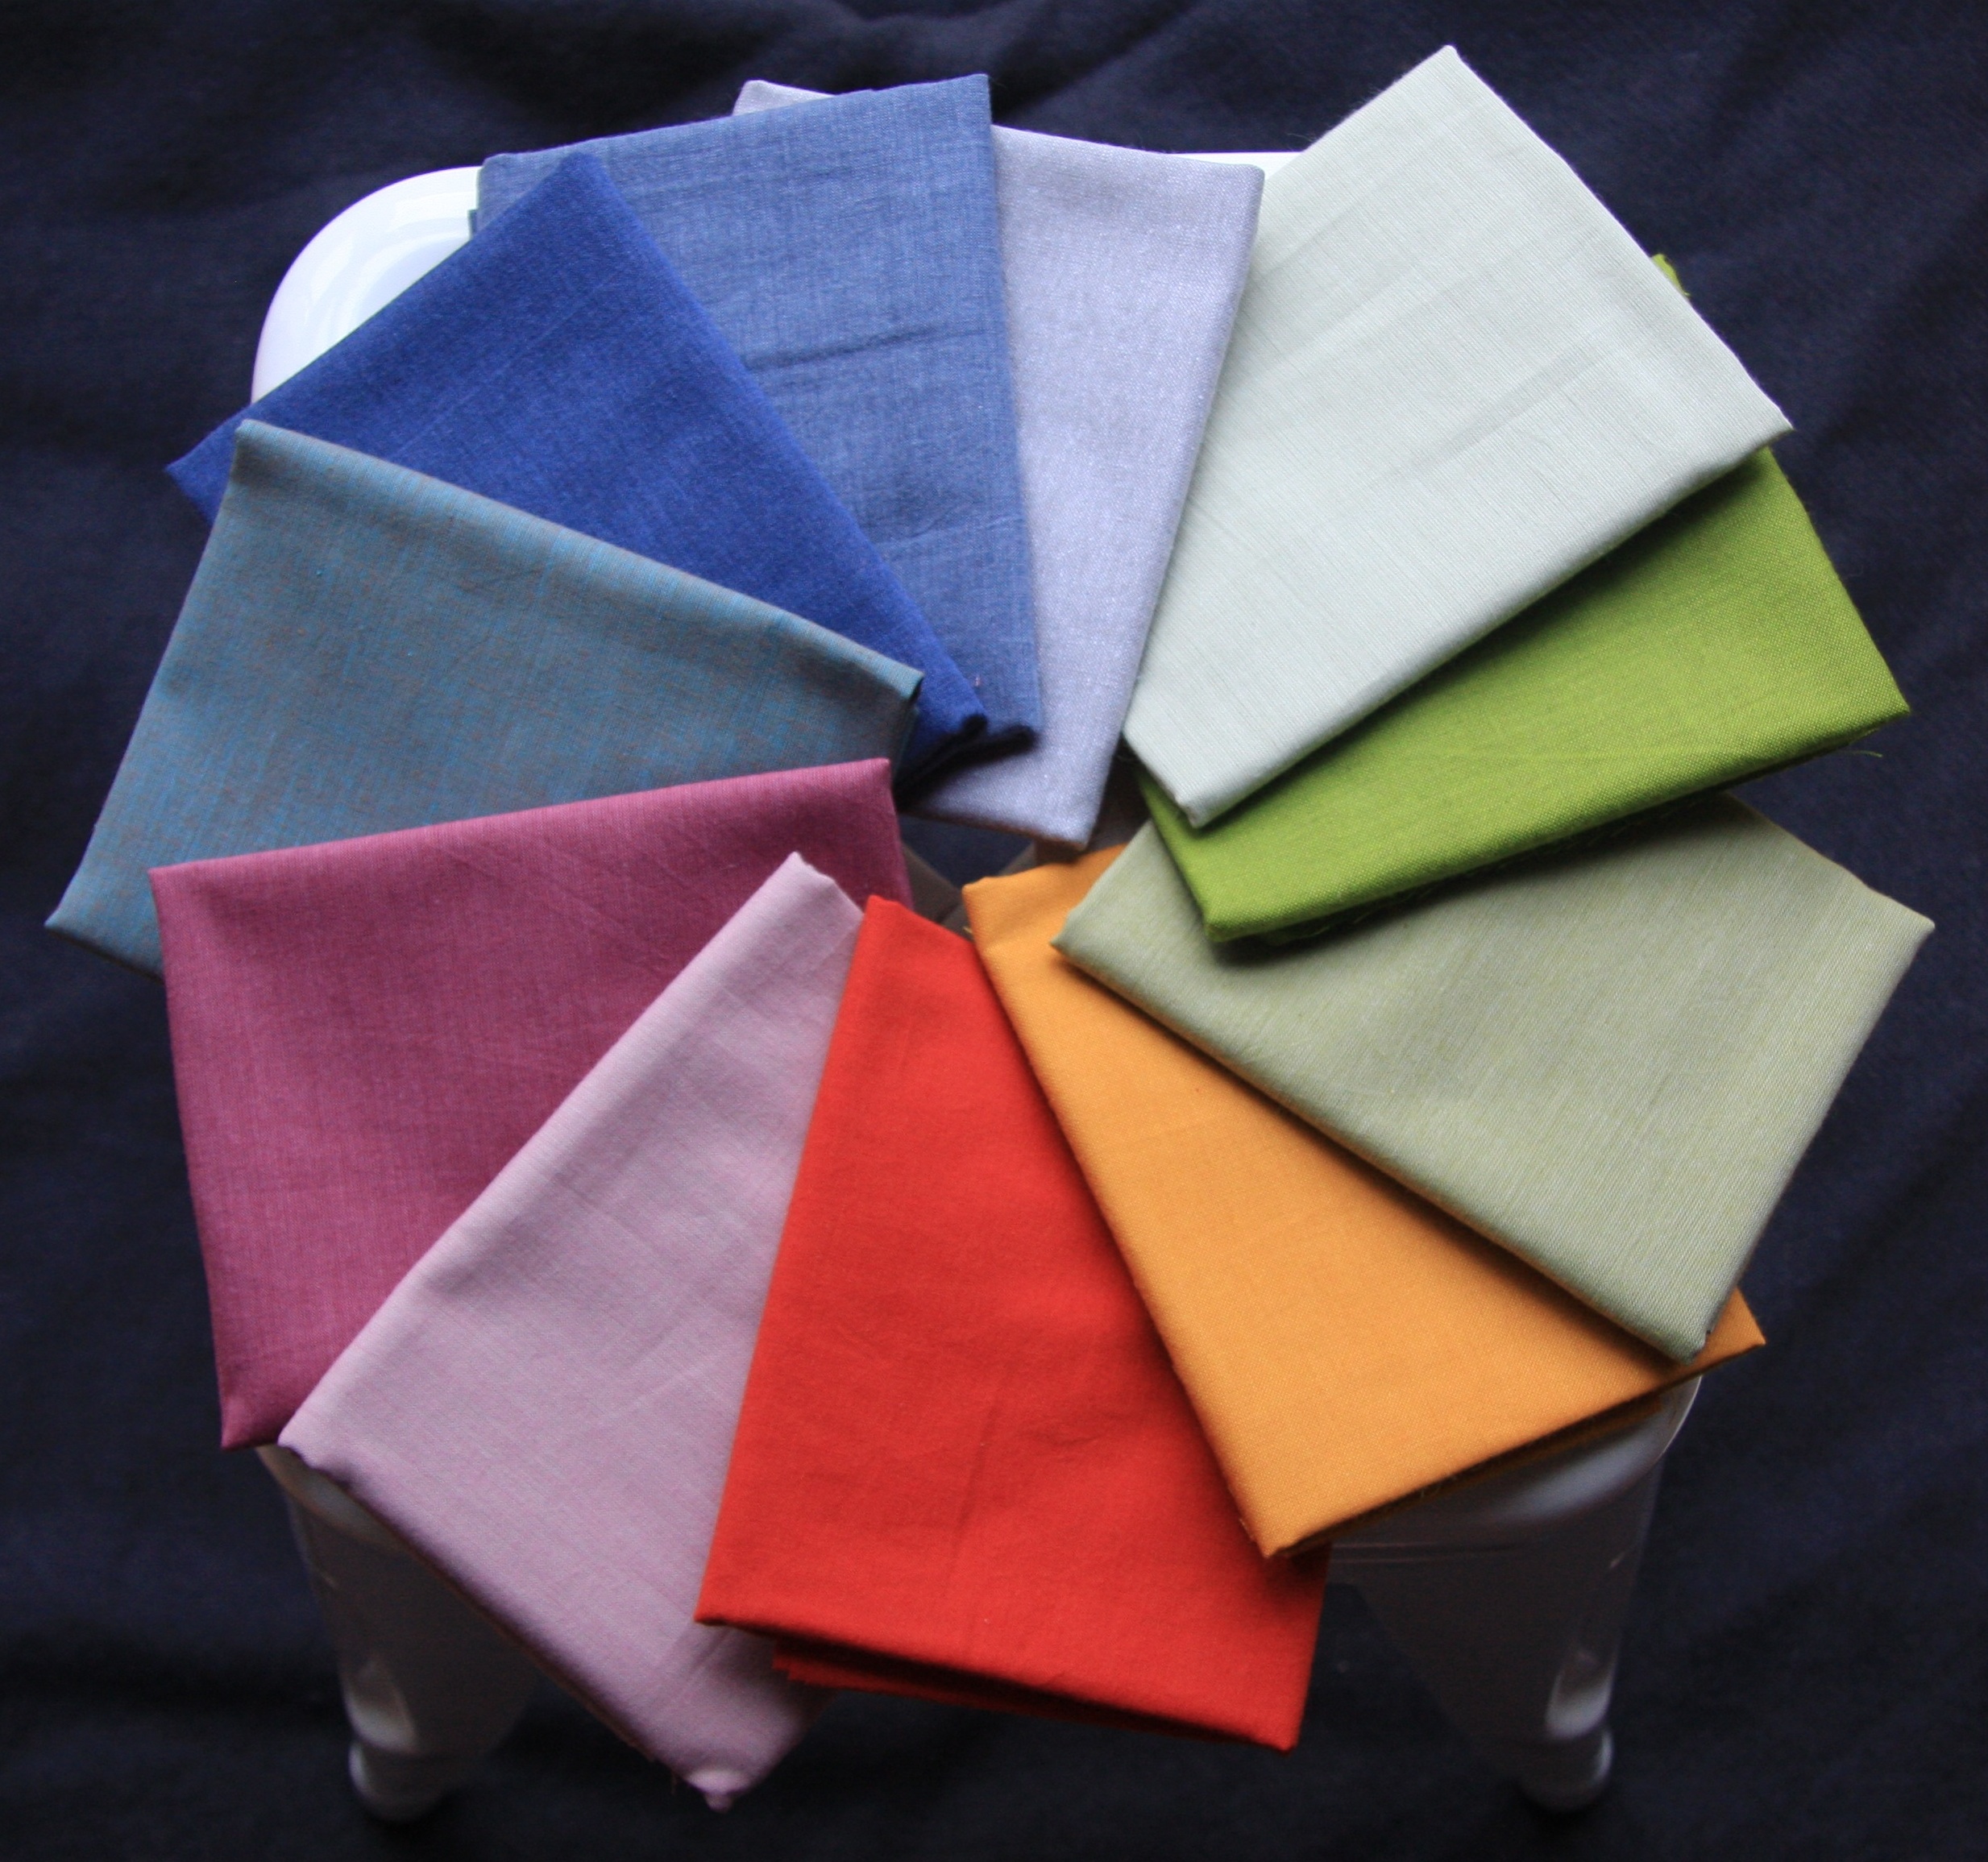
I bought 30 cm of each colour, and cut them into 14 squares each.

Such beautiful fabric!

I have 11 different colours and 14 squares each… that’s a lot of squares. After laying them all out, I paired them up in every permutation possible and ended up with a very attractive stack of 77 pairs.

The next step was to make the half-square triangles. I used a chalk wheel to mark the diagonal across each pair of squares, then sewed quarter-inch seams down each side.

Then cut down the middle and voila! Two half-square triangles.
Now, this is where I admit that I used the wrong measurements…. To make half-square triangles, you need to cut squares that are 7/8 inch bigger than the finished size of the HST. I want the finished half-square triangles to measure 4 inches, which means I should’ve cut 4 7/8 inch squares. In the week or so between investigating this online and finally getting my rotary cutter out, however, I managed to get it into my head that my squares should be 5 7/8 inches. Oops.
So now my HSTs are about an inch too big. I’ve decided I’ll cut them down to size (using my Bloc-Loc ruler!), stick to the original measurements I wanted, and do something interesting with the scraps. That’s the plan for this weekend. Watch this space!
