Progress with problematic points
It’s been a few weeks, but I’m finally making some progress with my half-square triangles quilt.
You may remember I made a small mistake last time, and ended up with half-square triangles that were a little too large. Well, I eventually cut all 150+ squares down to 4.5″, and now have a nice bag of scraps for some future project.
We only have one space in the house where I can lay out squares and find a good design that I’m happy with: the bed. On Friday, I finally placed all the squares in a 12 x 12 arrangement and found a design I liked. Here’s a sneak peek:

I stacked up each row into a pile of squares, then sewed them together. I tried chain-piecing to save on time (and thread), which ended up working pretty well. I thought I’d get confused about which squares I was sewing, but I managed to find a system to keep it all organised.

In the space of a few hours yesterday, I sewed rows 1 and 2 together, 3 and 4, and 5 and 6.
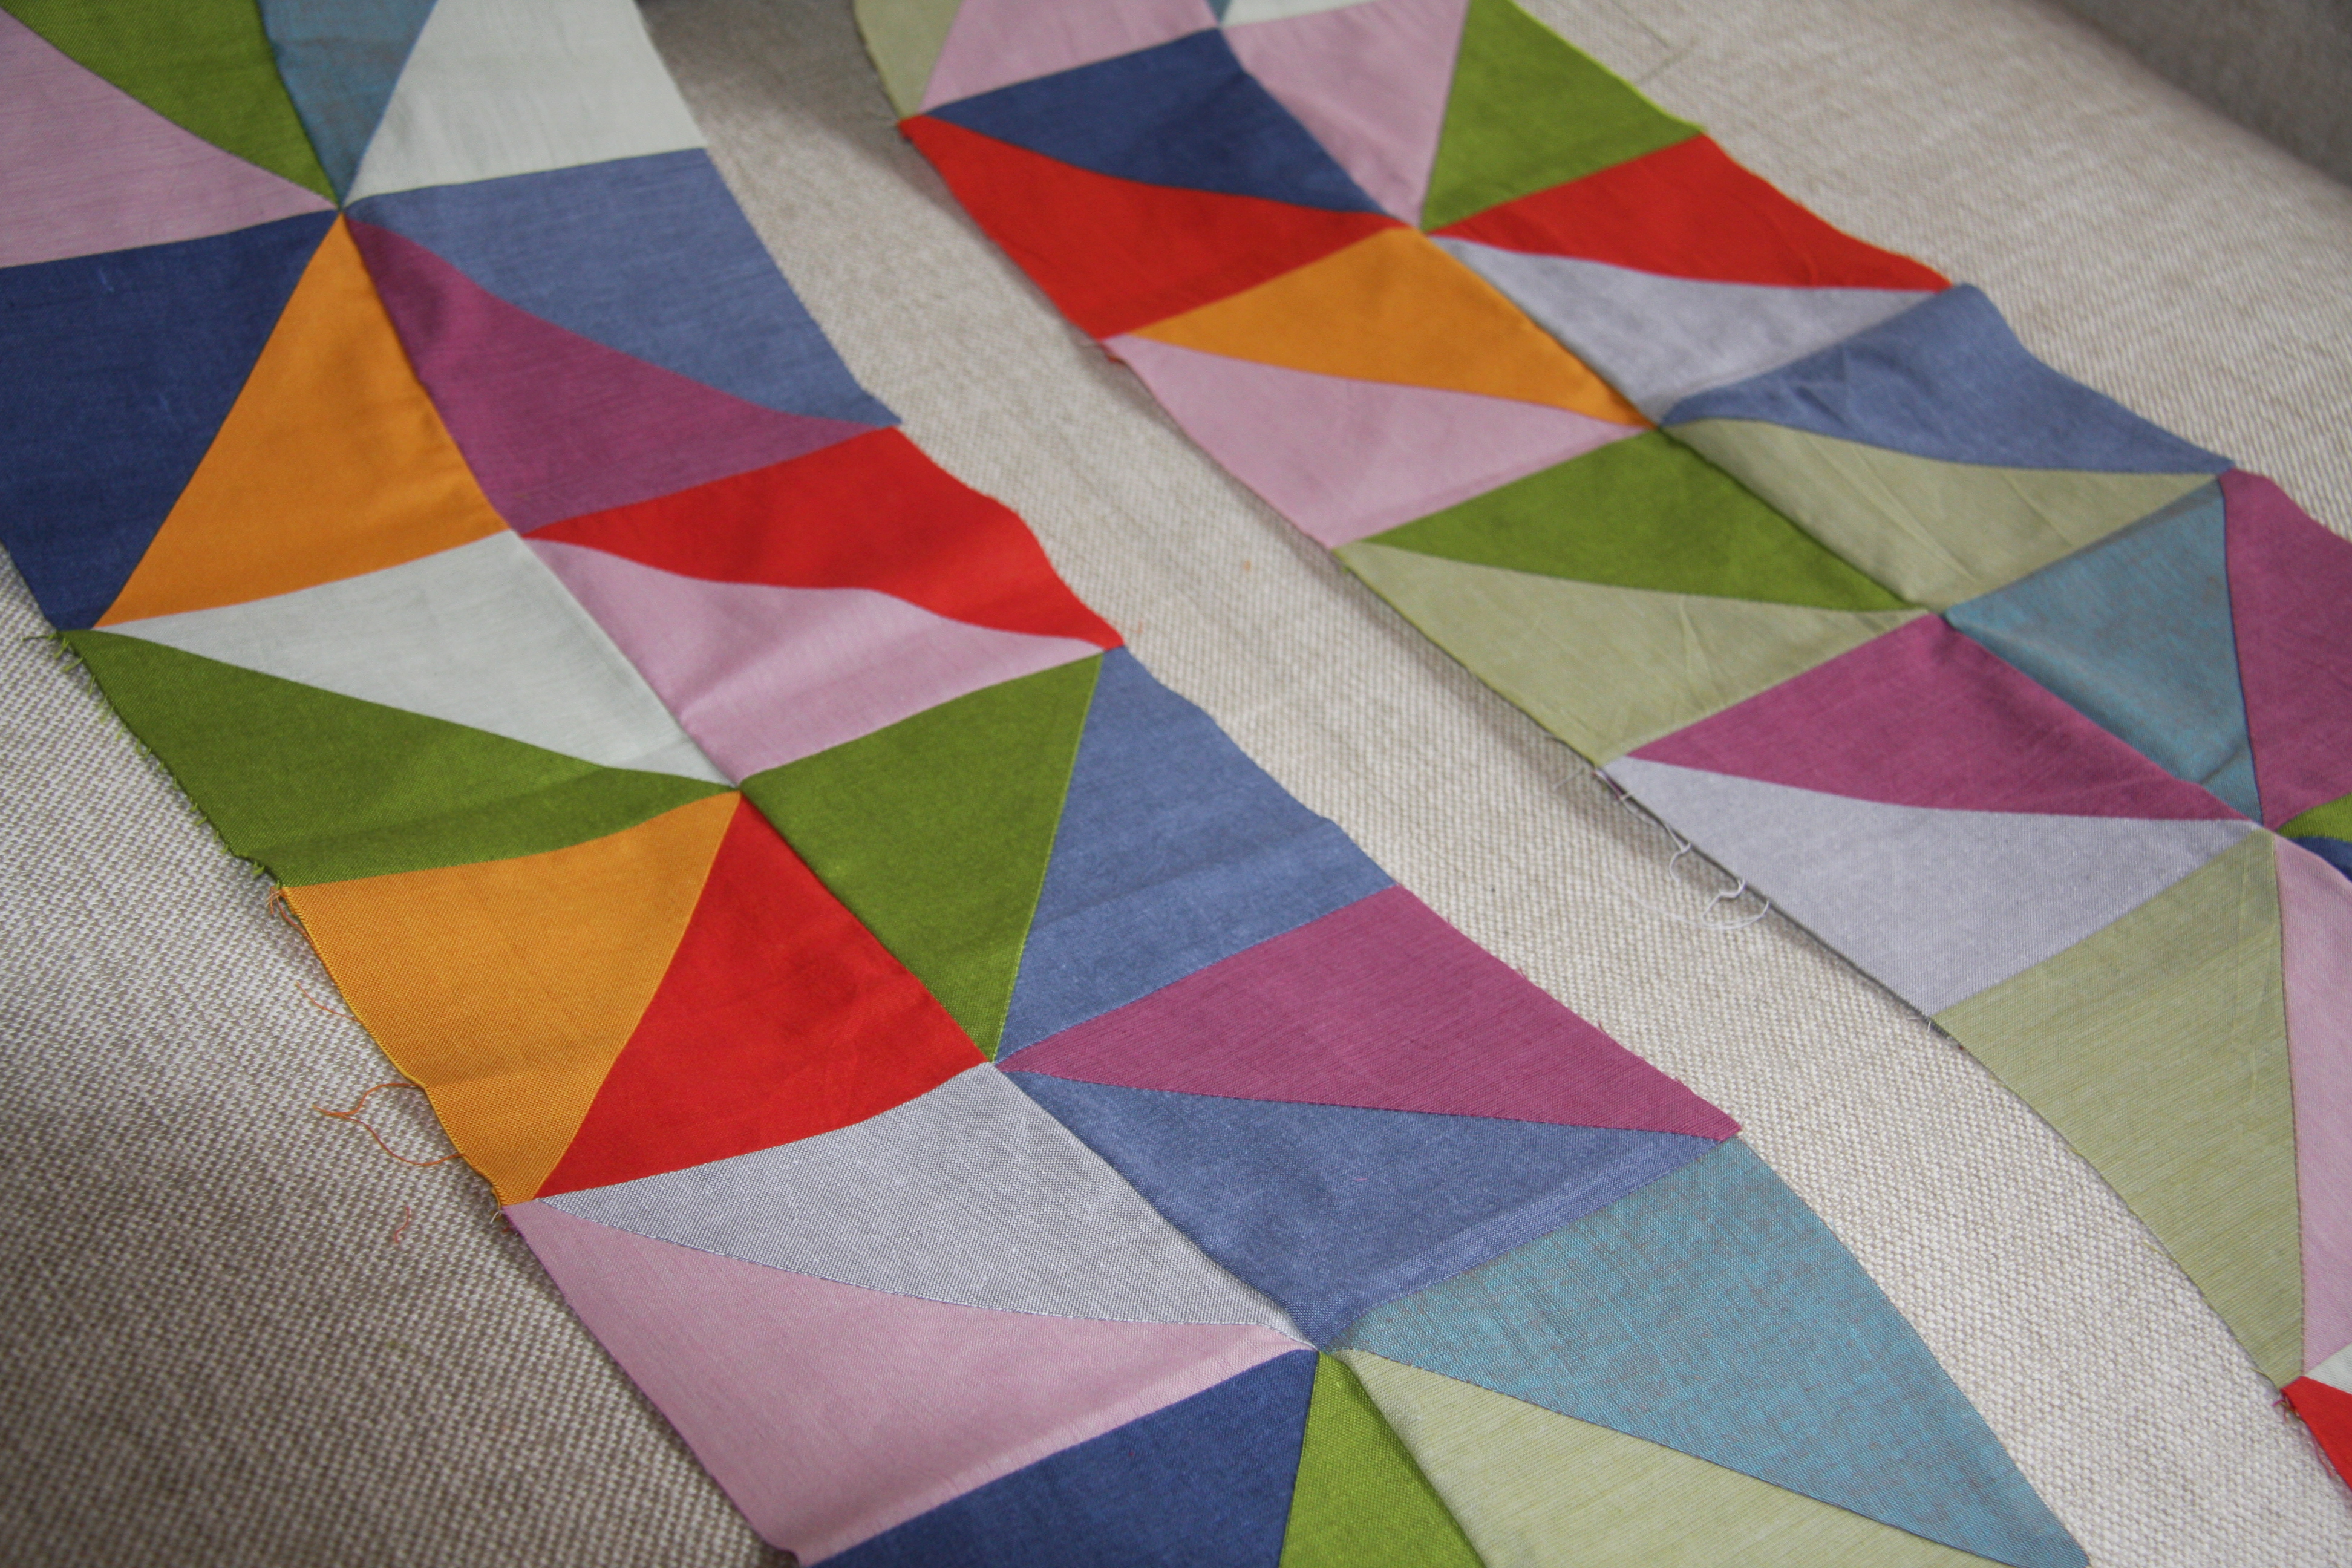
Today I’ll do the remaining pairs, then start sewing together the pairs until (hopefully!) the whole quilt top is finished.
I’ve had mixed success with getting all my points lined up. The design of the quilt top is fairly random, which means that the intersections between blocks can have up to 8 fabrics meeting in the middle. Getting all those points to line up is tricky and relies on a lot of careful pinning. Sometimes I managed fairly well…
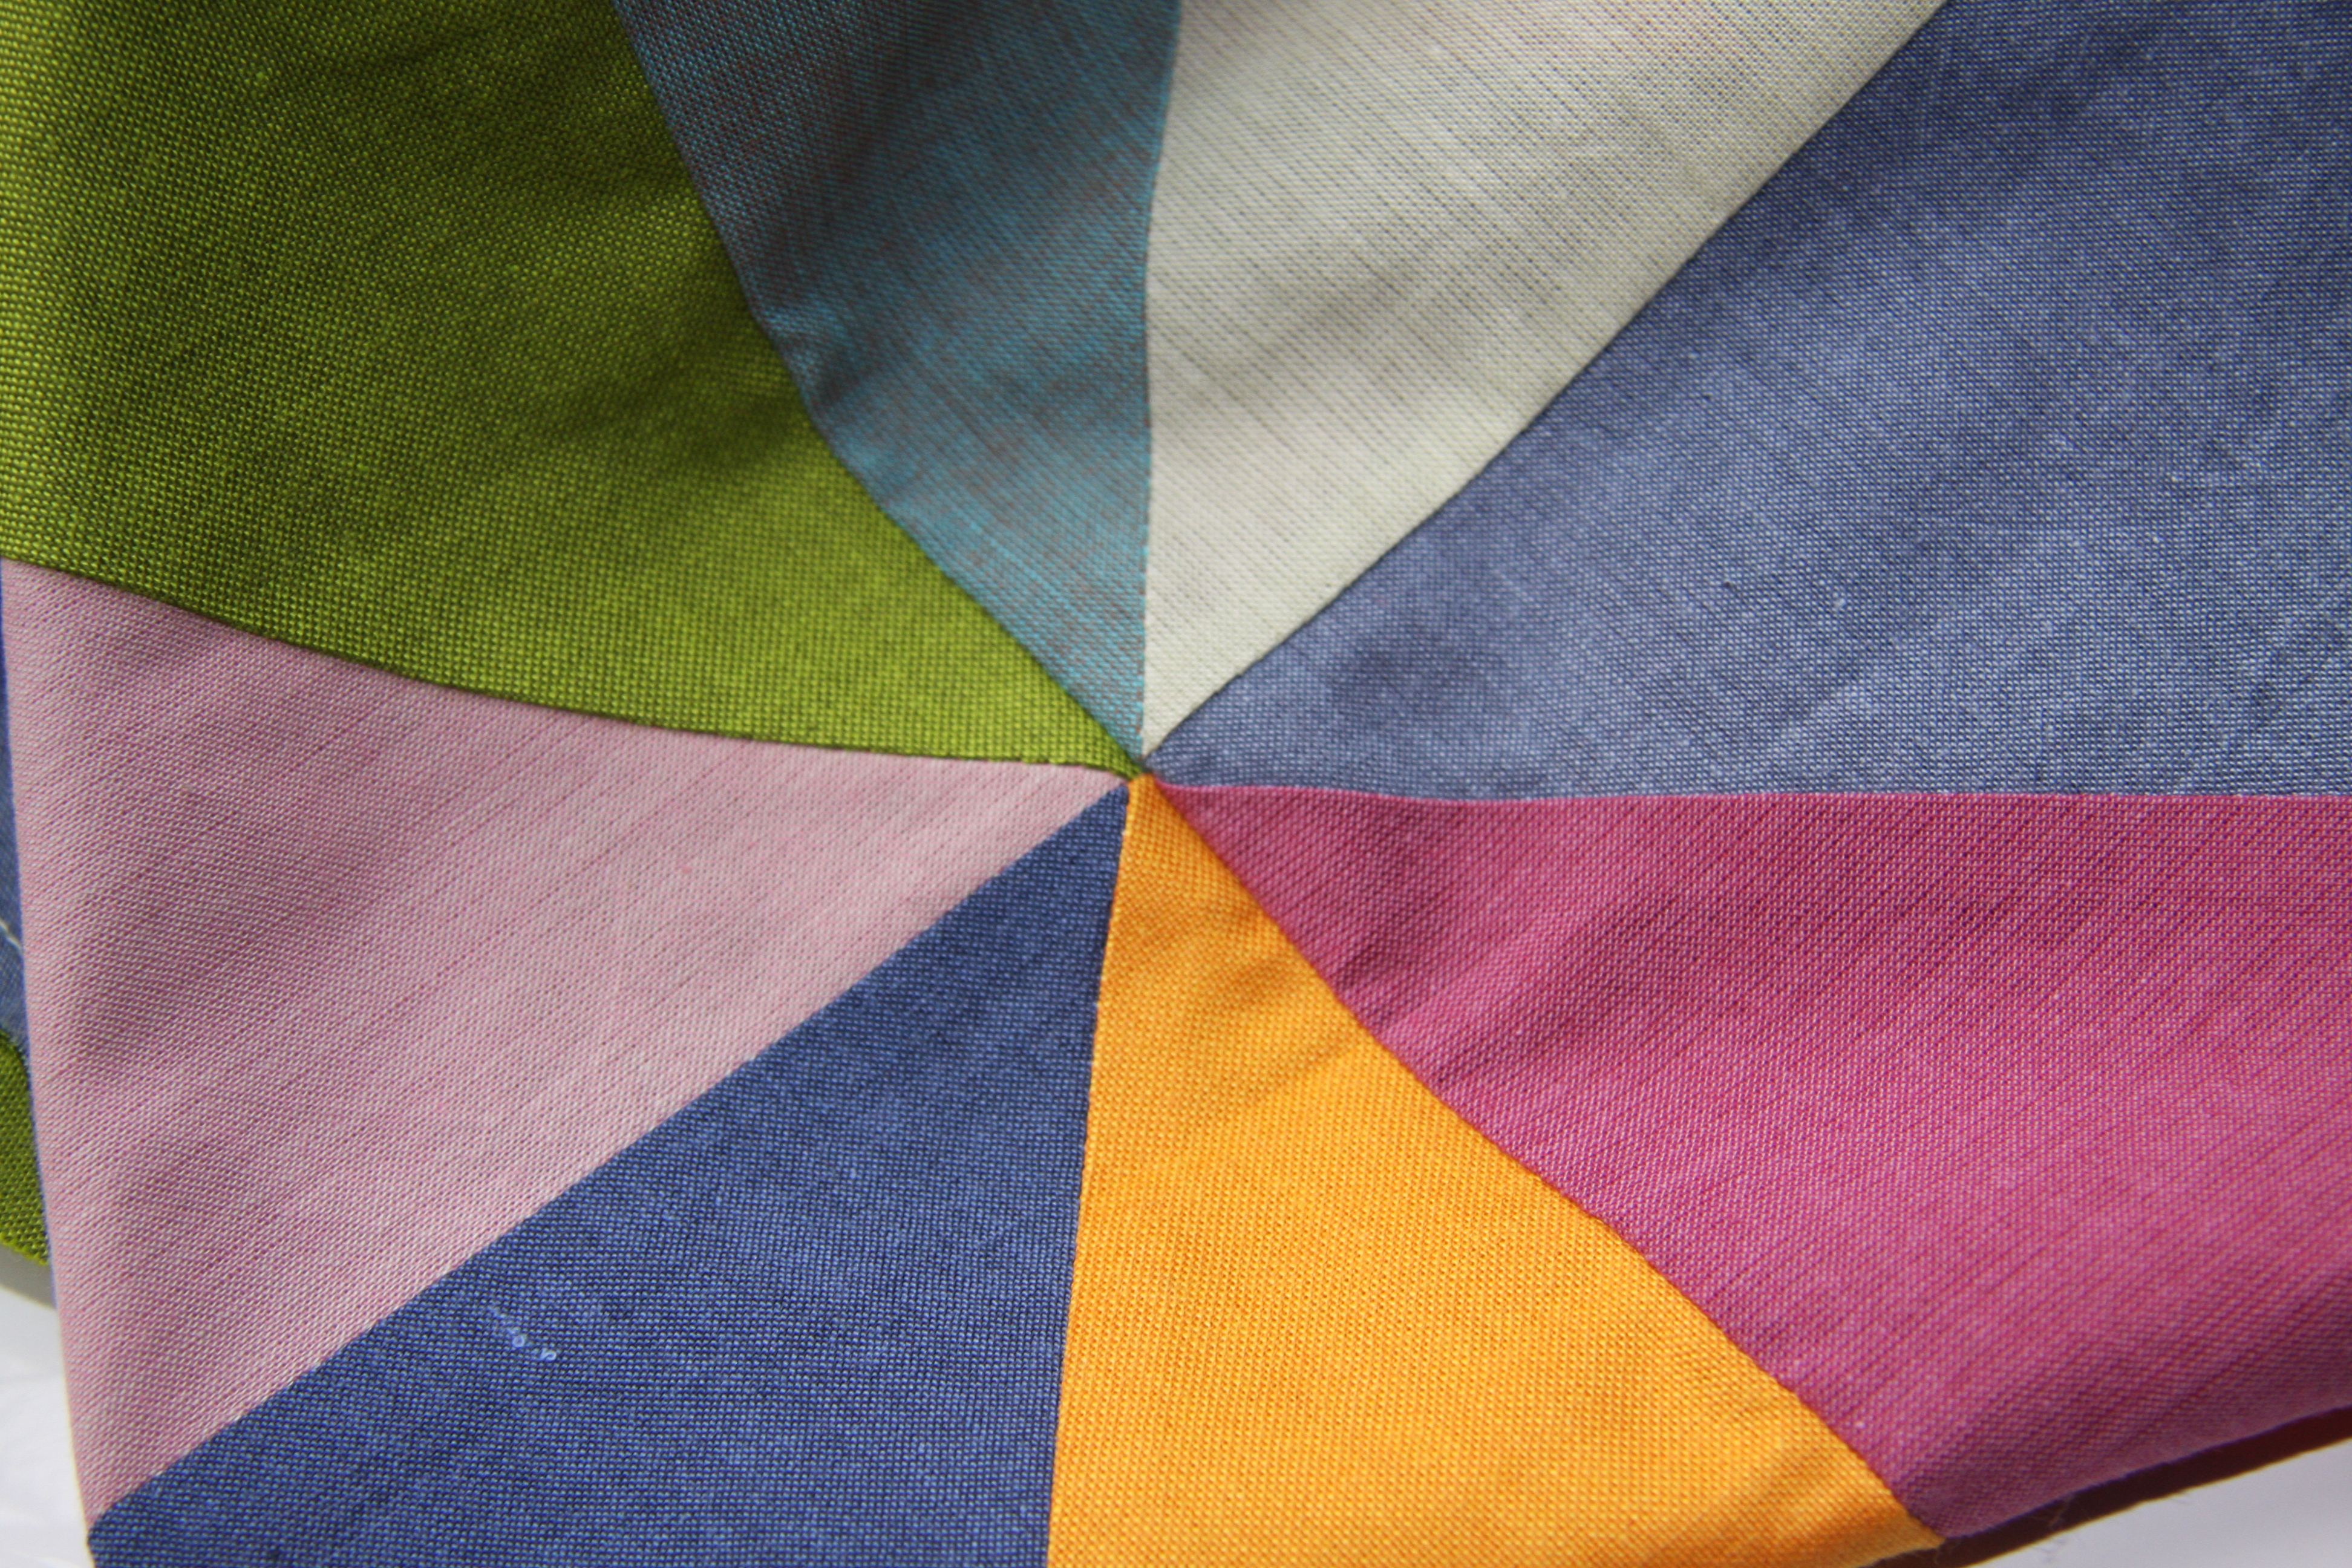
Other times, I was a smidge out:
If it was more than a smidge, I got the seam ripper out and tried again!
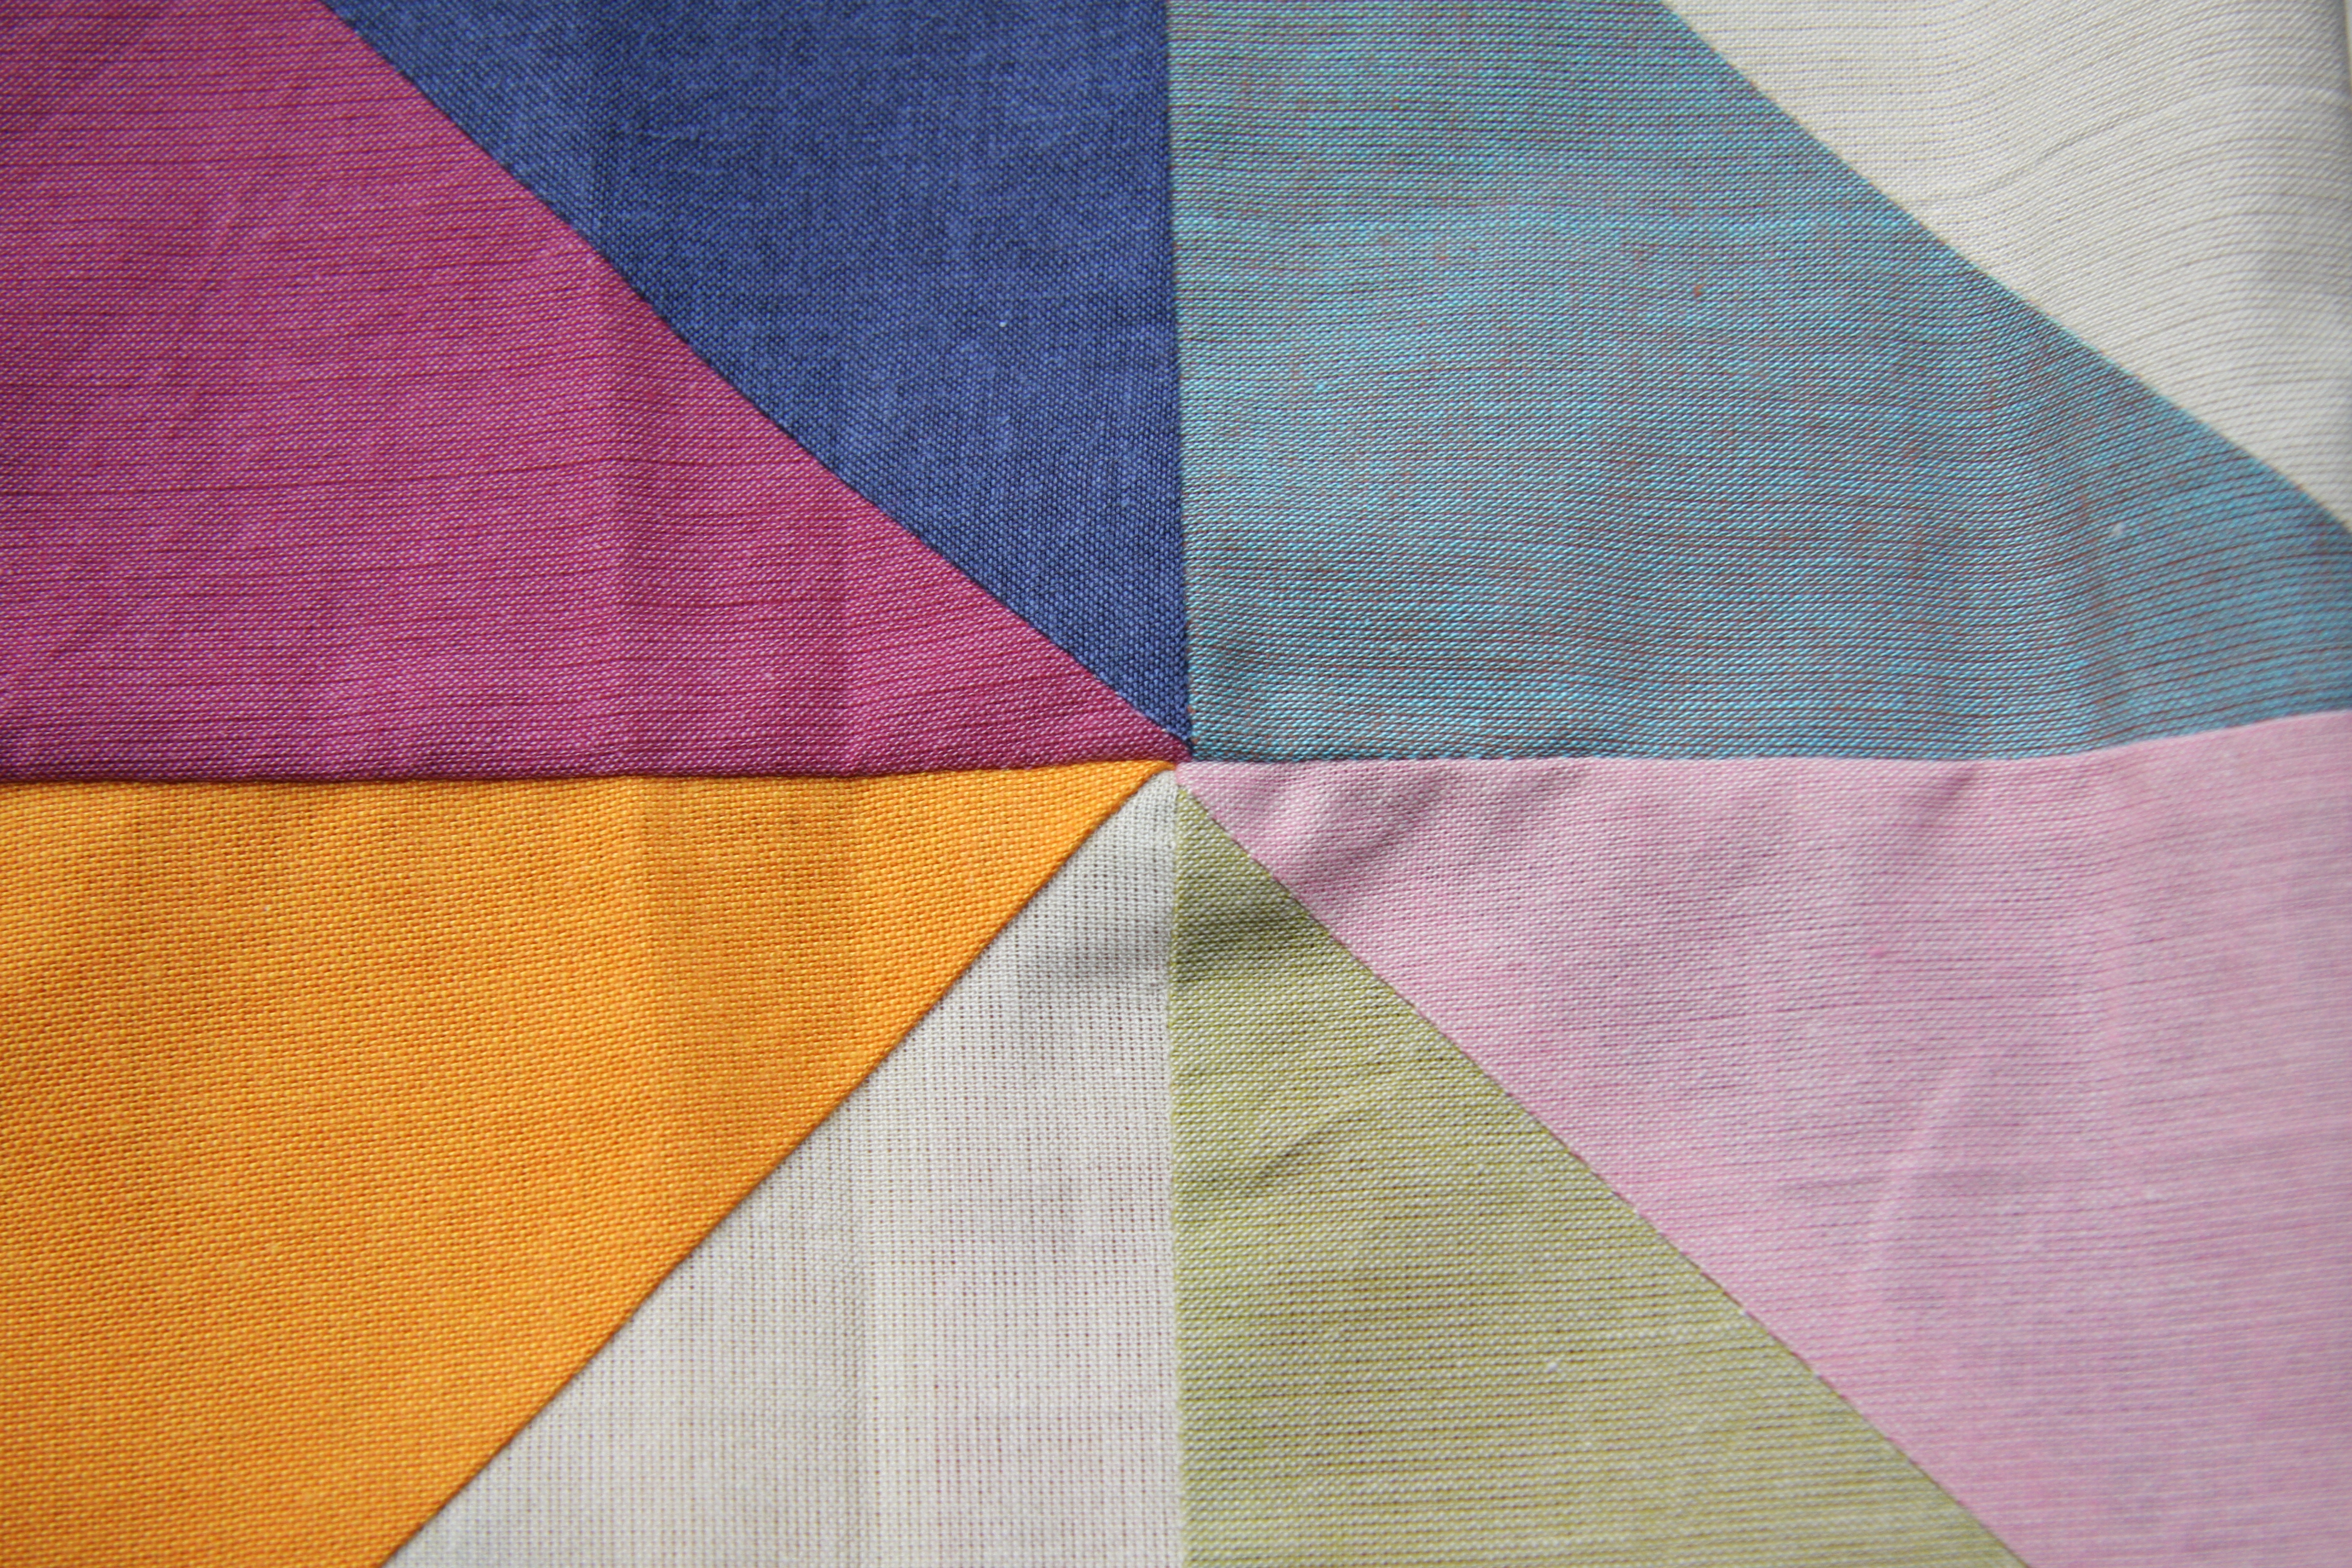
You can also tell from some of these images that the intersections in some places are quilt bulky, thanks to the number of seams that are coming together. I think I should’ve been more careful about which direction my half-square triangles’ diagonal seams were pressed. I pressed them all before cutting down to 4.5″, which means the seams were all facing in different directions when I laid them all out in the final design. Perhaps then I should’ve re-pressed them in single directions depending on which row they were in? That seems like a lot of work! There must be an easier way, but I haven’t figured it out yet.
It’s just after midday here in Melbourne, so I better get busy!
Discover more from Geometriquilt
Subscribe to get the latest posts sent to your email.

I’ve had the same experience with bulky intersections when you don’t know the layout of your HST until they get arranged during the design phase. Sometimes I press them again to reduce the block. I’ve also tried pressing seams open, which reduces the bulk, but makes it harder to match the seams and points. But I do love HST units, so it’s worth the effort!