Sunday sketch #491
I made a quilt recently (which I’ll share in a few weeks’ time) that used loads of wide curves – the same size/shape that I used in my quilts Blue Wave, Whirlwind and Quattro. Basically a 7″ (finished) drunkard’s path unit with a 3.5″ (finished) drunkard’s path cut out of it. A bit like a macaroni! It’s such a great shape, and so easy to piece thanks to drunkard’s path templates from Papper, Sax, Sten.
The quilt that I finished has a really fun feel, and I think a lot of that has to do with the thick curvy shapes. They feel a bit cartoon-y and whimsical. Anyway, I played around with some more chunky curves and lines to see what I could come up with, and this week’s sketch was one of my favourites.

I’ve essentially just used those thick lines to outline a drunkard’s path unit at a larger scale, then tiled them. But rather than have solid edges butting up against one another, I’ve removed any adjacent thick lines (mostly). This gives the effect of the shapes overlapping each other. But the crowdedness and the oversized shapes lend a bit of chaos to an otherwise orderly design.

I’ve used another palette from issue 7 of Curated Colour from Tara Glastonbury / Stitch & Yarn. I just love that background colour, which is Kona Watermelon. The right combo of orangey-pinky-red!
The two versions above use a six-colour palette, but the design works well in just three colours too….

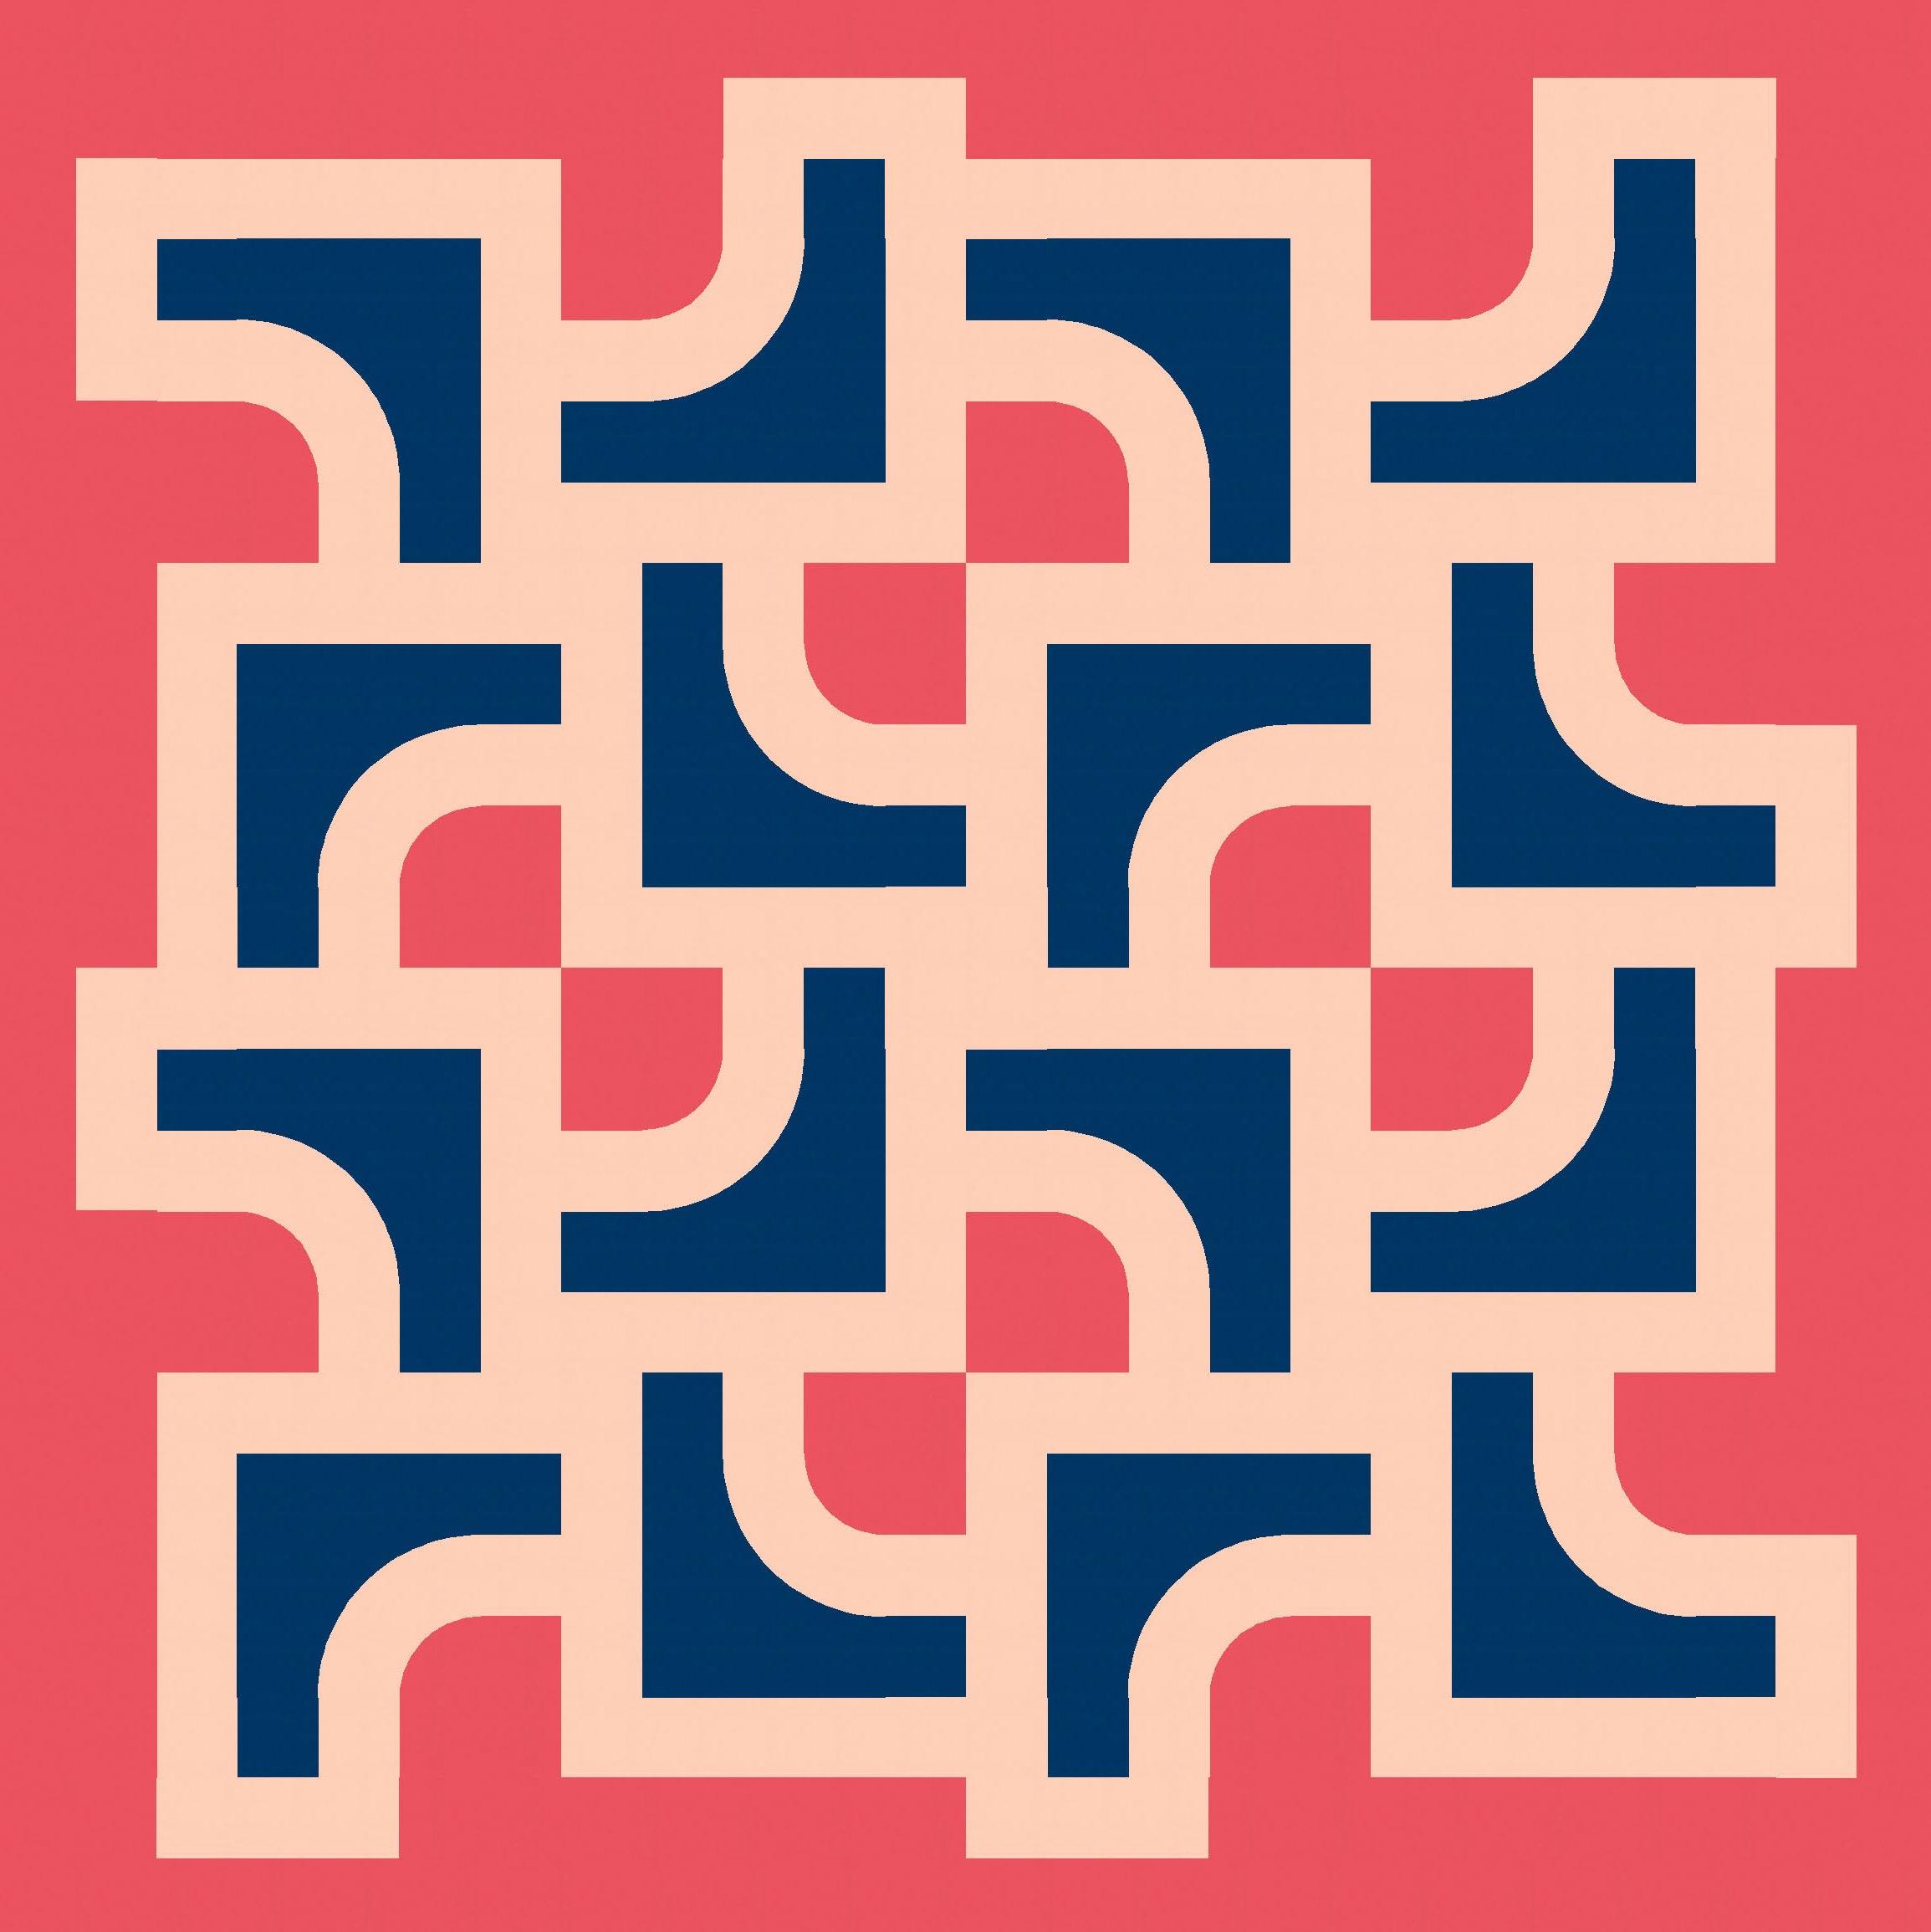


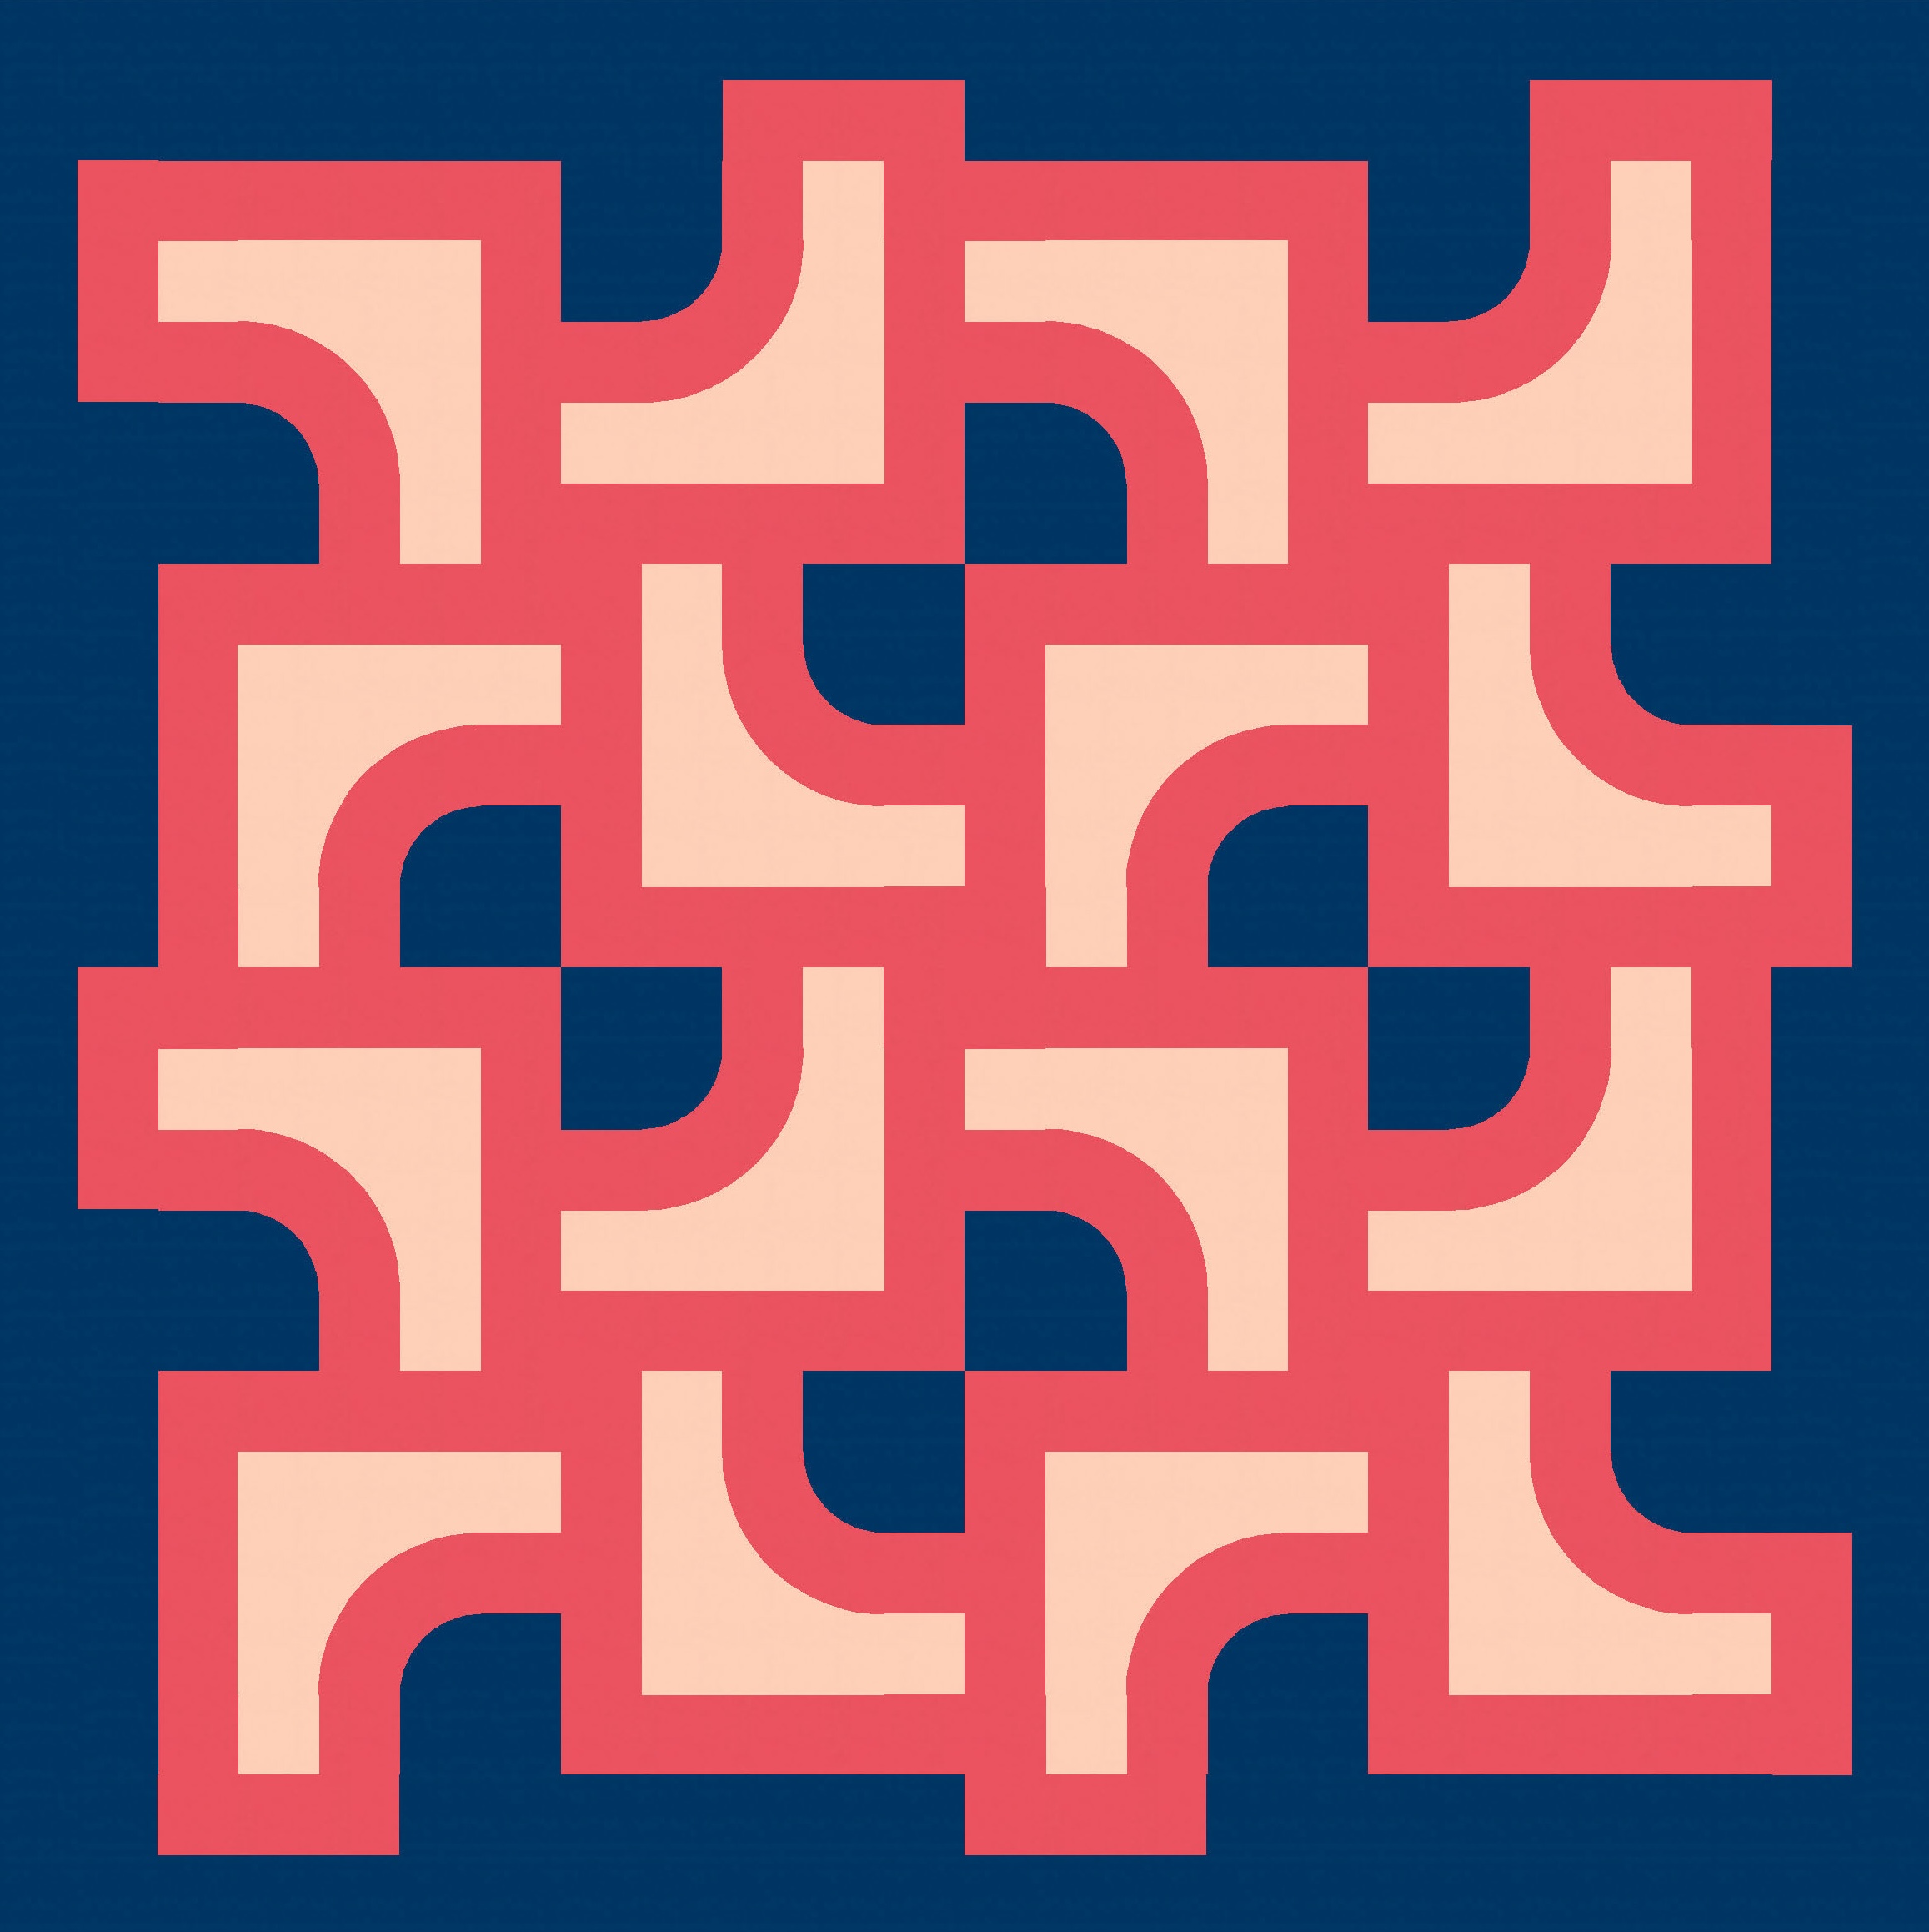

Which one’s your favourite? In most cases, I prefer the darkest colour (a dark blue here) as the outline of the shapes, although the mid-tone (the watermelon) also works.
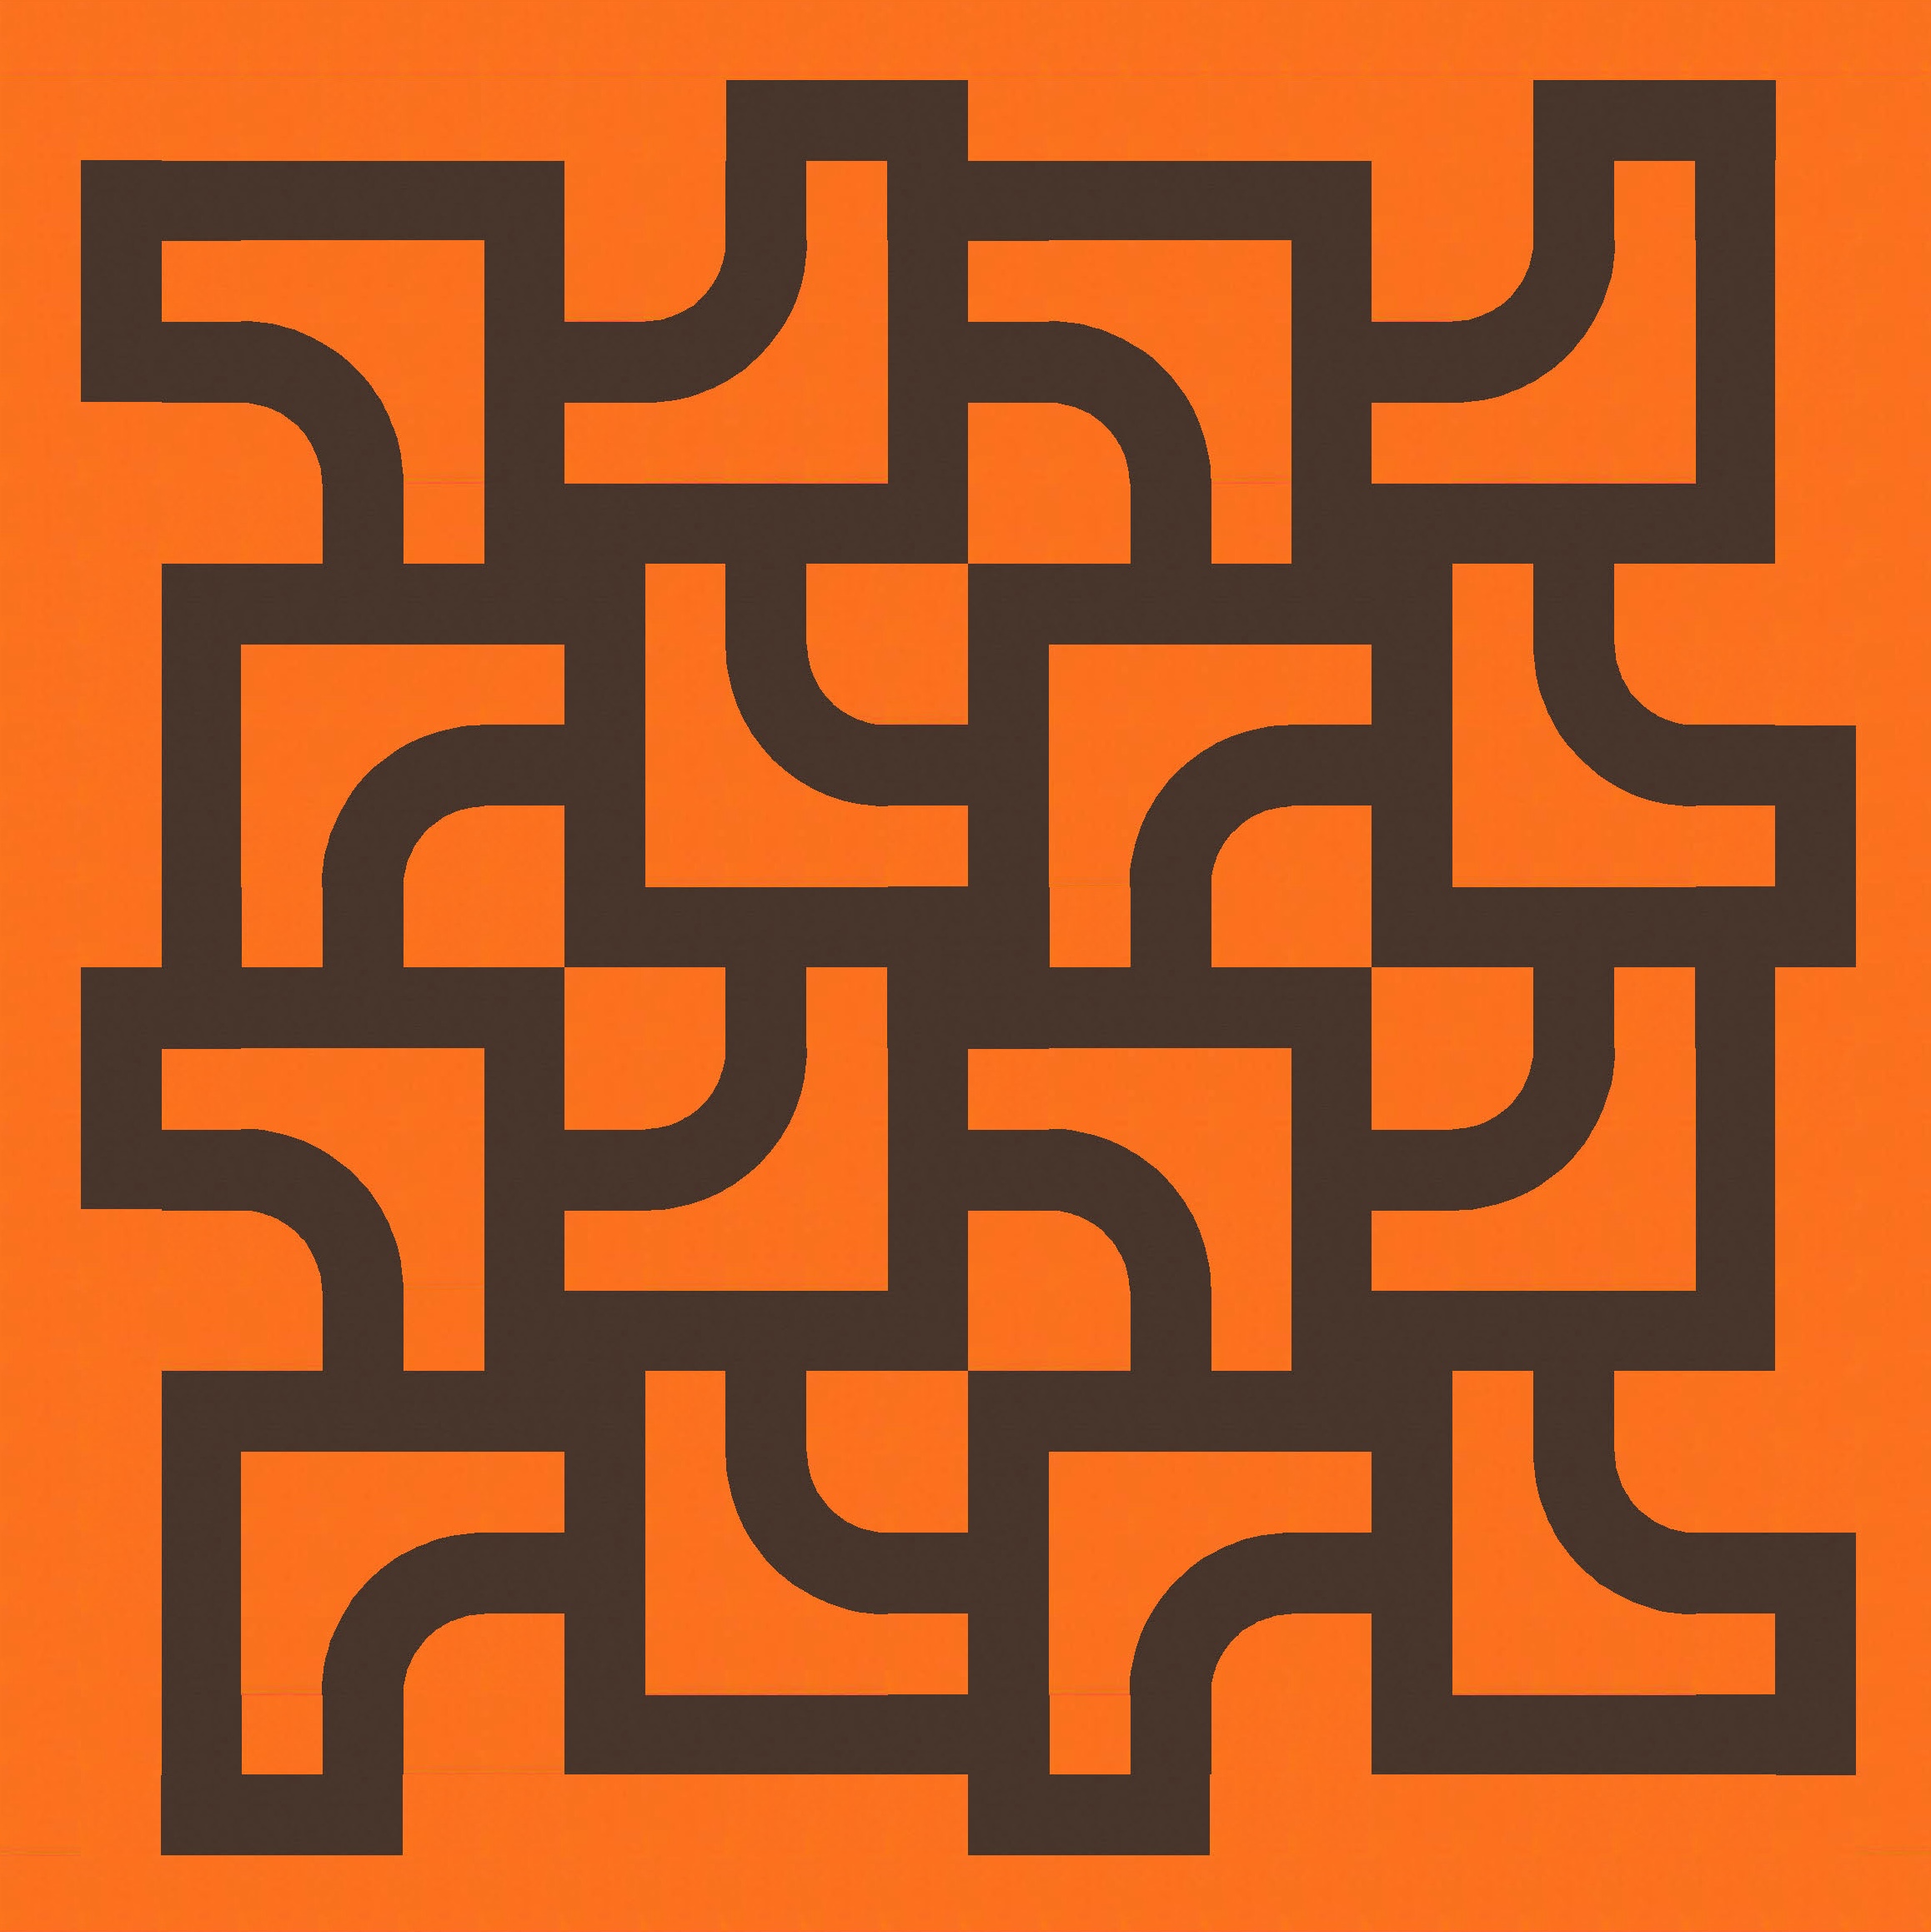
And even a two-colour palette works too. These next few versions have quite a different feel; maybe controlled chaos? I like them a lot, so I’m not sure which version I’d make if I were going to make it.


I also think this overall approach could work well for an improv quilt. Make a bunch of those shapes, or parts of shapes, and assemble them all together in a random way.

Improv’s hard to design in Electric Quilt 8 (not least because improv quilts aren’t supposed to be totally planned out beforehand…), so you can see some regular lines and guess at the block outlines here. But hopefully you get the general idea!
Making these designs into quilts would require curves and straight lines (made with rectangles and squares). I use Jenny Haynes’ templates for the curves – I like the sizes (I use the 7″ template for the large curve and the 3.5″ template for the small curve) and the fact that the templates are slightly oversized to allow trimming down to size. I’m getting pretty good at sewing curves without pins (or glue, etc.), but I’m not perfect, so that extra space in the seam allowance is a godsend. Yay for good tools!
Discover more from Geometriquilt
Subscribe to get the latest posts sent to your email.
