Tagged: squares
Progress with problematic points
It’s been a few weeks, but I’m finally making some progress with my half-square triangles quilt.
You may remember I made a small mistake last time, and ended up with half-square triangles that were a little too large. Well, I eventually cut all 150+ squares down to 4.5″, and now have a nice bag of scraps for some future project.
We only have one space in the house where I can lay out squares and find a good design that I’m happy with: the bed. On Friday, I finally placed all the squares in a 12 x 12 arrangement and found a design I liked. Here’s a sneak peek:

I stacked up each row into a pile of squares, then sewed them together. I tried chain-piecing to save on time (and thread), which ended up working pretty well. I thought I’d get confused about which squares I was sewing, but I managed to find a system to keep it all organised.

In the space of a few hours yesterday, I sewed rows 1 and 2 together, 3 and 4, and 5 and 6.
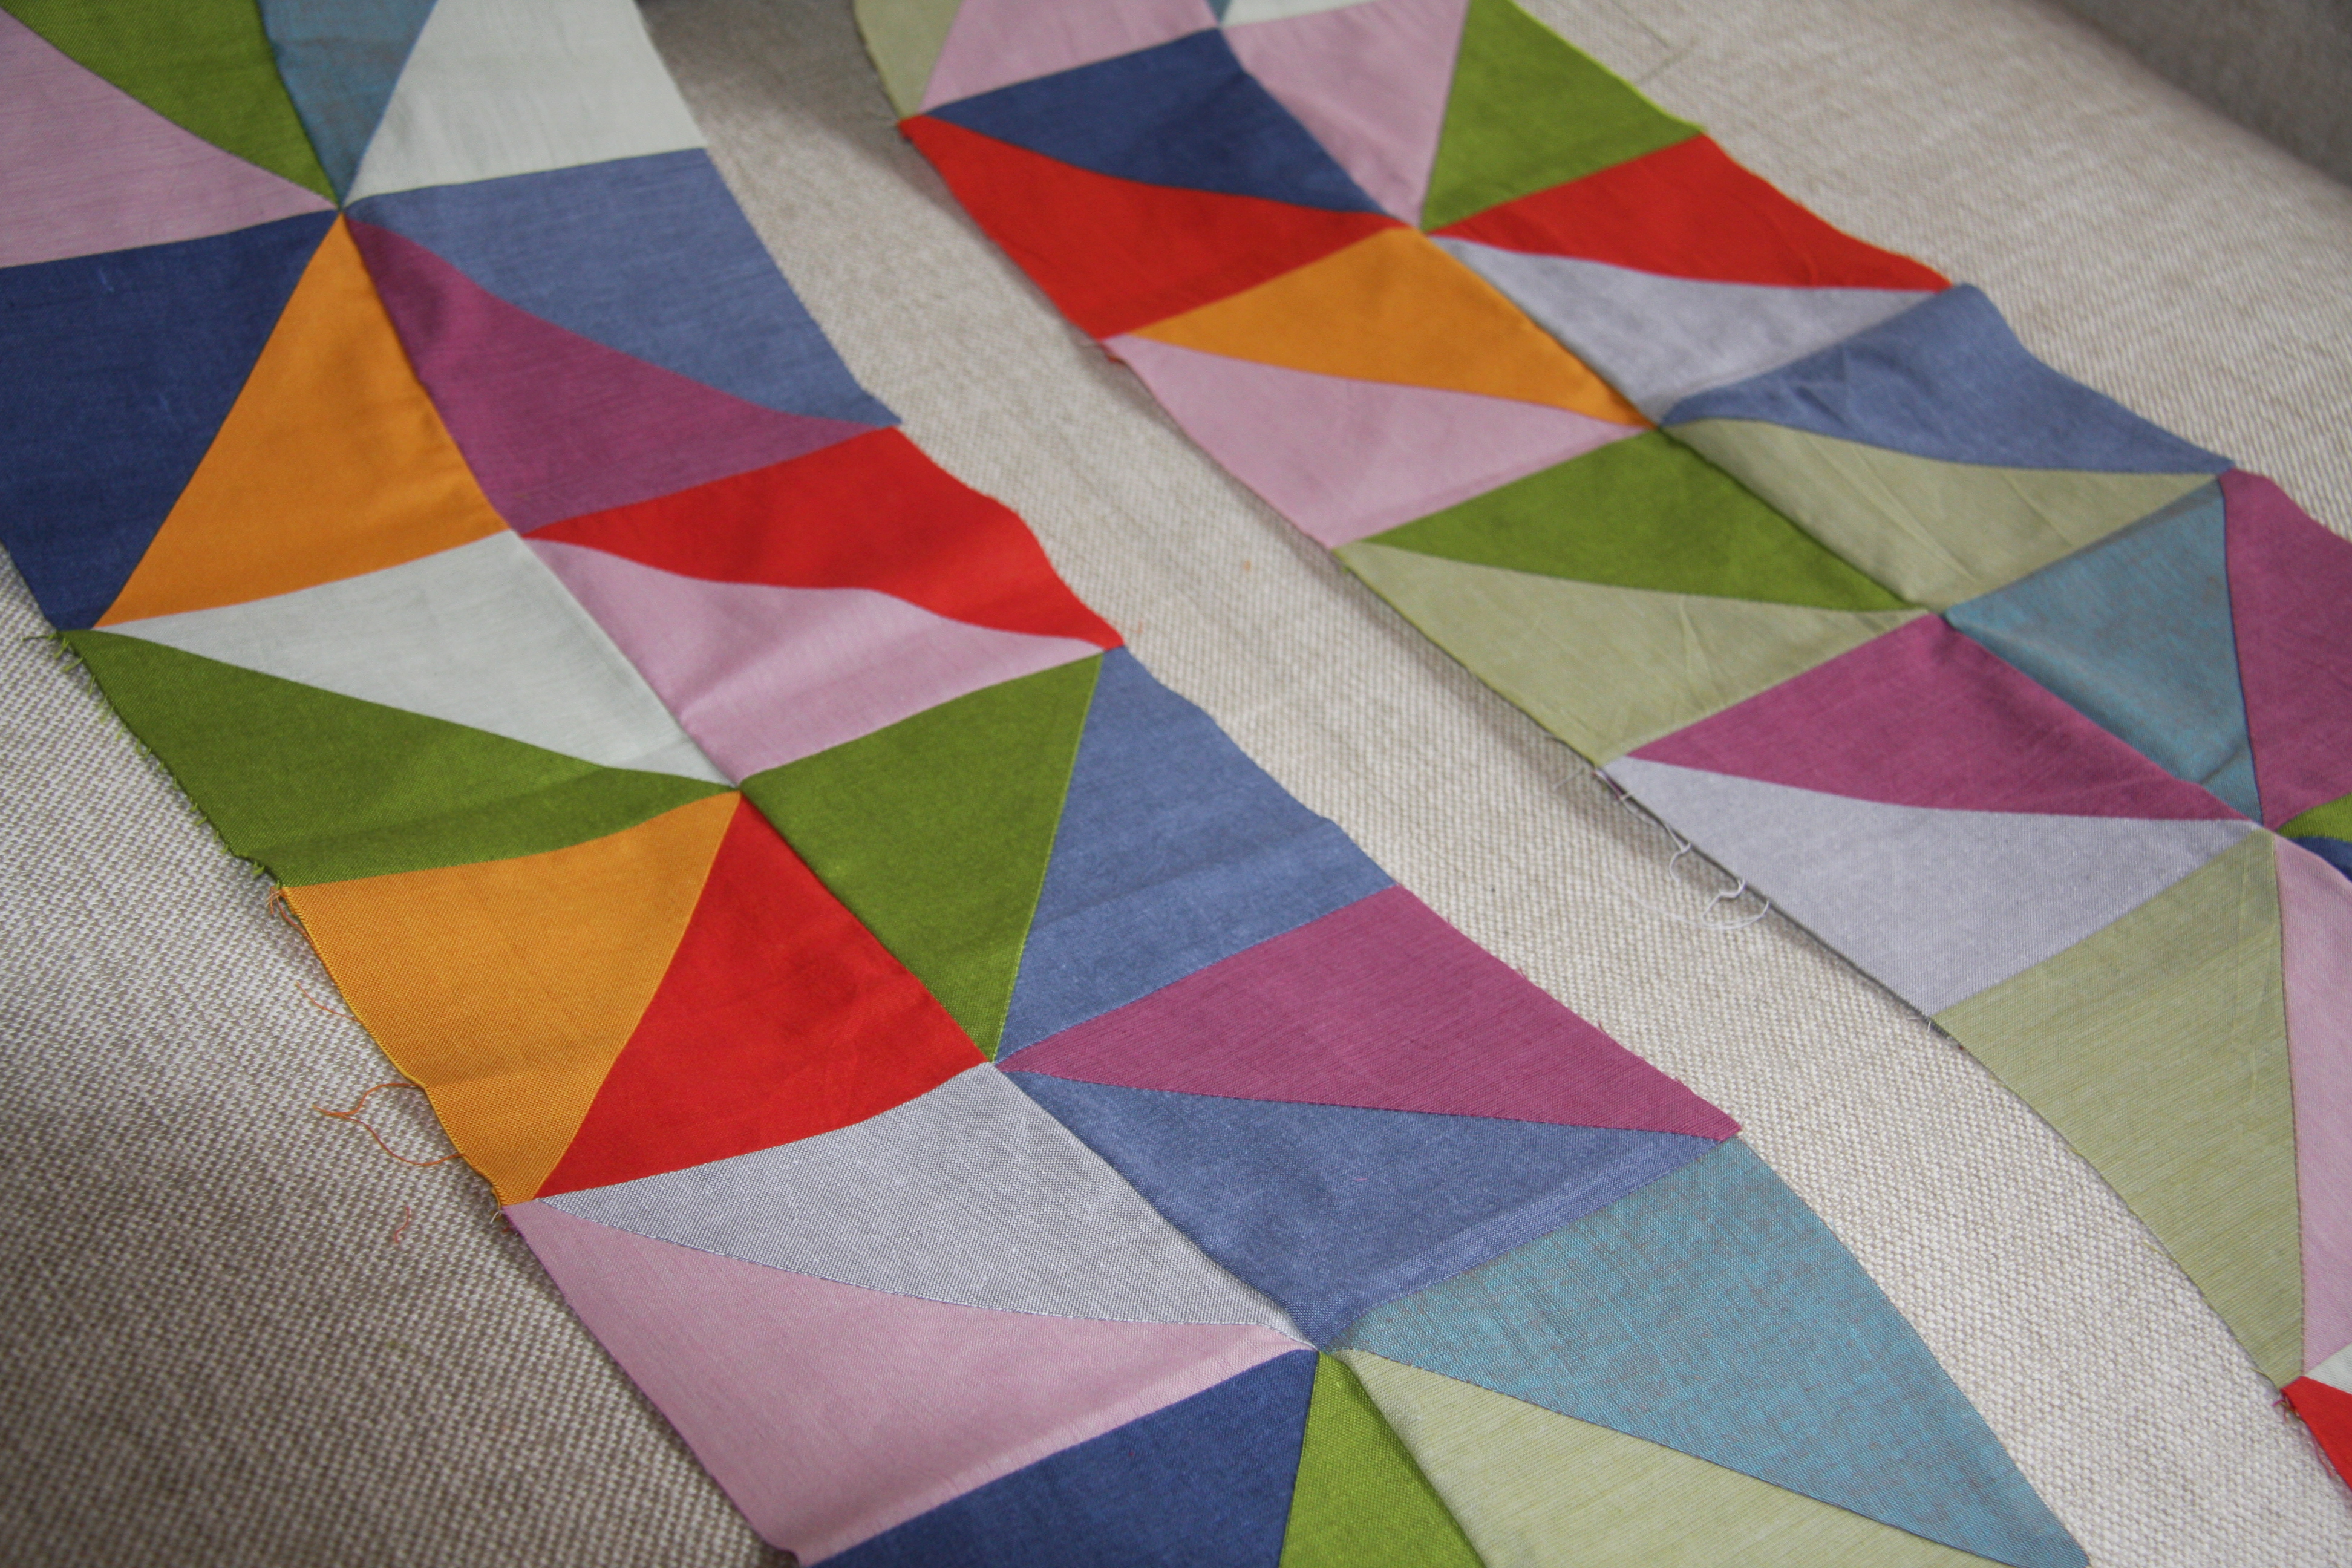
Today I’ll do the remaining pairs, then start sewing together the pairs until (hopefully!) the whole quilt top is finished.
I’ve had mixed success with getting all my points lined up. The design of the quilt top is fairly random, which means that the intersections between blocks can have up to 8 fabrics meeting in the middle. Getting all those points to line up is tricky and relies on a lot of careful pinning. Sometimes I managed fairly well…
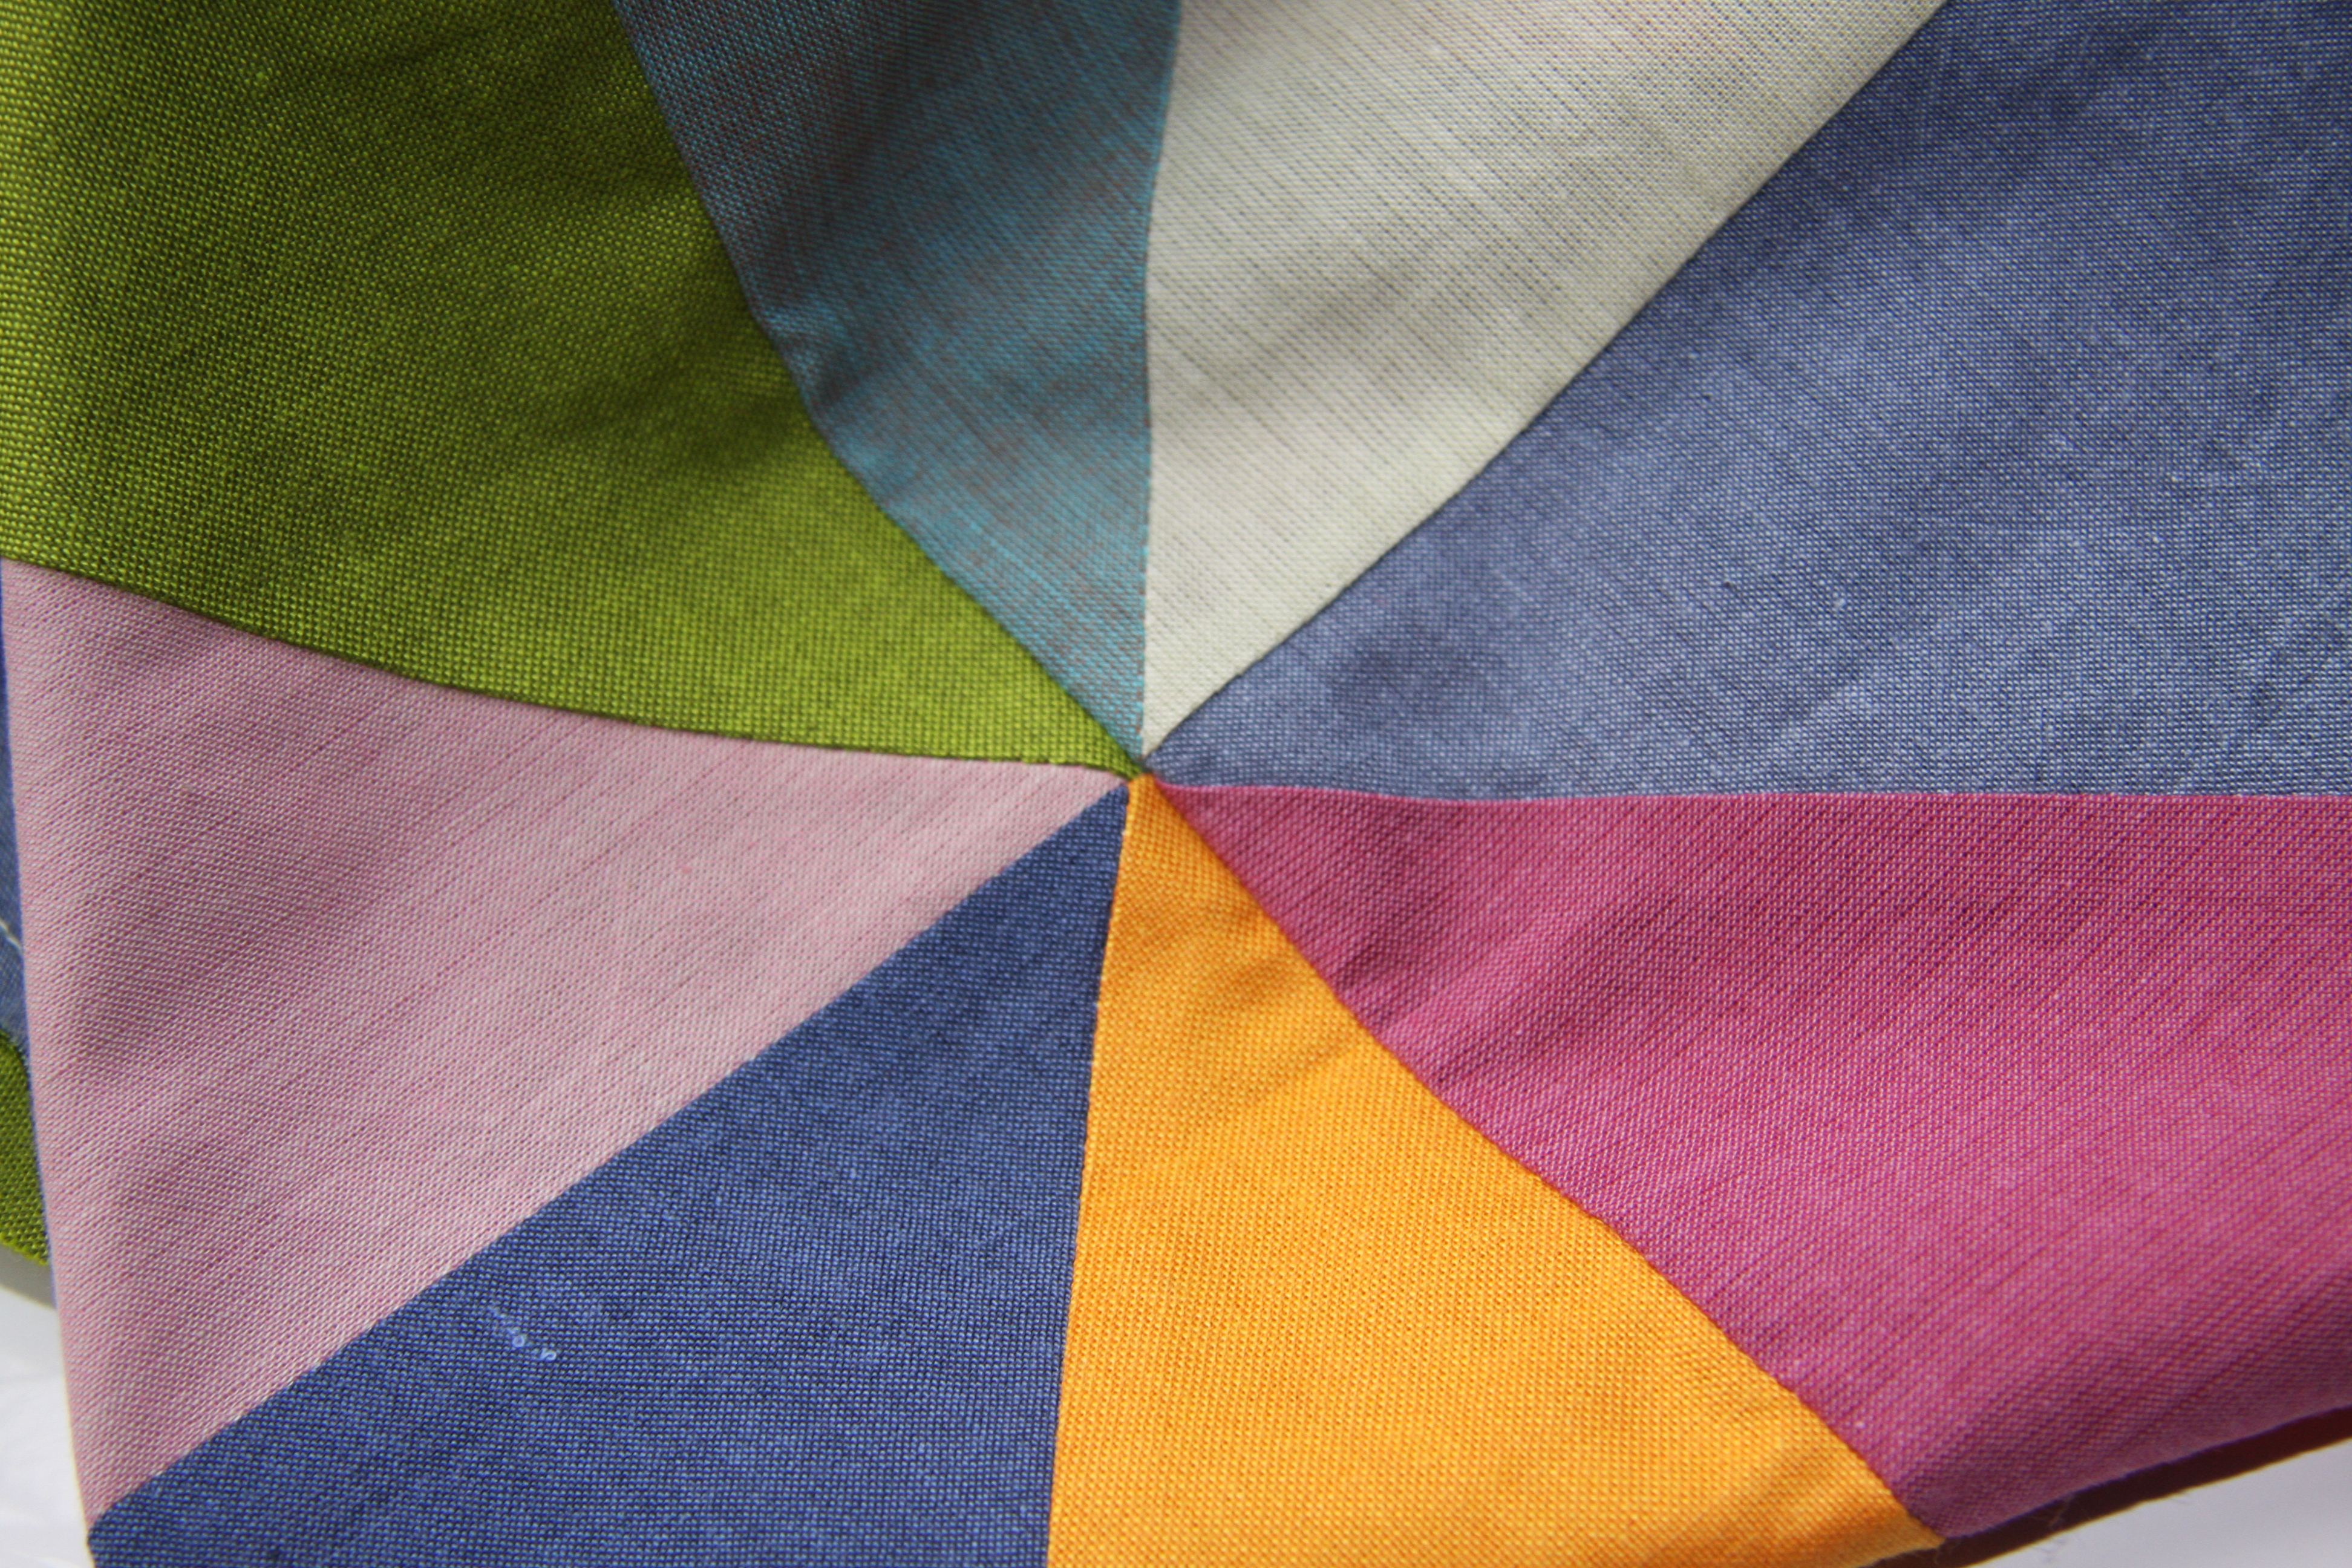
Other times, I was a smidge out:
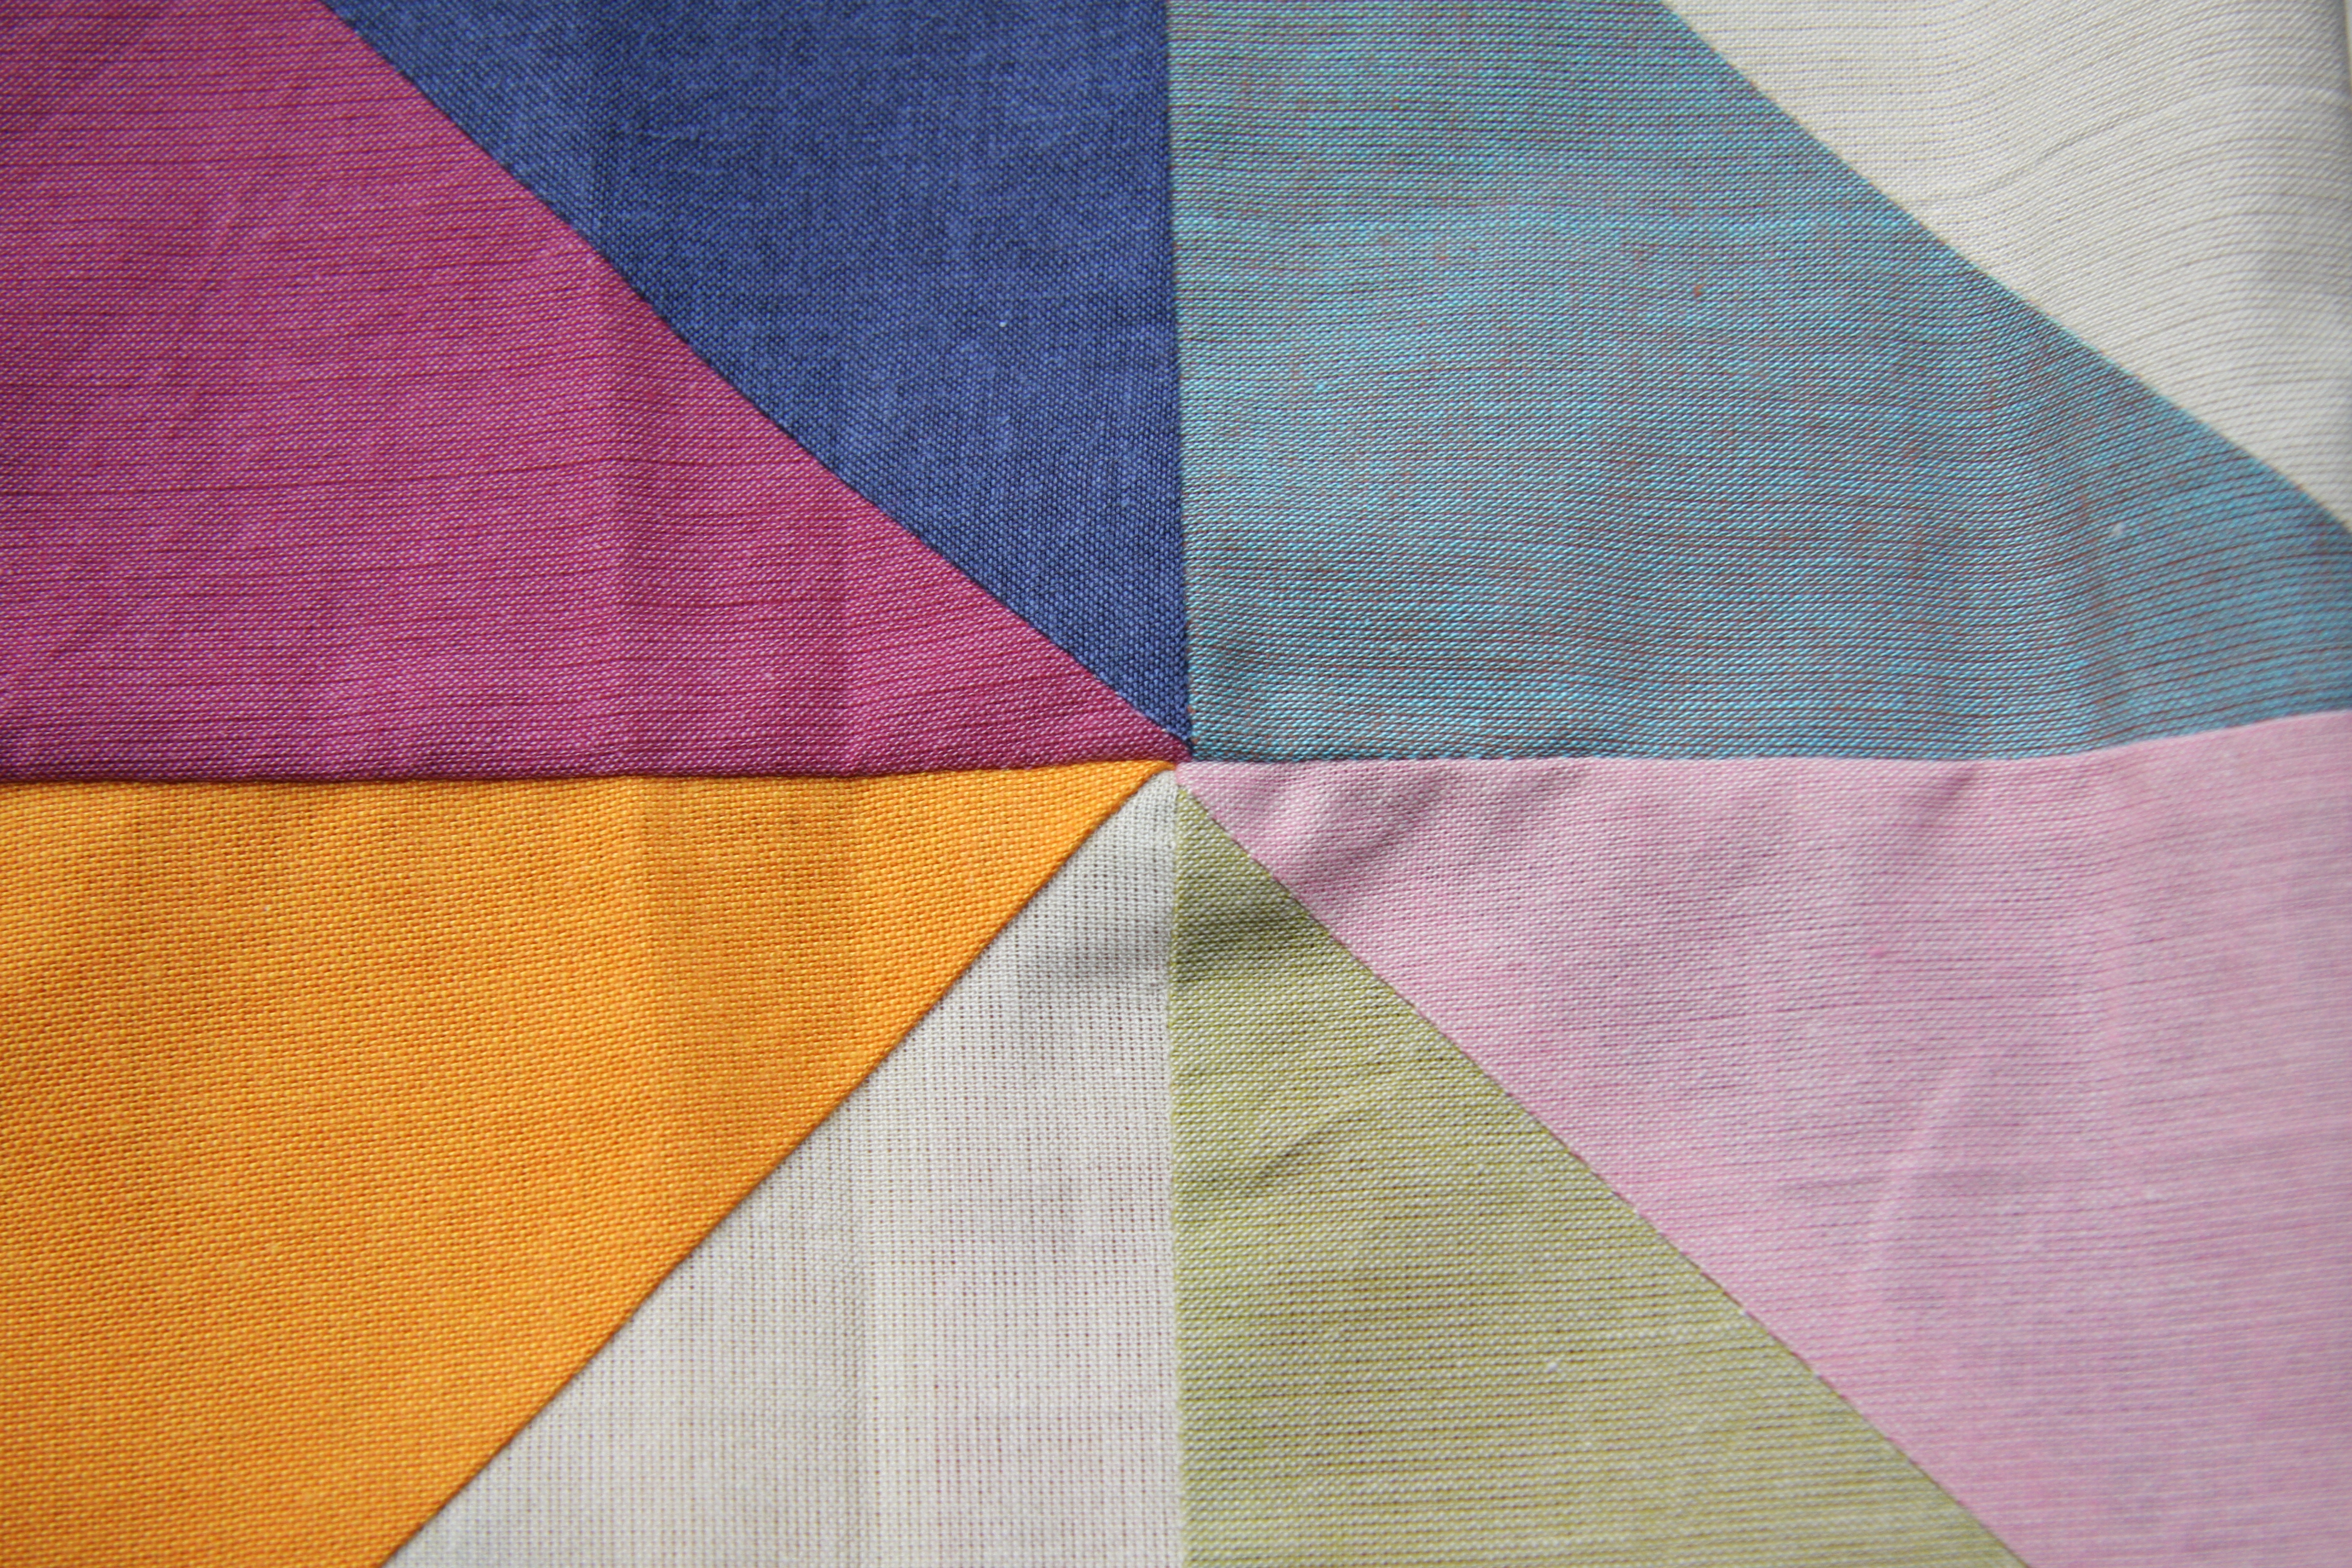
If it was more than a smidge, I got the seam ripper out and tried again!
You can also tell from some of these images that the intersections in some places are quilt bulky, thanks to the number of seams that are coming together. I think I should’ve been more careful about which direction my half-square triangles’ diagonal seams were pressed. I pressed them all before cutting down to 4.5″, which means the seams were all facing in different directions when I laid them all out in the final design. Perhaps then I should’ve re-pressed them in single directions depending on which row they were in? That seems like a lot of work! There must be an easier way, but I haven’t figured it out yet.
It’s just after midday here in Melbourne, so I better get busy!
Pixeling
I’m a big fan of using geometric shapes to make whole pictures. Back in high-school art class, I made a huge portrait out of simple shaded squares (I’ll post a pic if I can ever dig one out).
Of course, the same idea has huge potential for quilt-making. Quilting’s all about sewing squares together! (Well, it is for me, at least so far.)
I love this rooster quilt from Elena Chipara. The squares — all 1100 of them — are 2 cm and have been pieced together, then sewn to a backing fabric. How awesome would that look as a bedspread or wall hanging?

I saw The Tenth in a magazine and cut it out and saved the picture… then found it online. Even though I’m not a Dr Who fan, it’s hard not to love this quilt.
![]()
Kristy Daum combined strips and squares of Kona Cotton Solids to create her masterpiece. I think the finished size of the squares is 1″ and the quilt top measured 70″ x 100″, so… that’s a lot of squares. Go Kristy!
Finally, if Kristy’s posts on pixeling don’t make it sound easy enough, check out the Victoria & Albert Museum’s free Patchwork Pattern Maker. Upload an image (or choose from their gallery of pics), select your format, colours and pattern complexity, and voila! Out pops your pattern. The options aren’t extensive, but it looks like a quick and easy way to get started on a pixelated quilt. [23 July 2023 update: Unfortunately it looks like the V&A tool isn’t available anymore.]
I want to try something like this soon (after the other 3 quilts I already have in my head…). I have no idea what picture I’ll use though. When I figure it out, I’ll post updates on my progress!
