Tagged: paper piecing
Sunday sketch #199
So while playing around with the double-HRT block from Sunday sketch #198, I noticed a shape that I quite liked: two triangles back to back, creating a parallelogram. I wanted to set that in a larger rectangle and extend the line between the triangles to the corners of the block. It didn’t take long to use paper and EQ8 to create what I had in mind.

I originally designed the block in a landscape orientation, then decided I liked how this looked vertical – almost architectural. Like windows on a skyscraper, with the sun angled down, creating shadows.
The secondary lines that arise from this layout present loads of opportunities for colour play. I created a bunch of related designs in EQ8 just by rotating the blocks and colouring them slightly differently. Watch out for a few more in the coming weeks.
To make this design into a quilt pattern, it would probably be best to use paper piecing to ensure that you got the angles right. I’m going to add this one to the (long) list of designs I’d really like to try making one of these days.
Sunday sketch #186
I love designing block-based quilts, and I love it even more if I can design a block with borders that aren’t visible. In other words, you can’t easily tell where one block ends and the next one begins. That sort of ‘borderlessness’ usually requires colour / fabric to provide a bridge between blocks. I was happy with how Northern Lights (which I renamed ‘Cloudburst’ for QuiltCon submission) achieved that, but I’m still try to recreate the effect.
This week’s two-colour design uses a single block repeated 16 times. They’re all coloured in exactly the same way, but every second one faces the opposite direction (i.e. rotated 180 degrees from the ones next to it).

The design ends up looking a bit like a DNA helix on an angle, with the positive and negative spaces taking on a similar form.

Using different colours for the blocks helps to show the borders between them.

Like Northern Lights / Cloudburst, this design would probably be easiest to make into a quilt using paper piecing to get the accuracy needed.
Sunday sketch #180
One of the artists I follow on Instagram is Stanislaw Wilczynski (@digimatism). He’s a tattoo artist, based in Moscow, who combines suprematism, minimalism and composition to create ‘digimatism’: “pure, non-evocative, abstract shapes created by means of digital technologies”. Basically, simple yet stunning geometric tattoos. Some of his designs use small angled lines repeated (apparently) at random, which inspired me to create this week’s design.
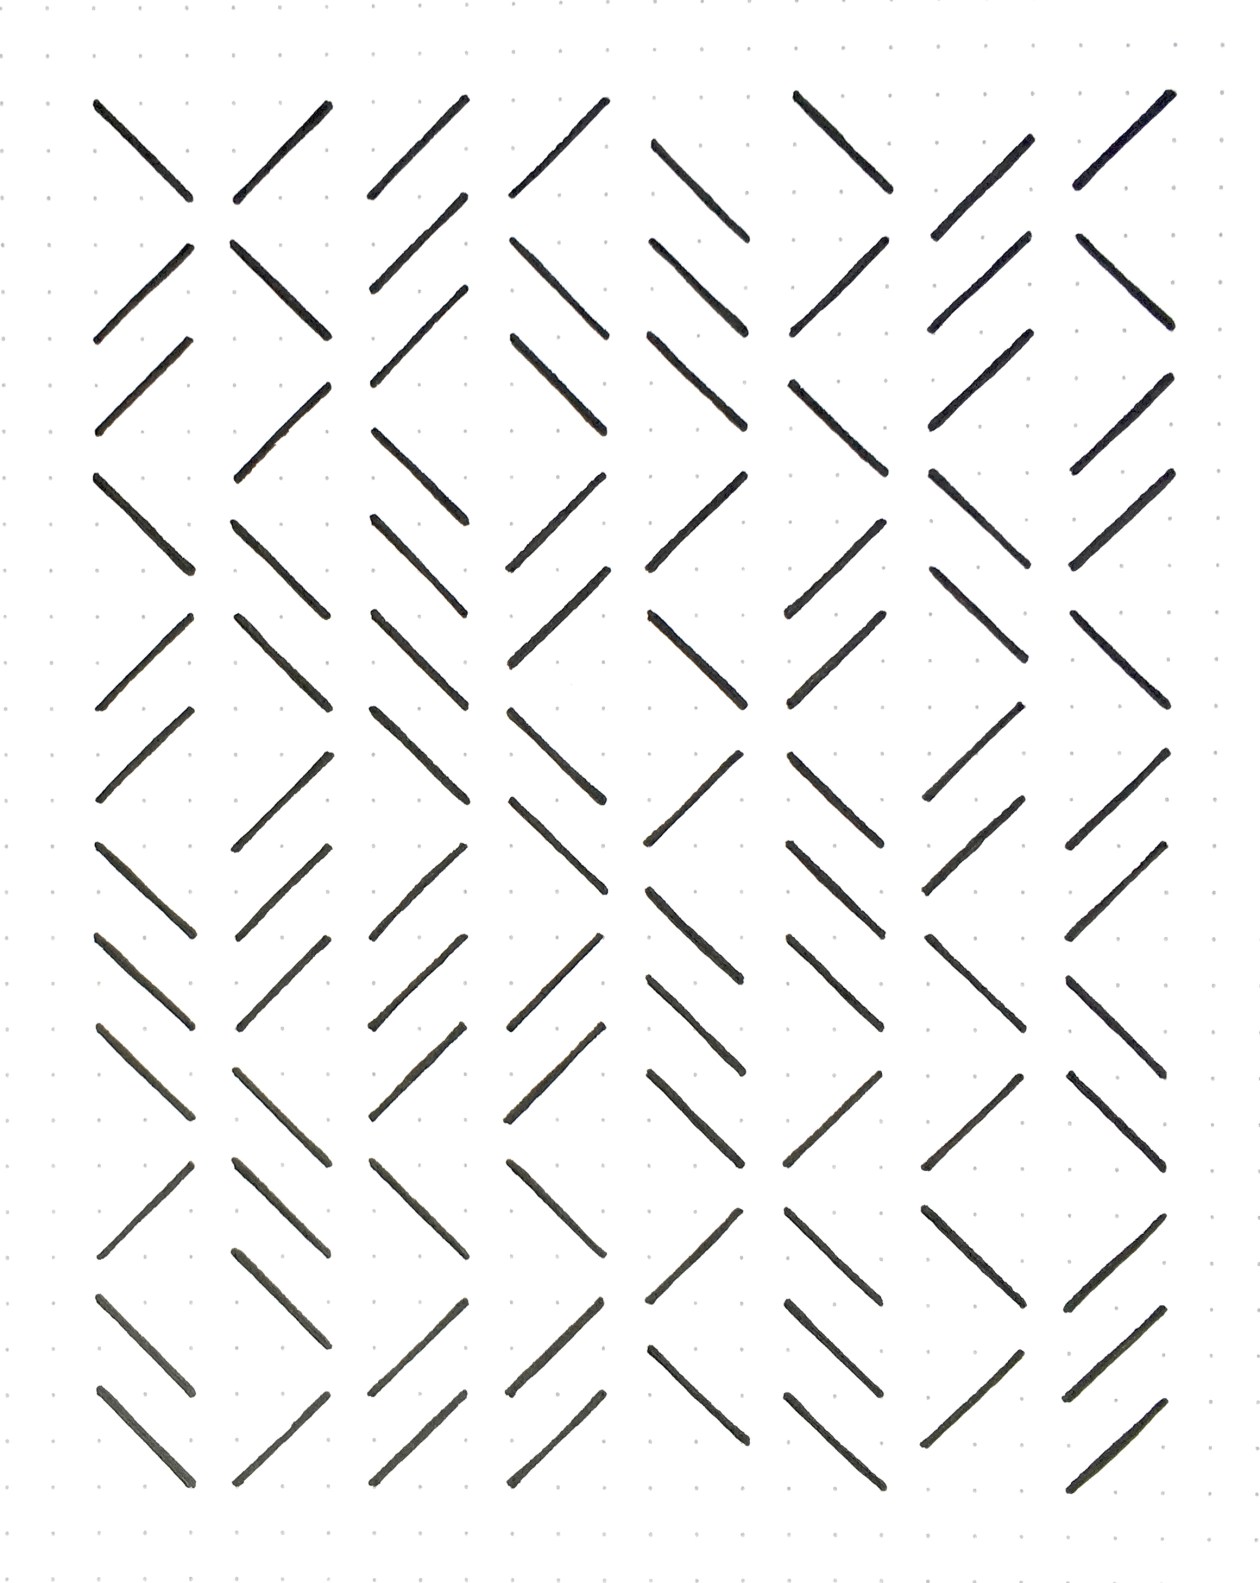
This design could be pieced fairly easily by designing a 2 x 2 block with a diagonal stripe down the middle (maybe using paper piecing for accuracy). Rotating the block would allow you to change the direction of the stripe, and the blank spaces between some of the stripes could be achieved by adding 2 x 1 rectangles between the blocks. The blocks are arranged in columns, which could be separated with sashing.
I decided to play around with the design a bit more, adding a few more lines in.
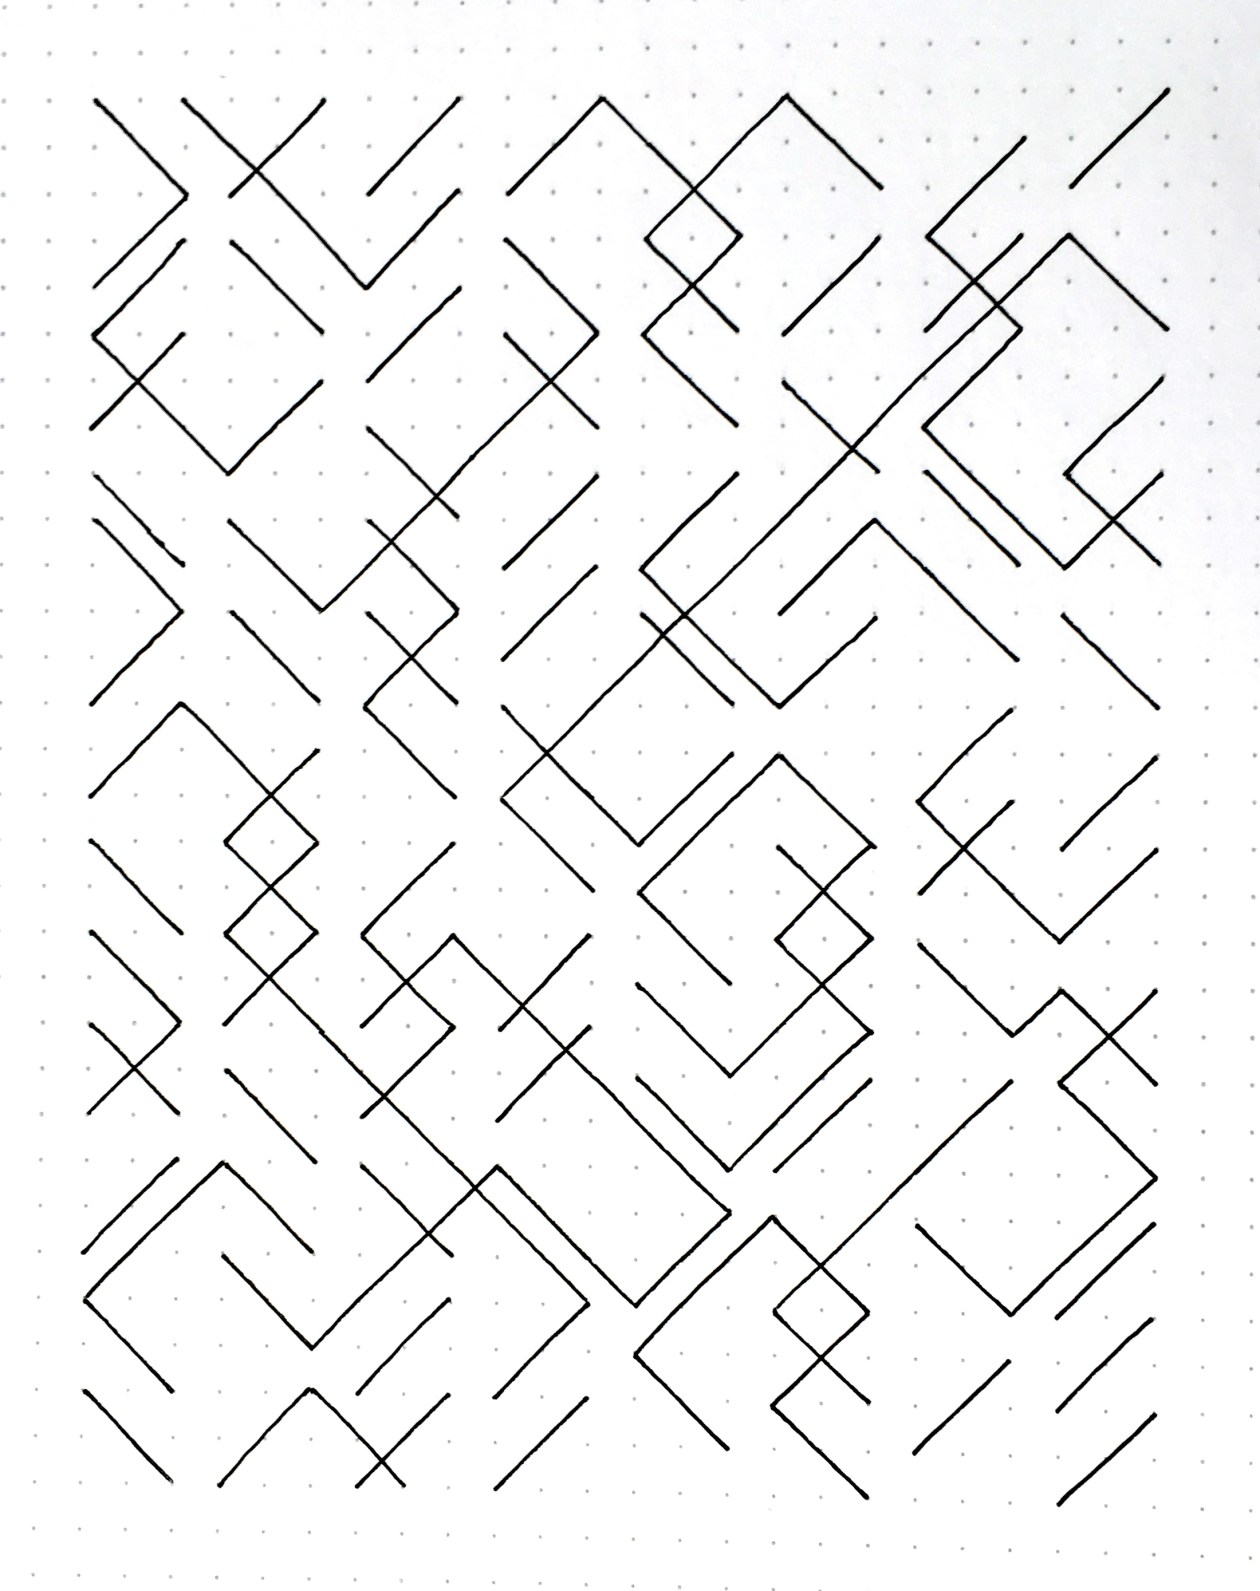
I set myself a rule for adding lines: each new line had to be perpendicular to the two lines it was connecting. I didn’t want any angles other than right angles in there. Not every line is joined up with another; I tried to balance the length and position of the new joins across the whole design. Although I can see some areas that are busier than others.
Like the first design, this one could be made into a quilt using paper-piecing – although it could be pretty cumbersome and time-consuming to figure out all the different blocks and their placement. Perhaps it’s just useful as a thought experiment instead 🙂
