Sunday sketch #478
A fun and energetic design this week, with a bit of room for colour play!
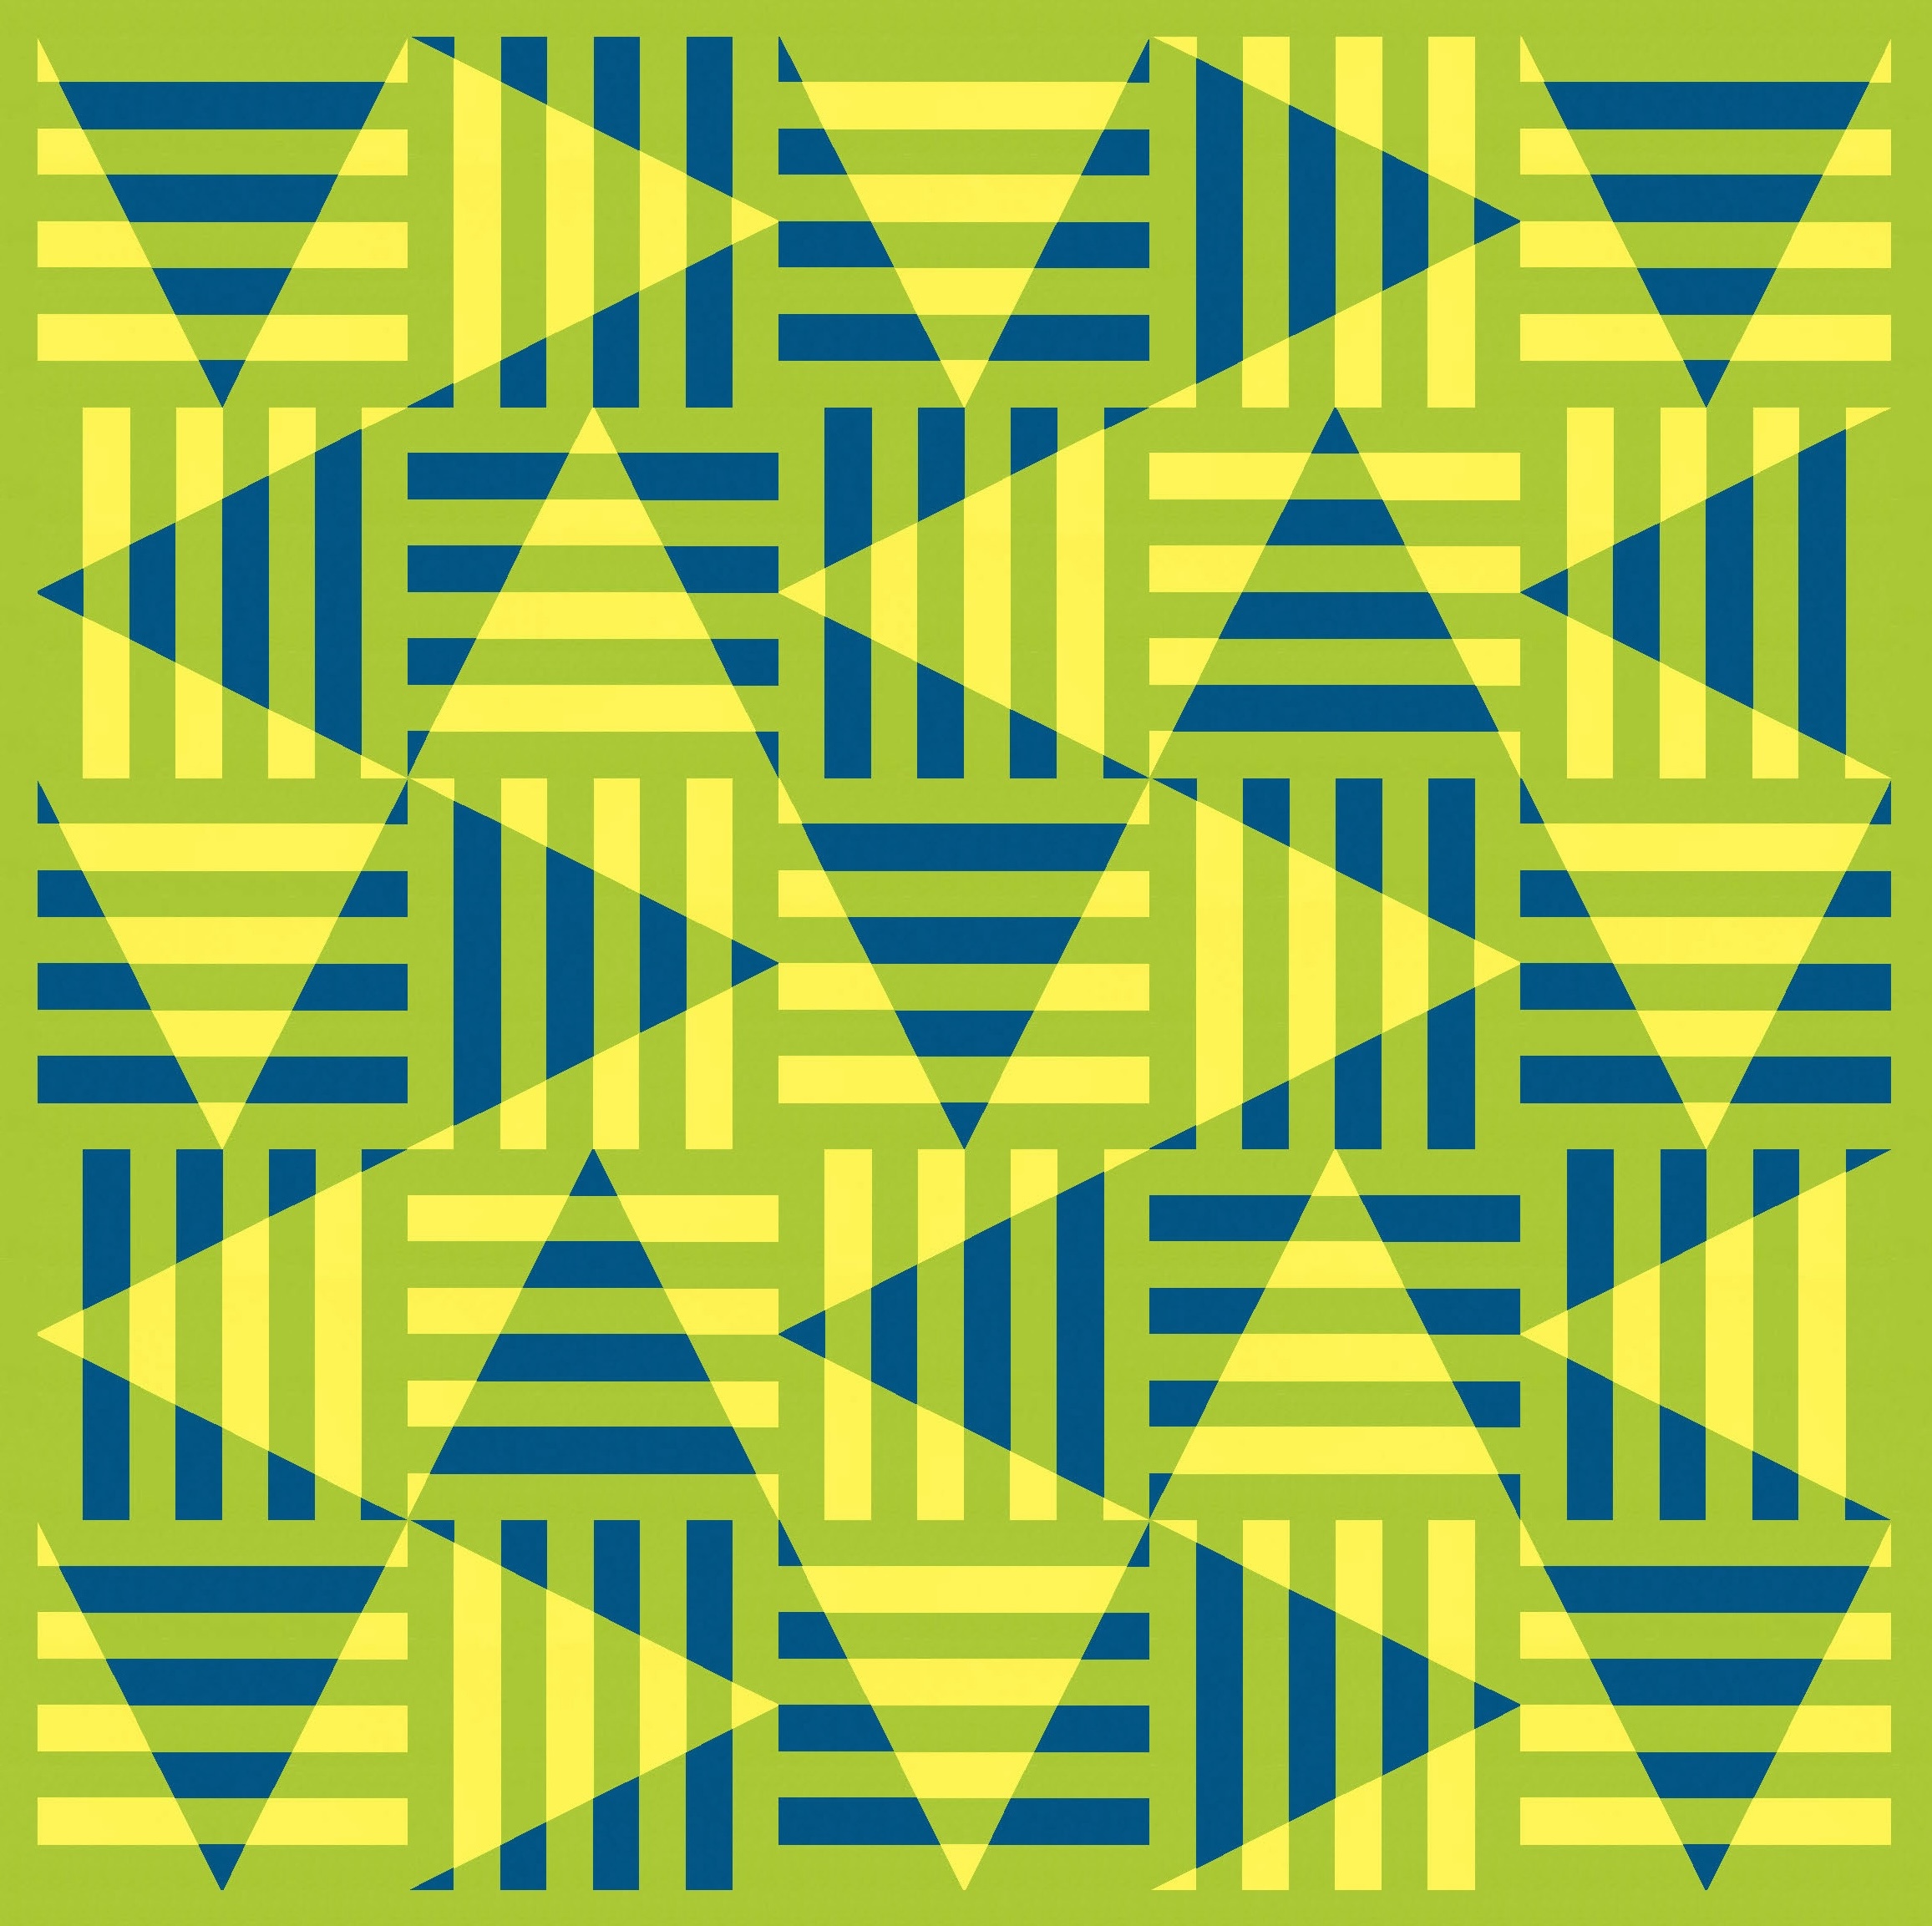
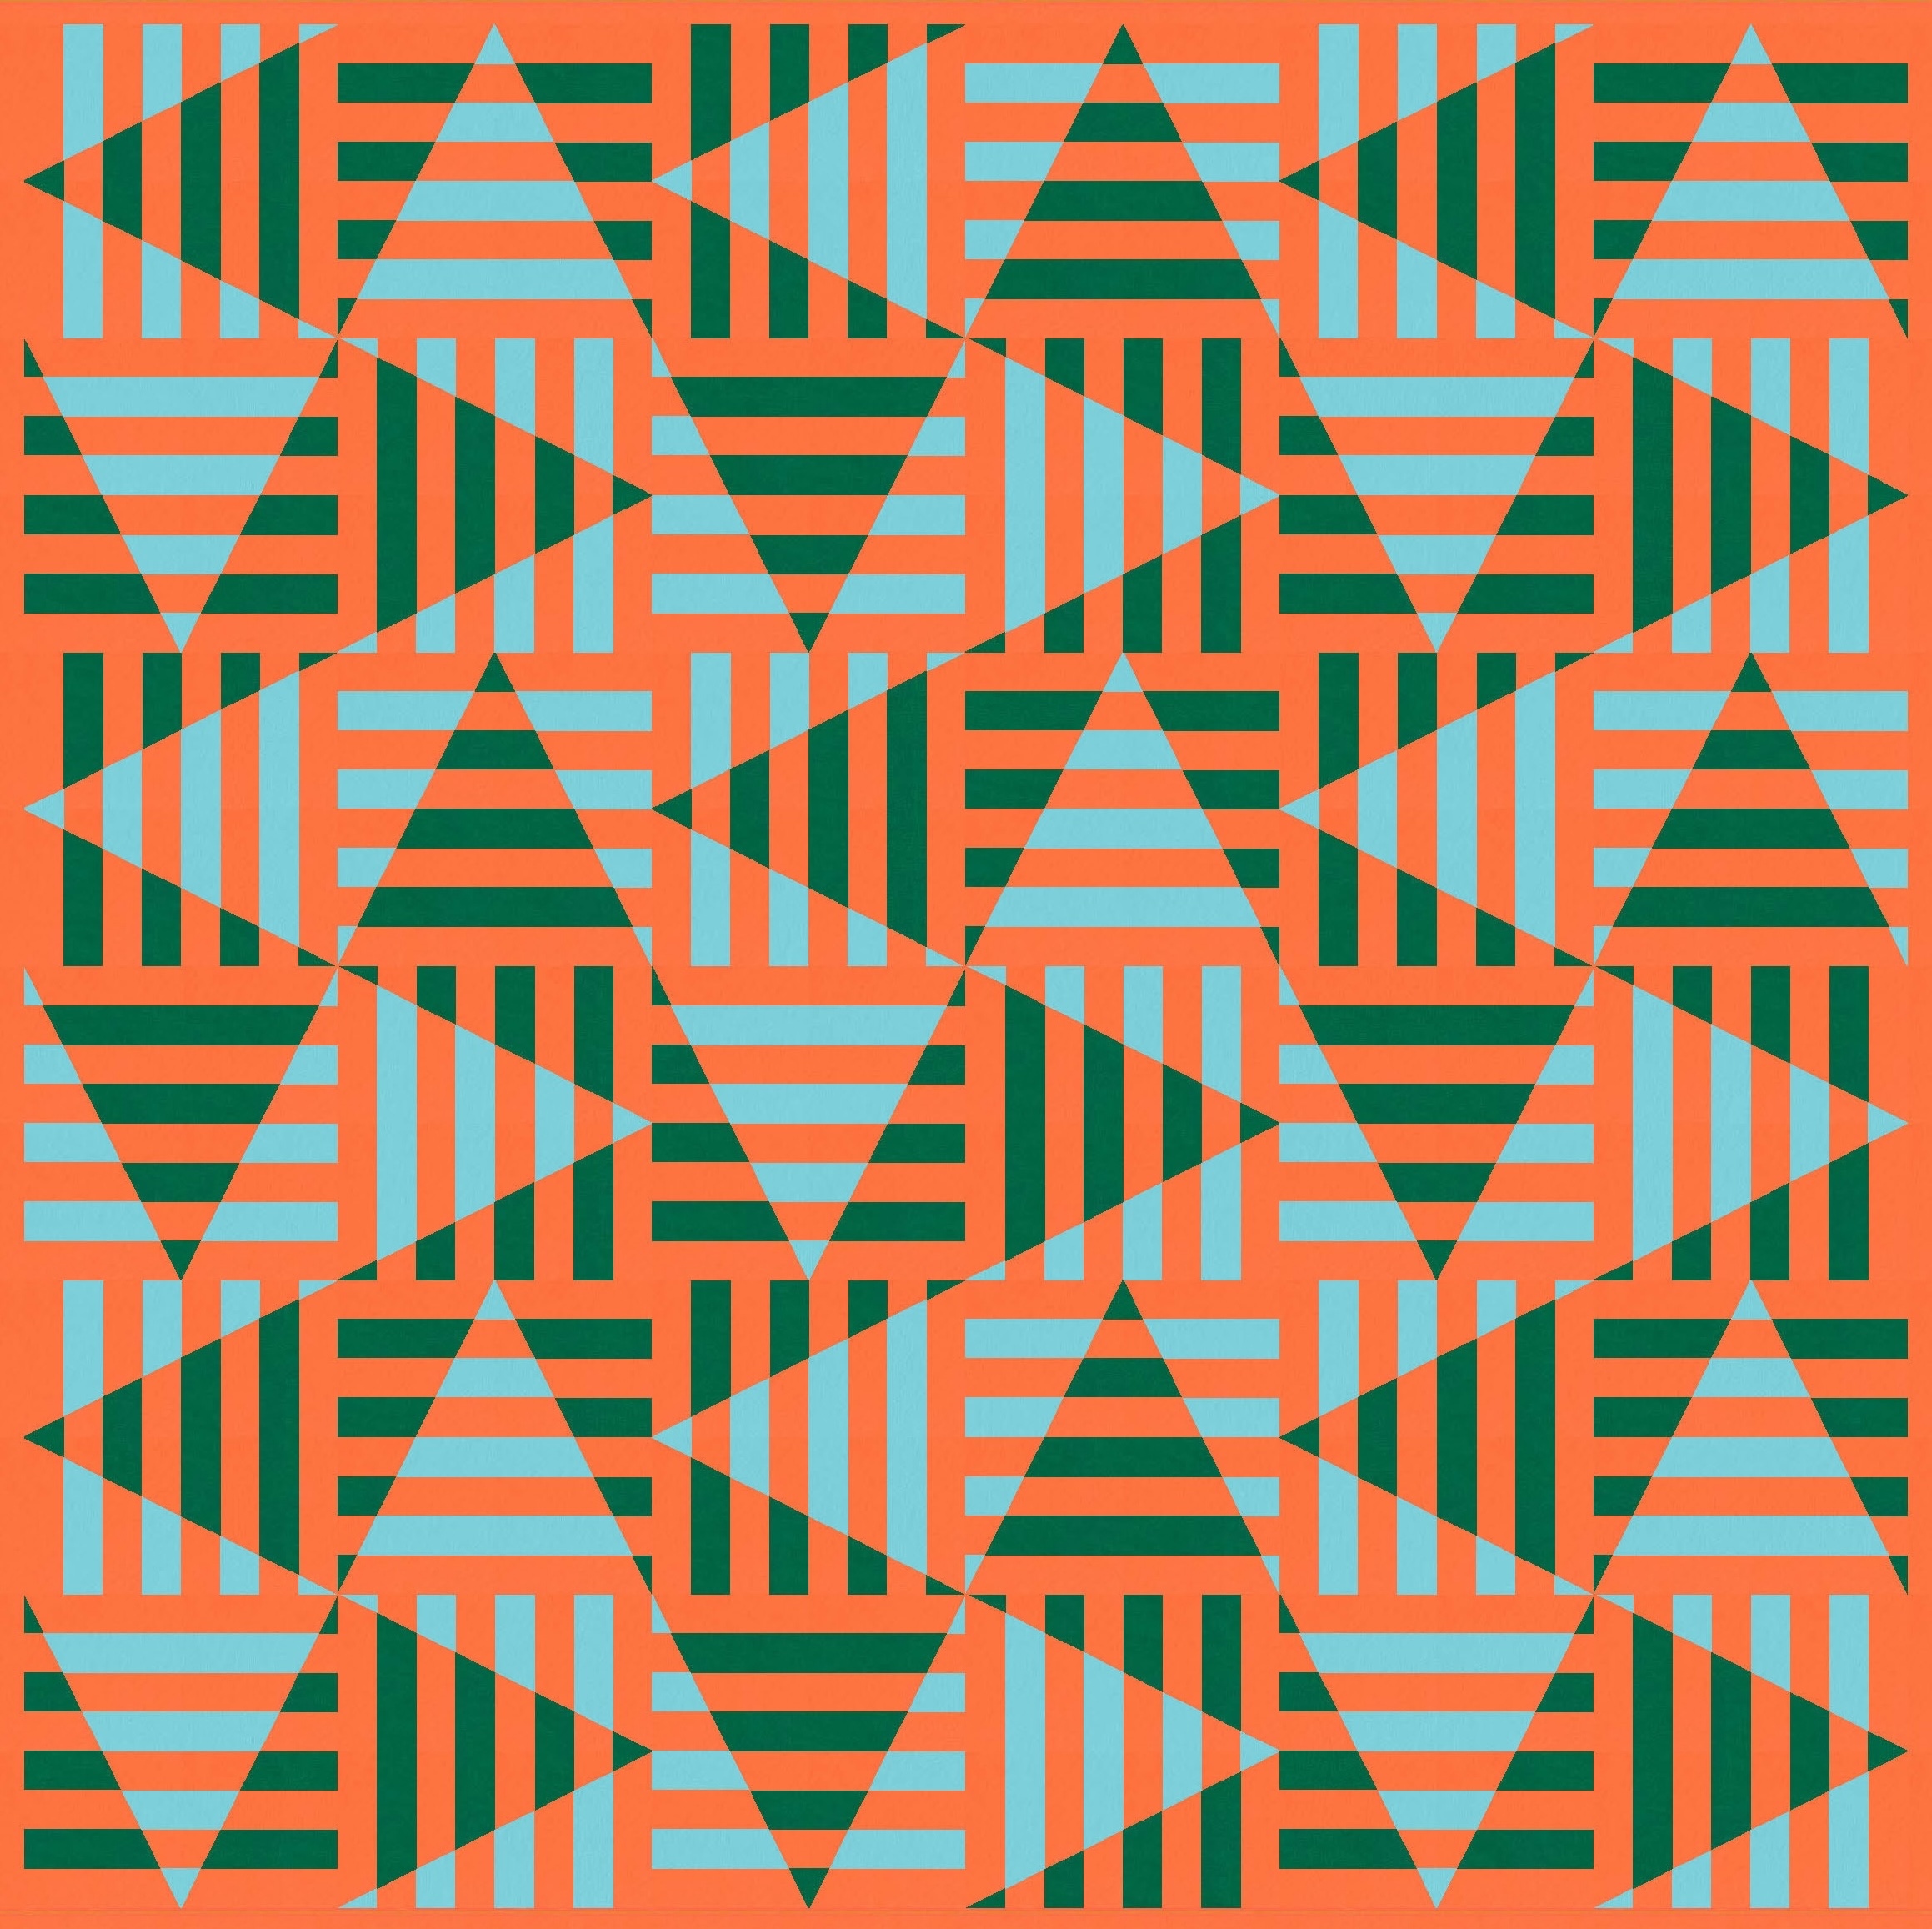
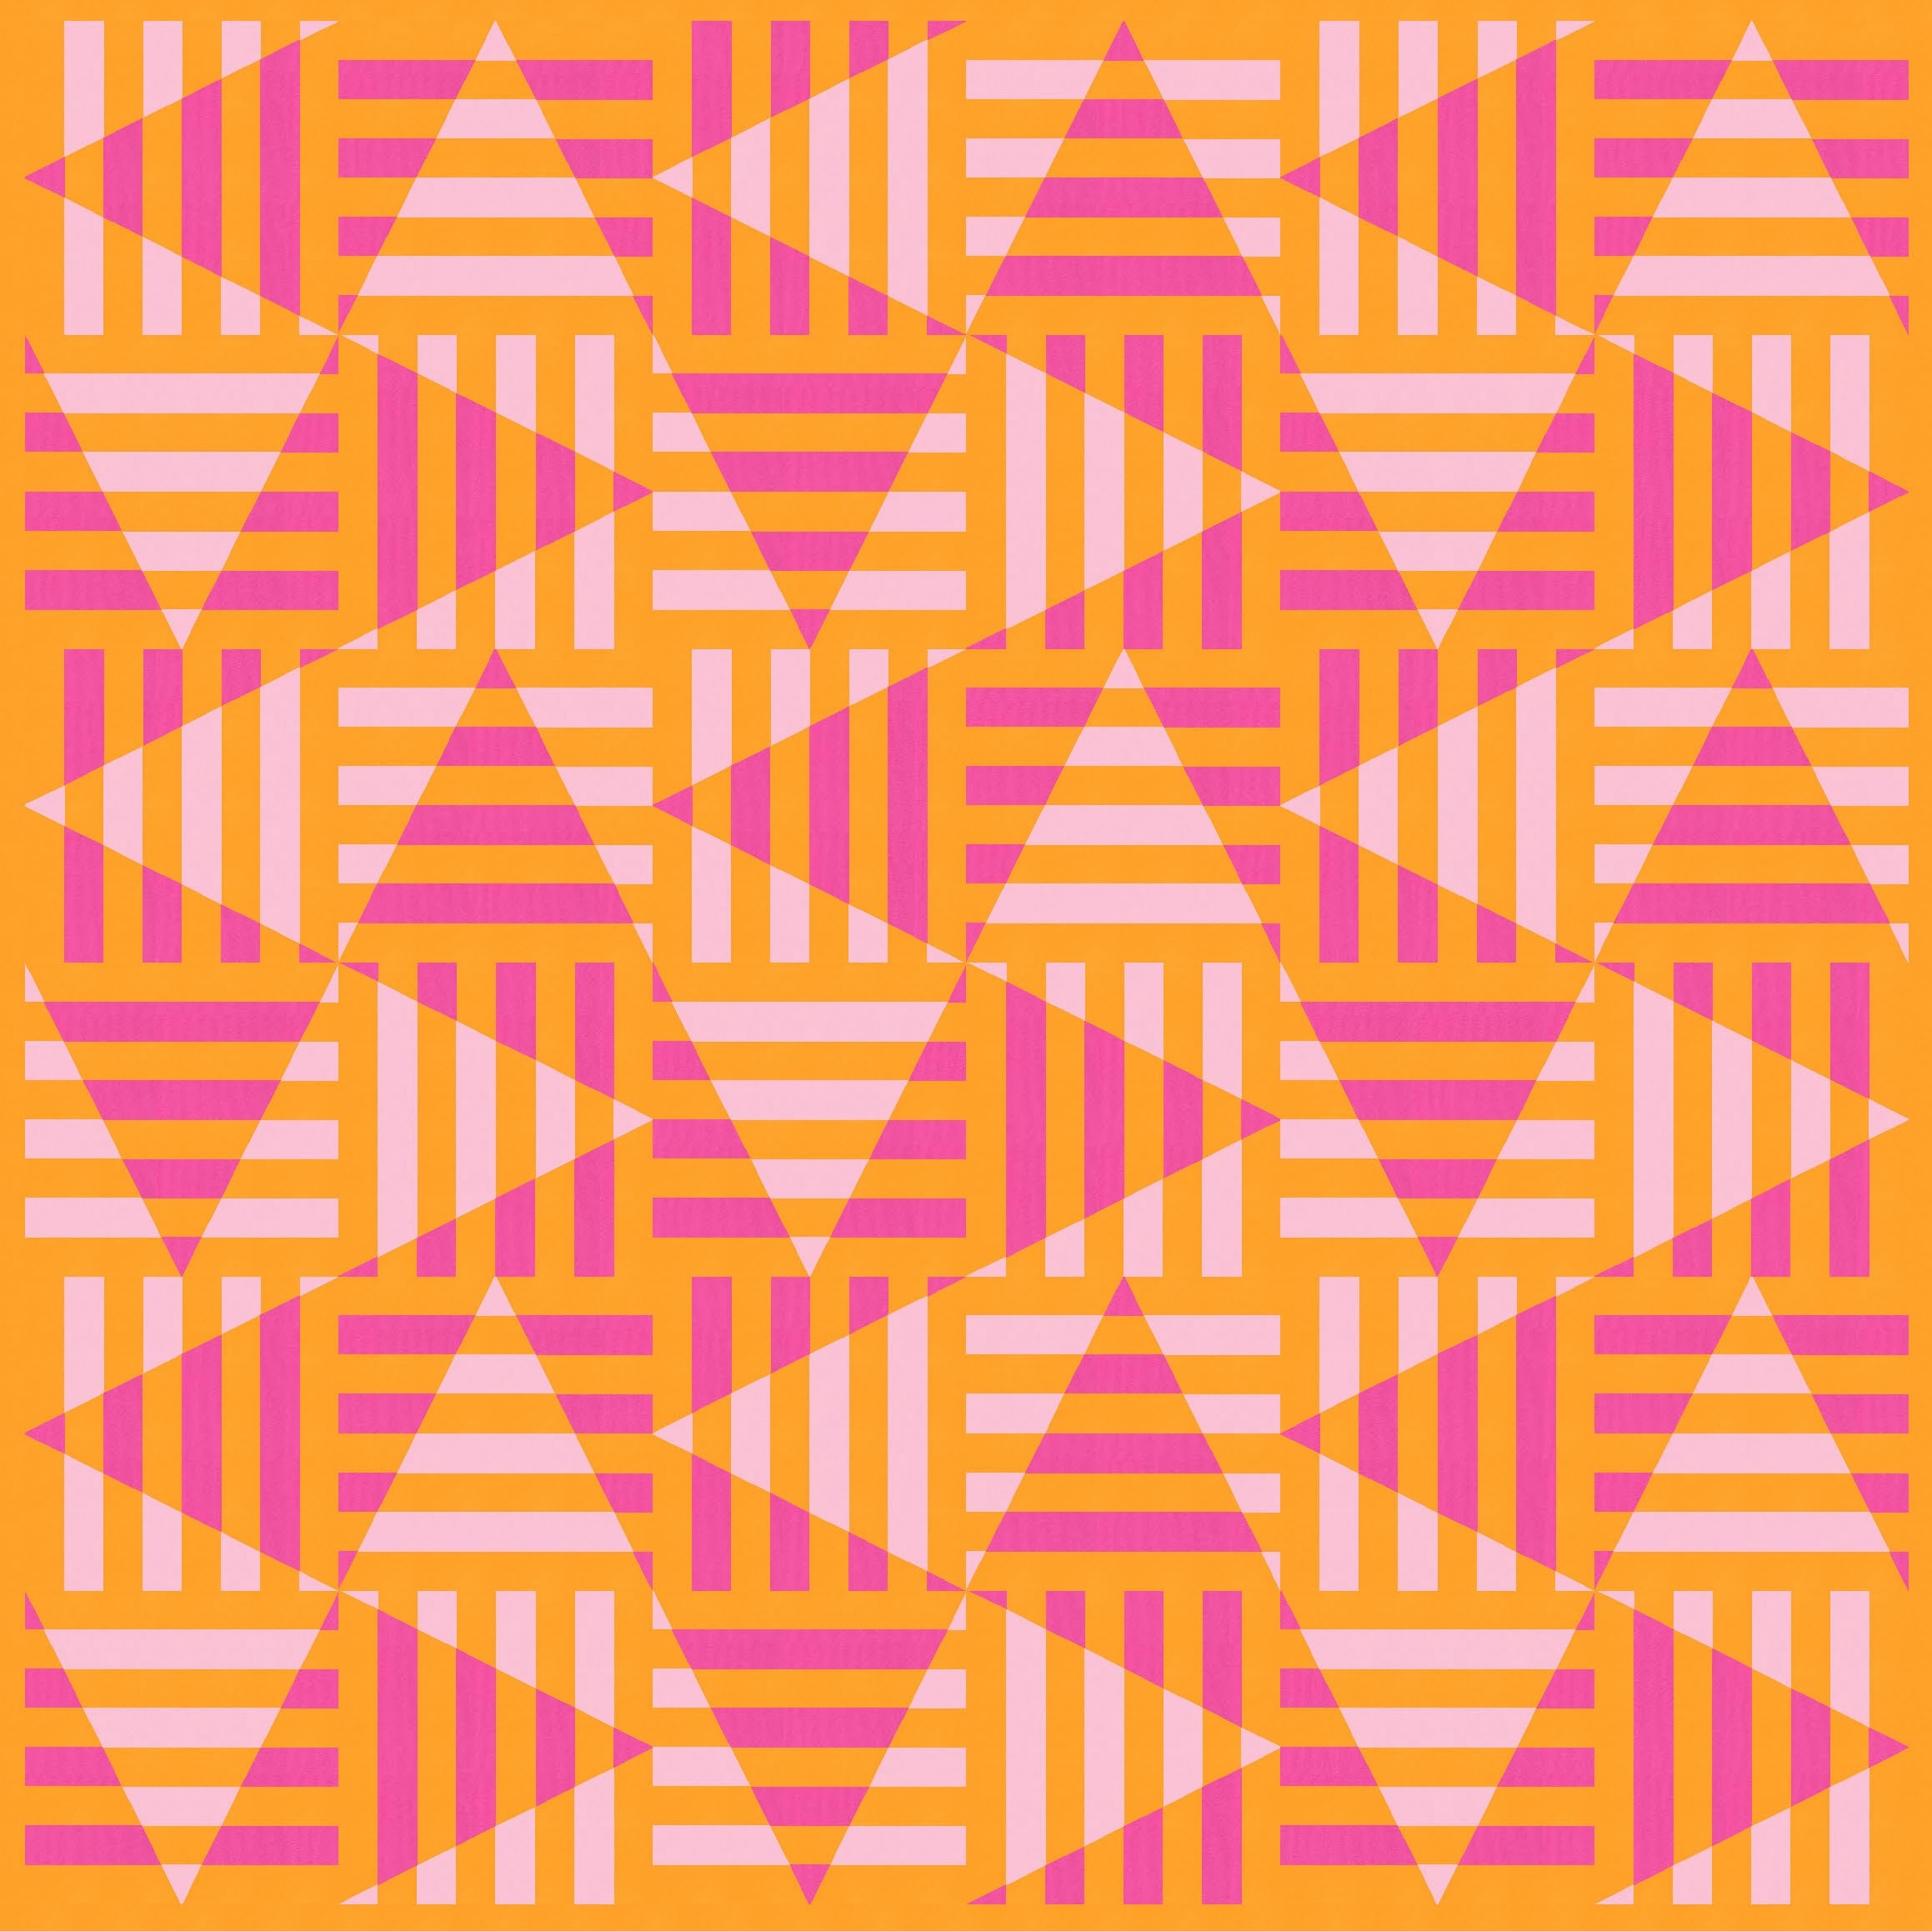
I started out with a 5 × 5 layout of blocks in only two colours. The zig-zaggy lines formed within and between the blocks are a little less obvious than in the three-colour version above. But as soon as I saw them, I knew this design had potential!

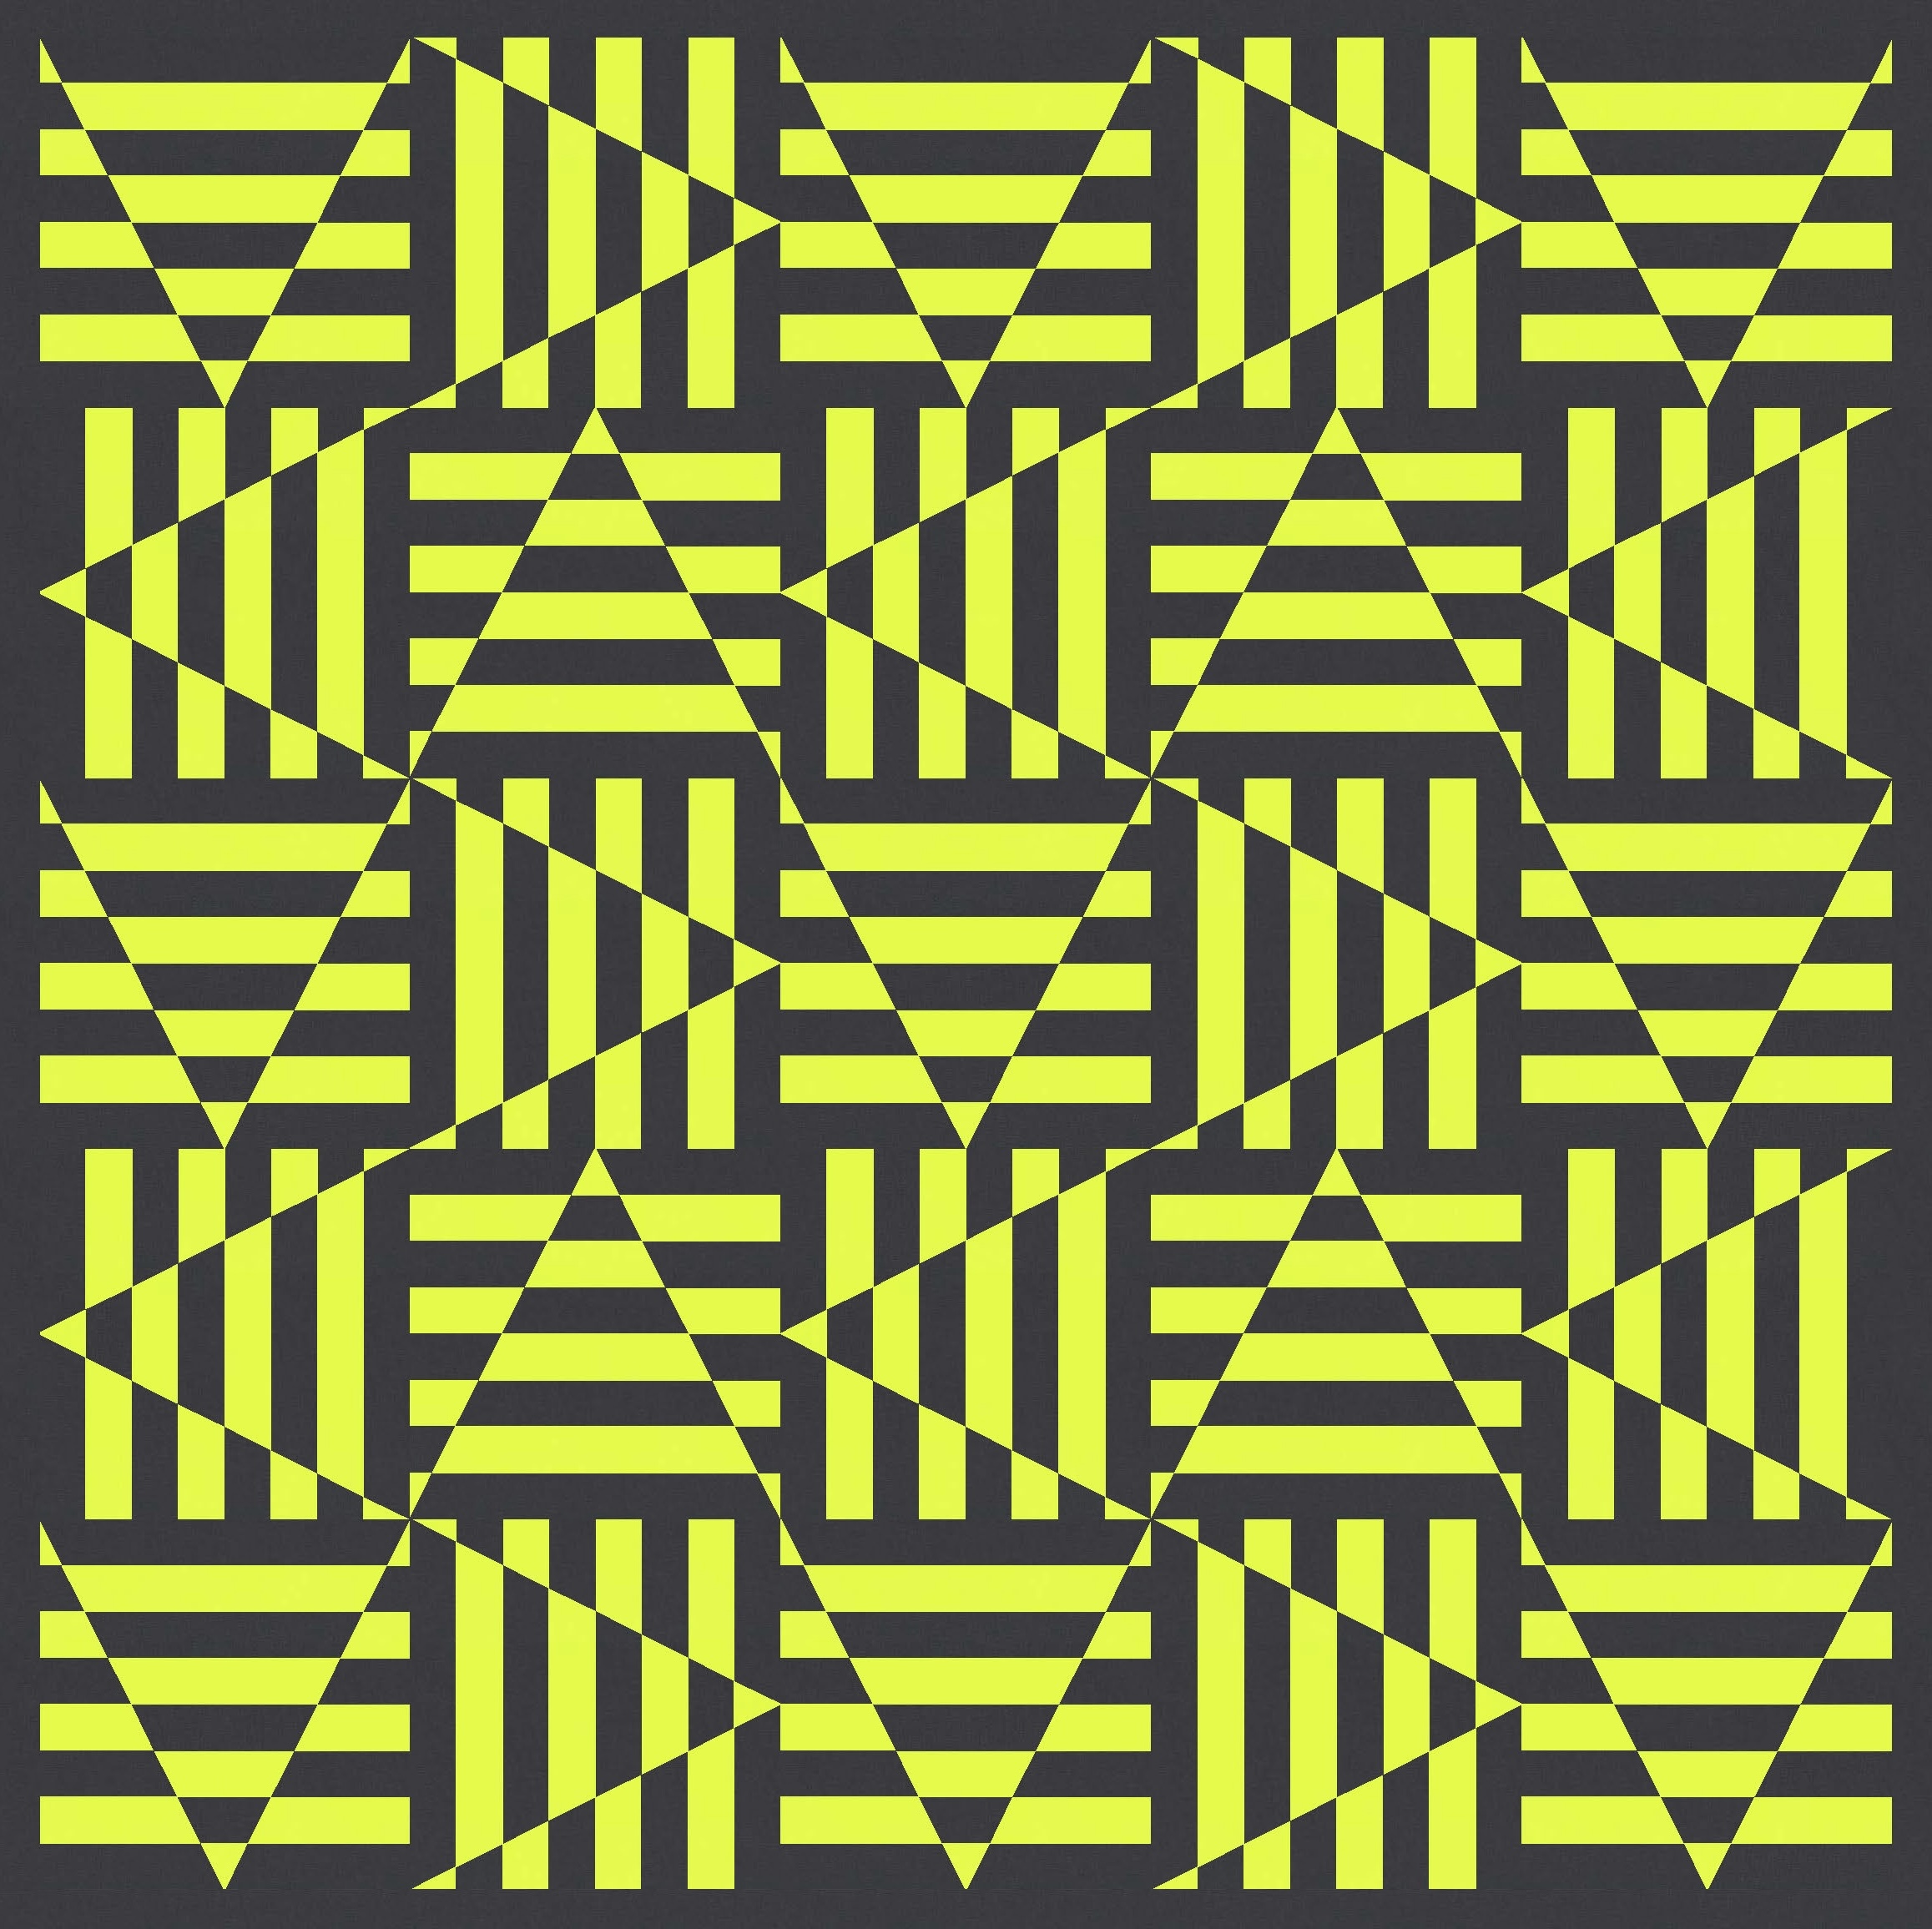

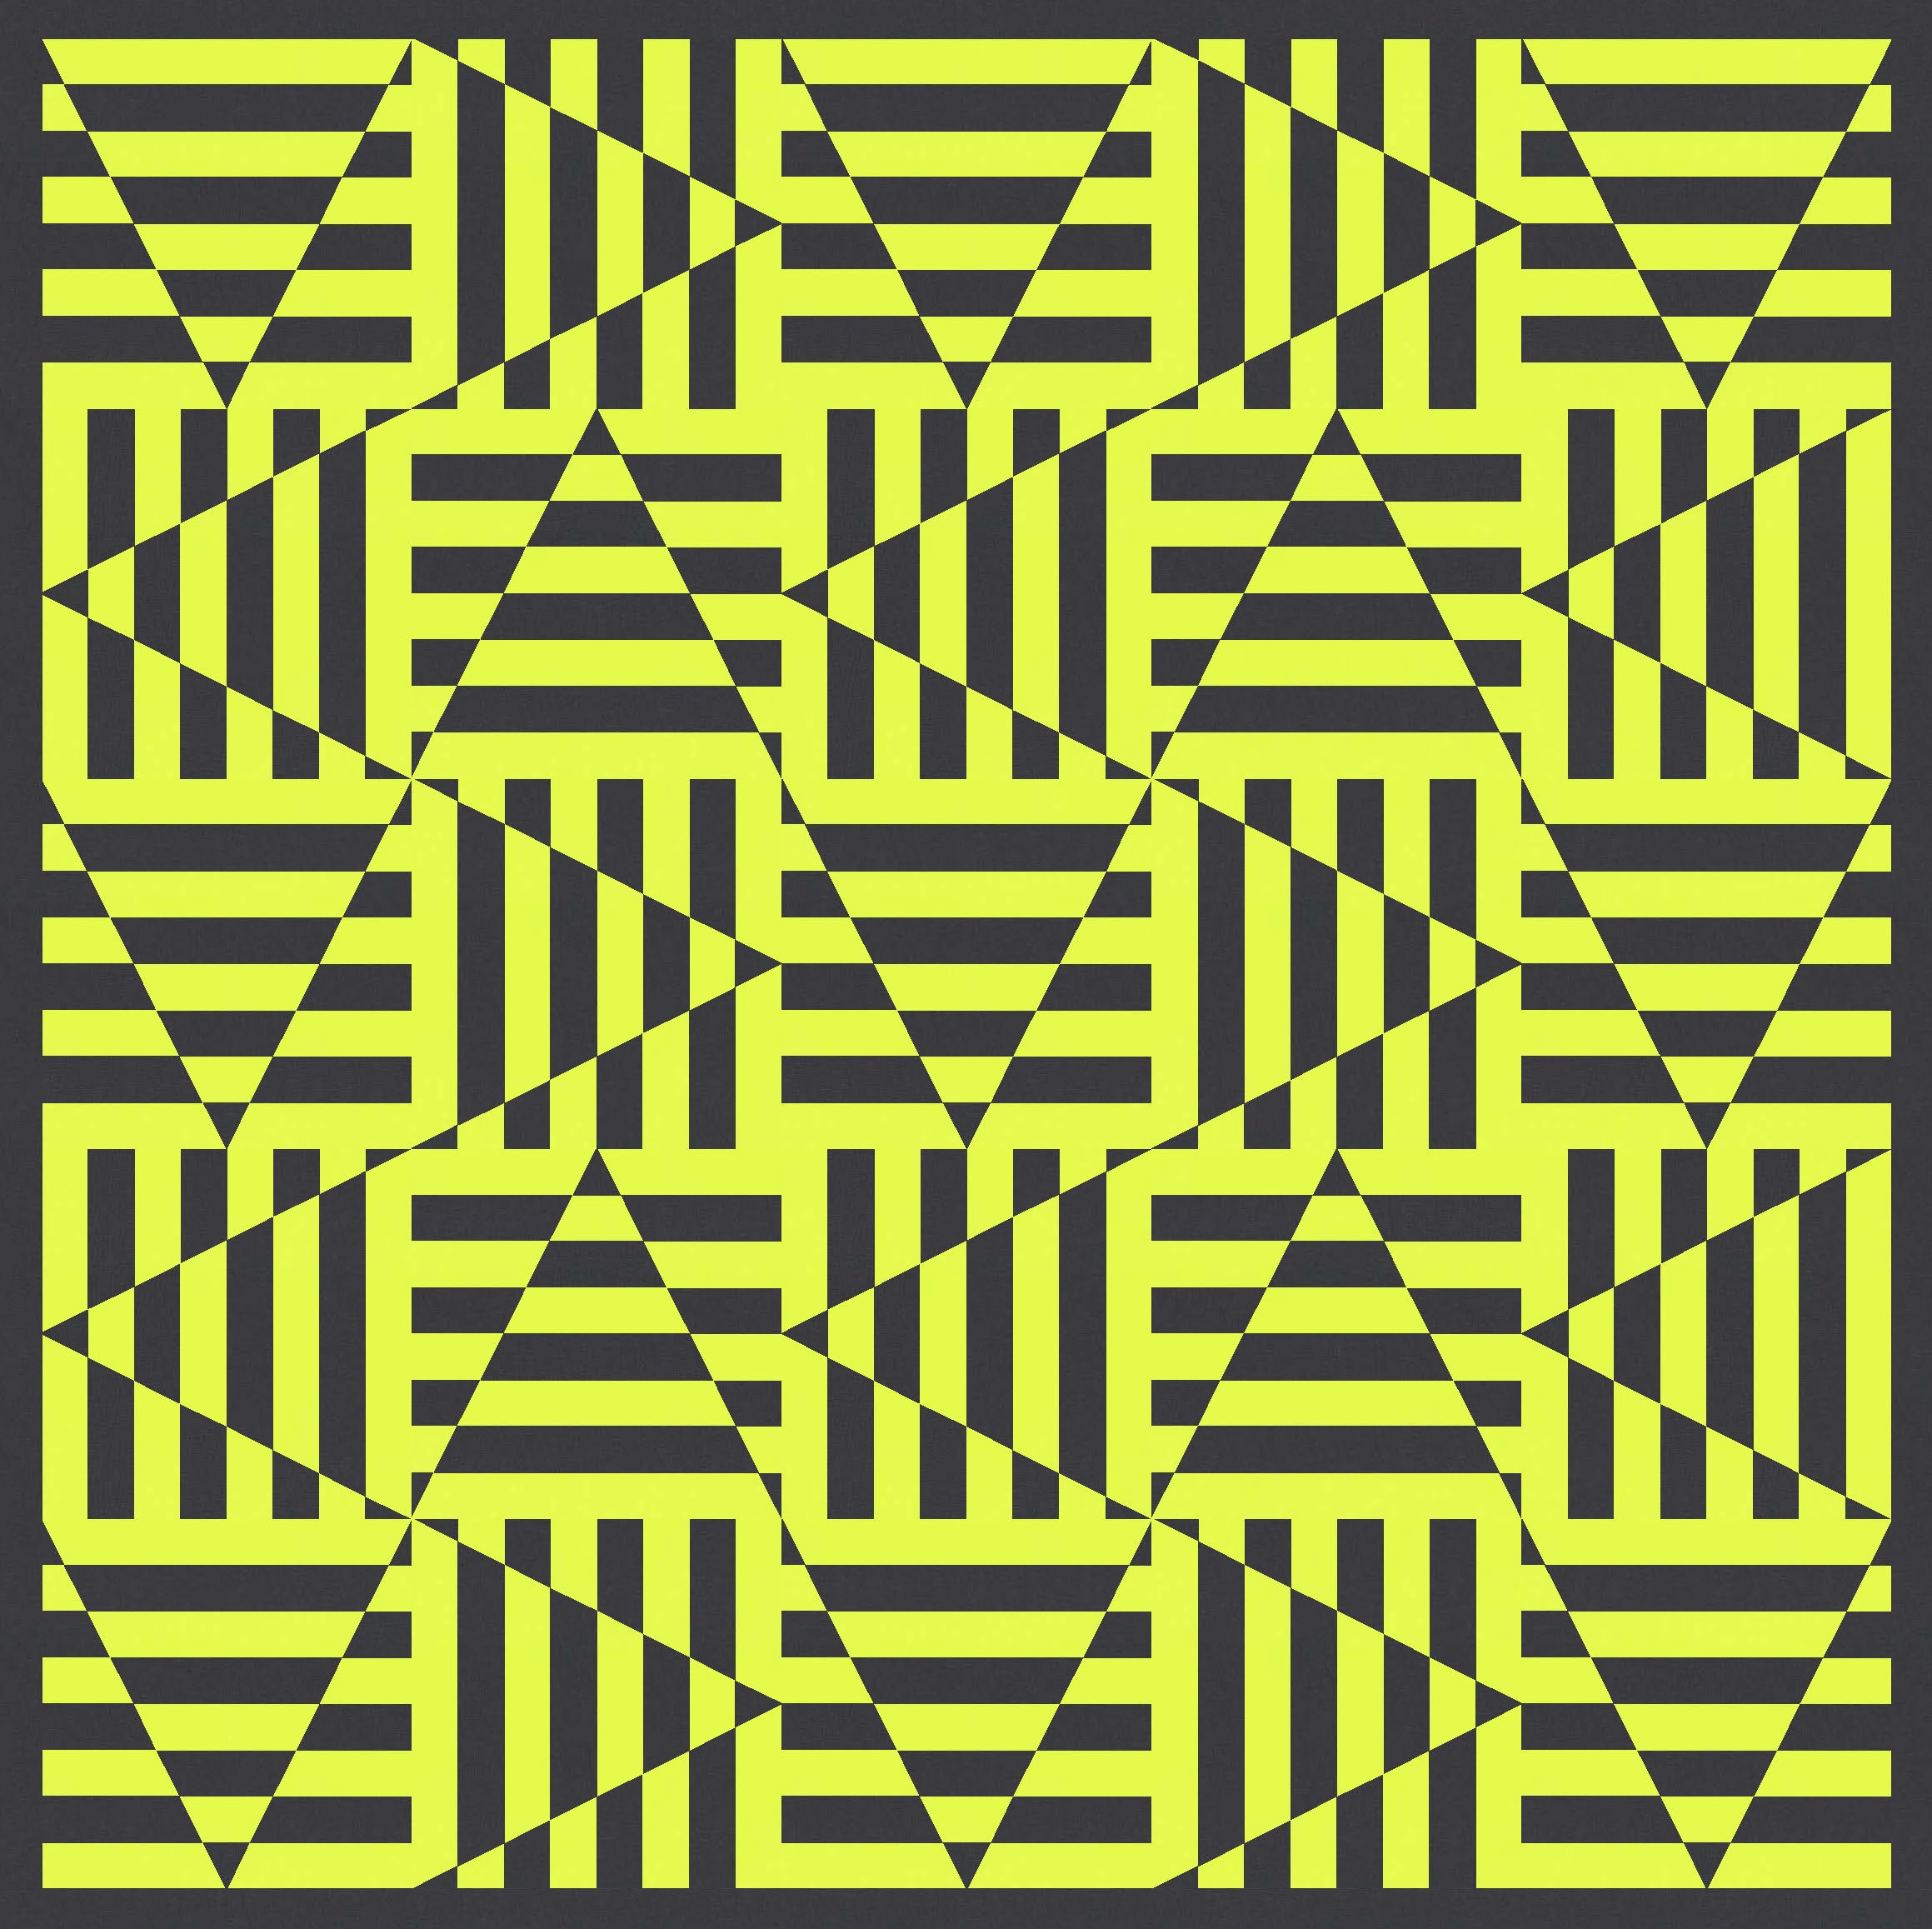
Note that the only difference in those four versions above is the colour placement and the border colour. (A border isn’t strictly necessary, but I do like blocks to have a bit of space to breathe at the edges of a design.) In the top row, the stripes are coloured so that the tips of the triangle are all yellow; the only difference between the left and right versions is the colour of the border. Similarly, in the bottom row the triangles are all tipped in black, and only the border changes from yellow (left) to black (right). Isn’t that funny what a difference those two changes makes?
Honestly, I could’ve stopped there – I love how punchy and fun this design feels!
But of course, I kept going 🙂
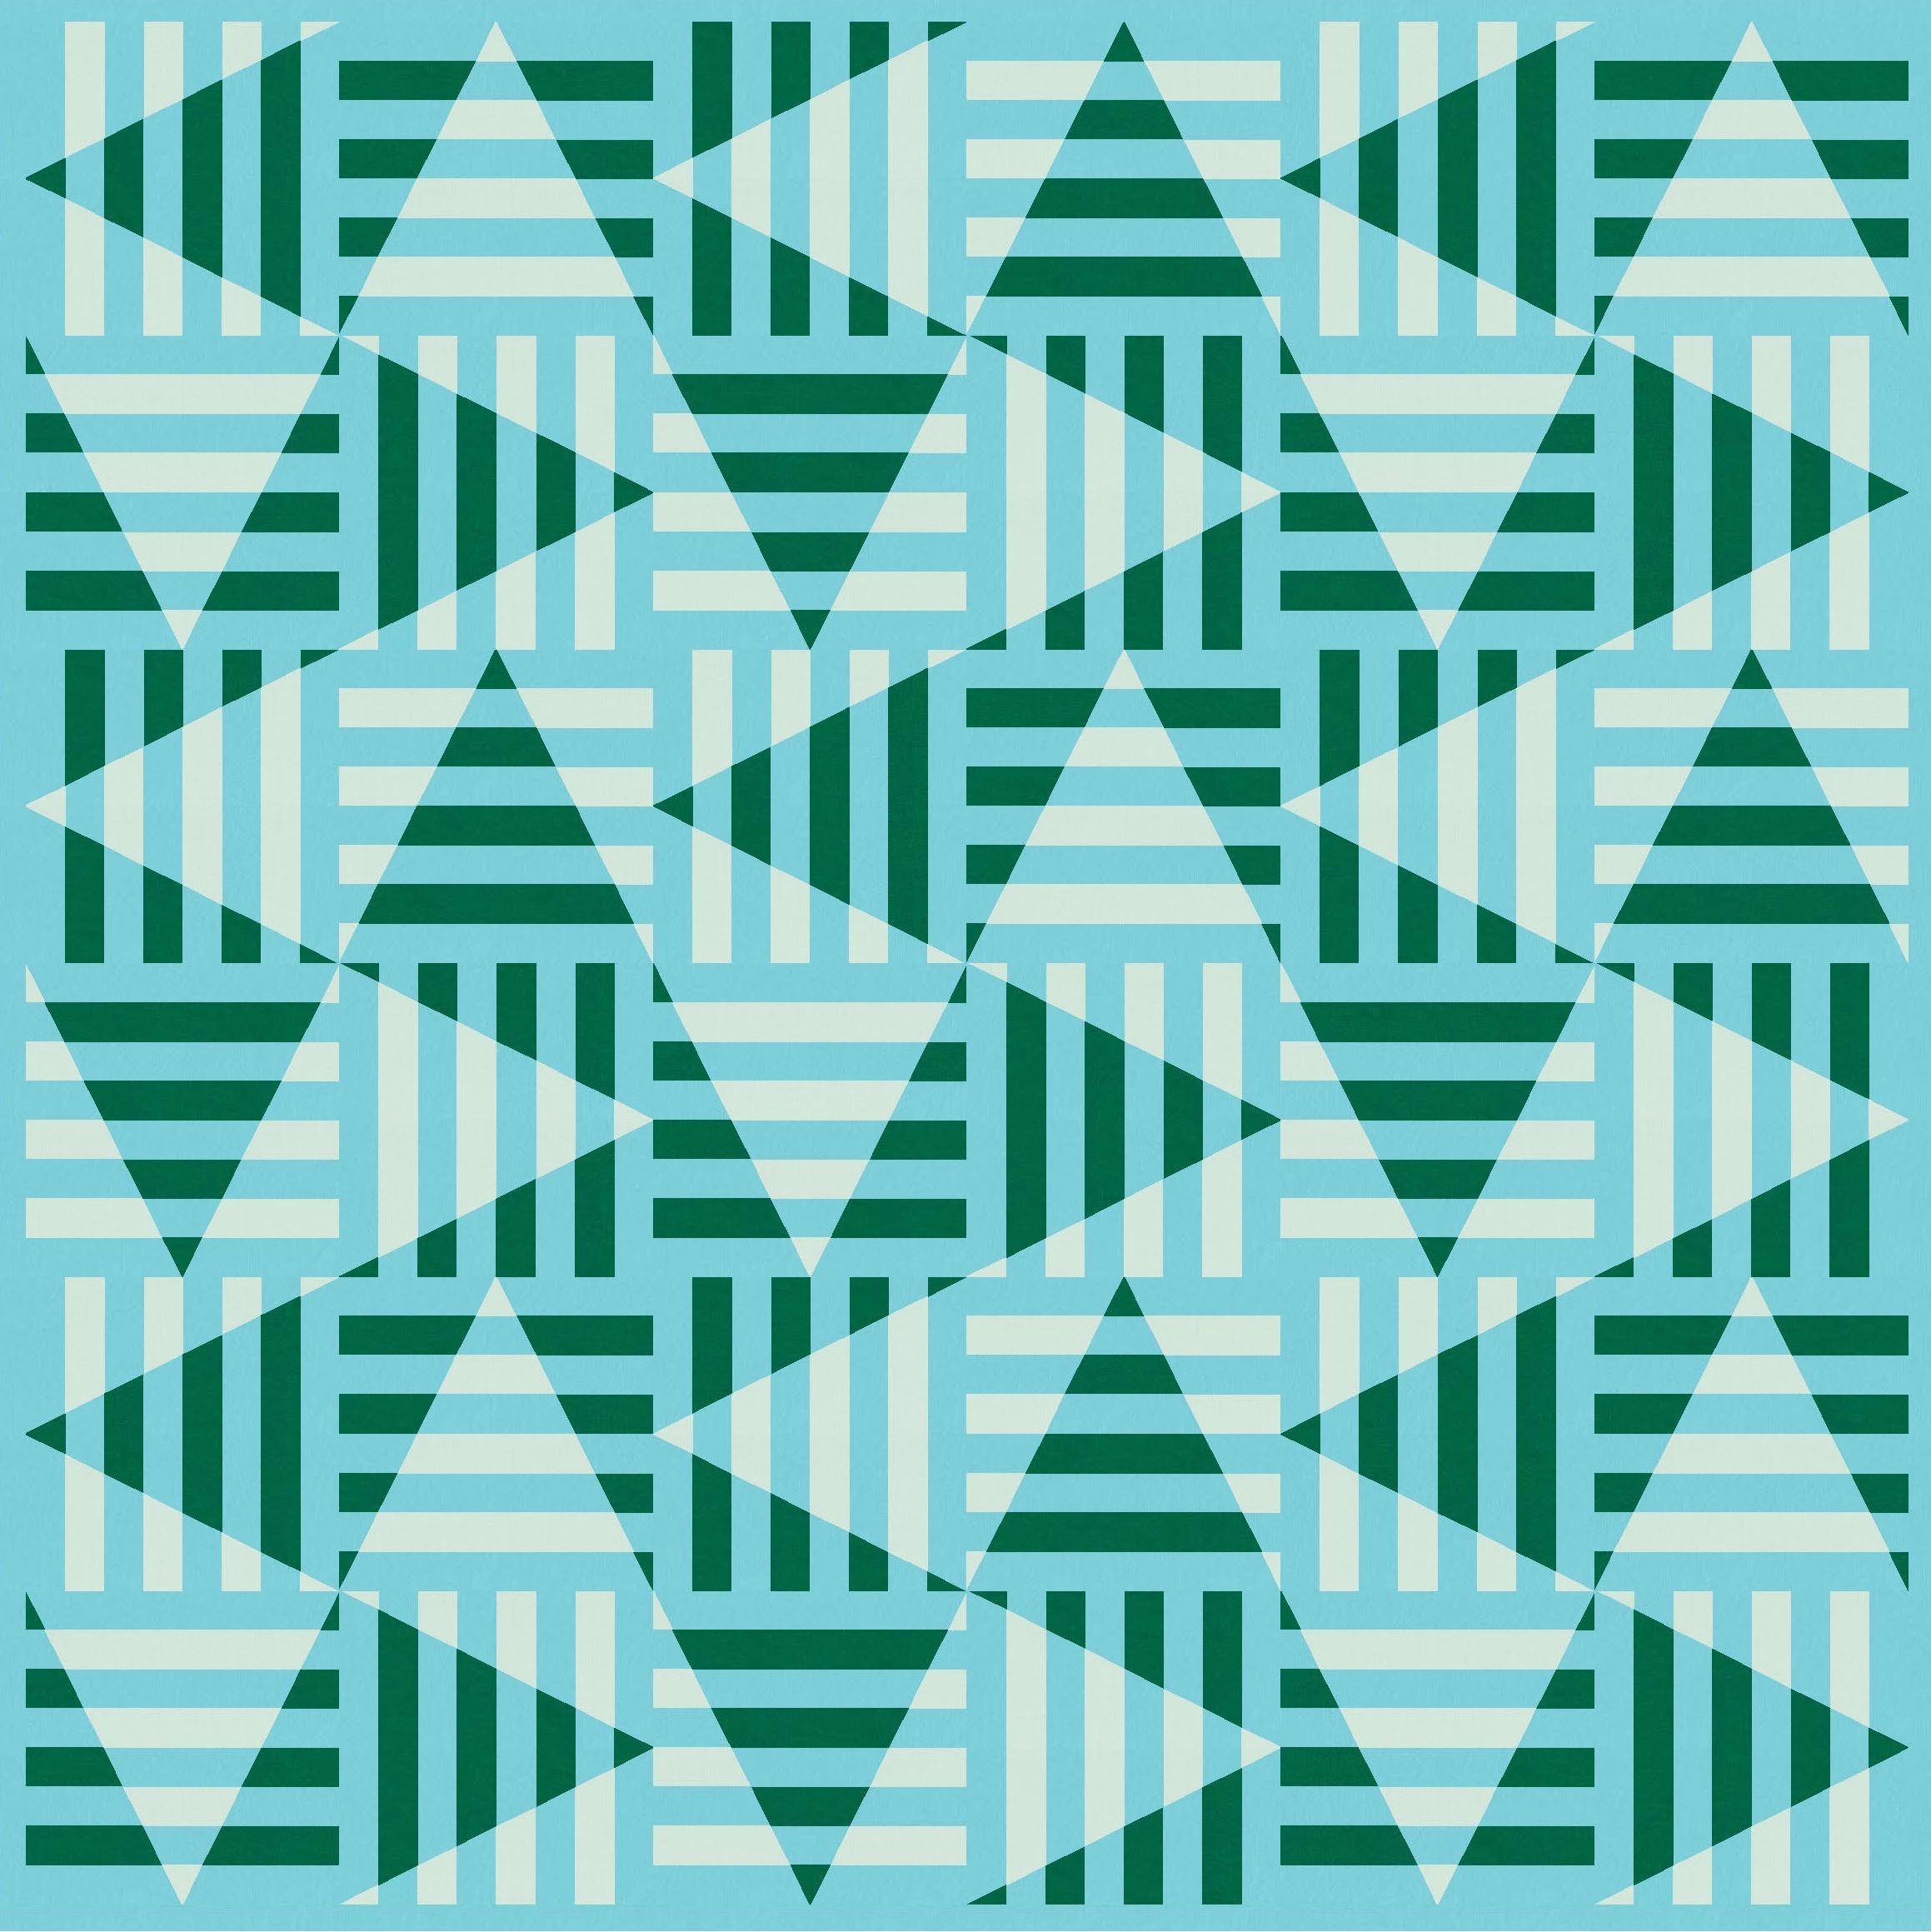
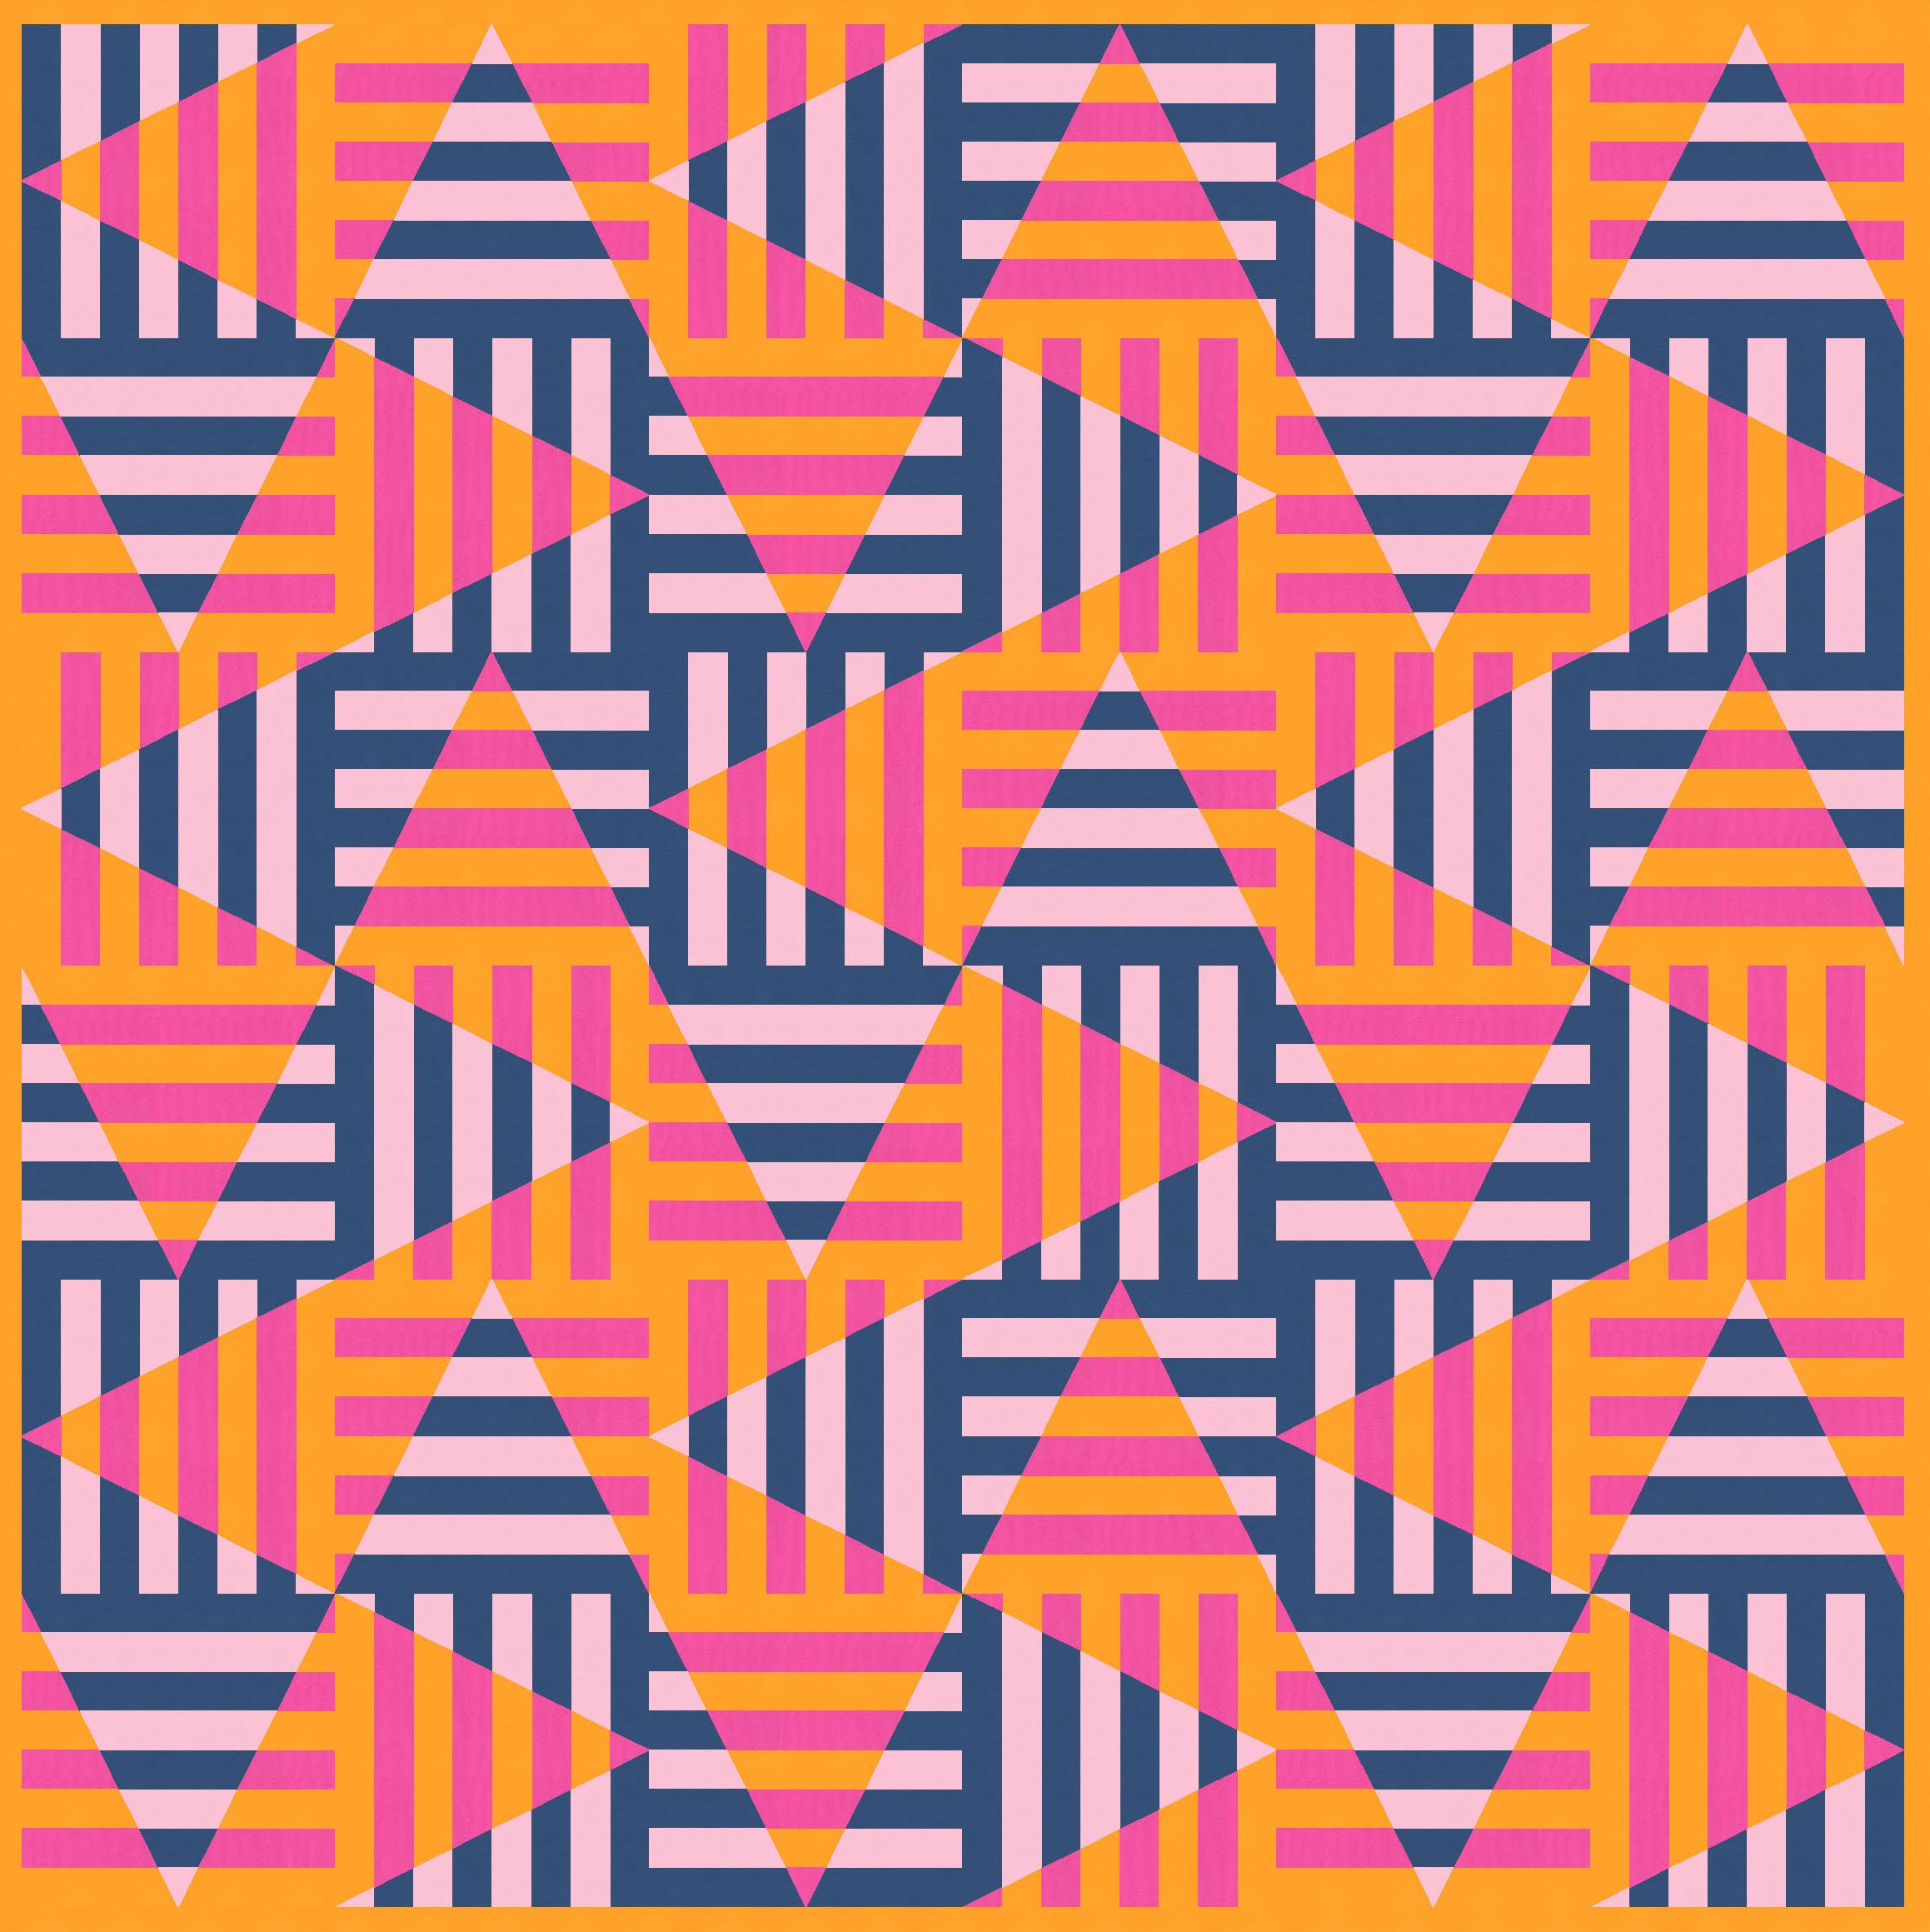
Introducing a third colour definitely helps to make the zig-zaggy lines much more obvious. Now you can see those secondary shapes (like big pinwheels) emerging.
There are lots of options for three-colour palettes!
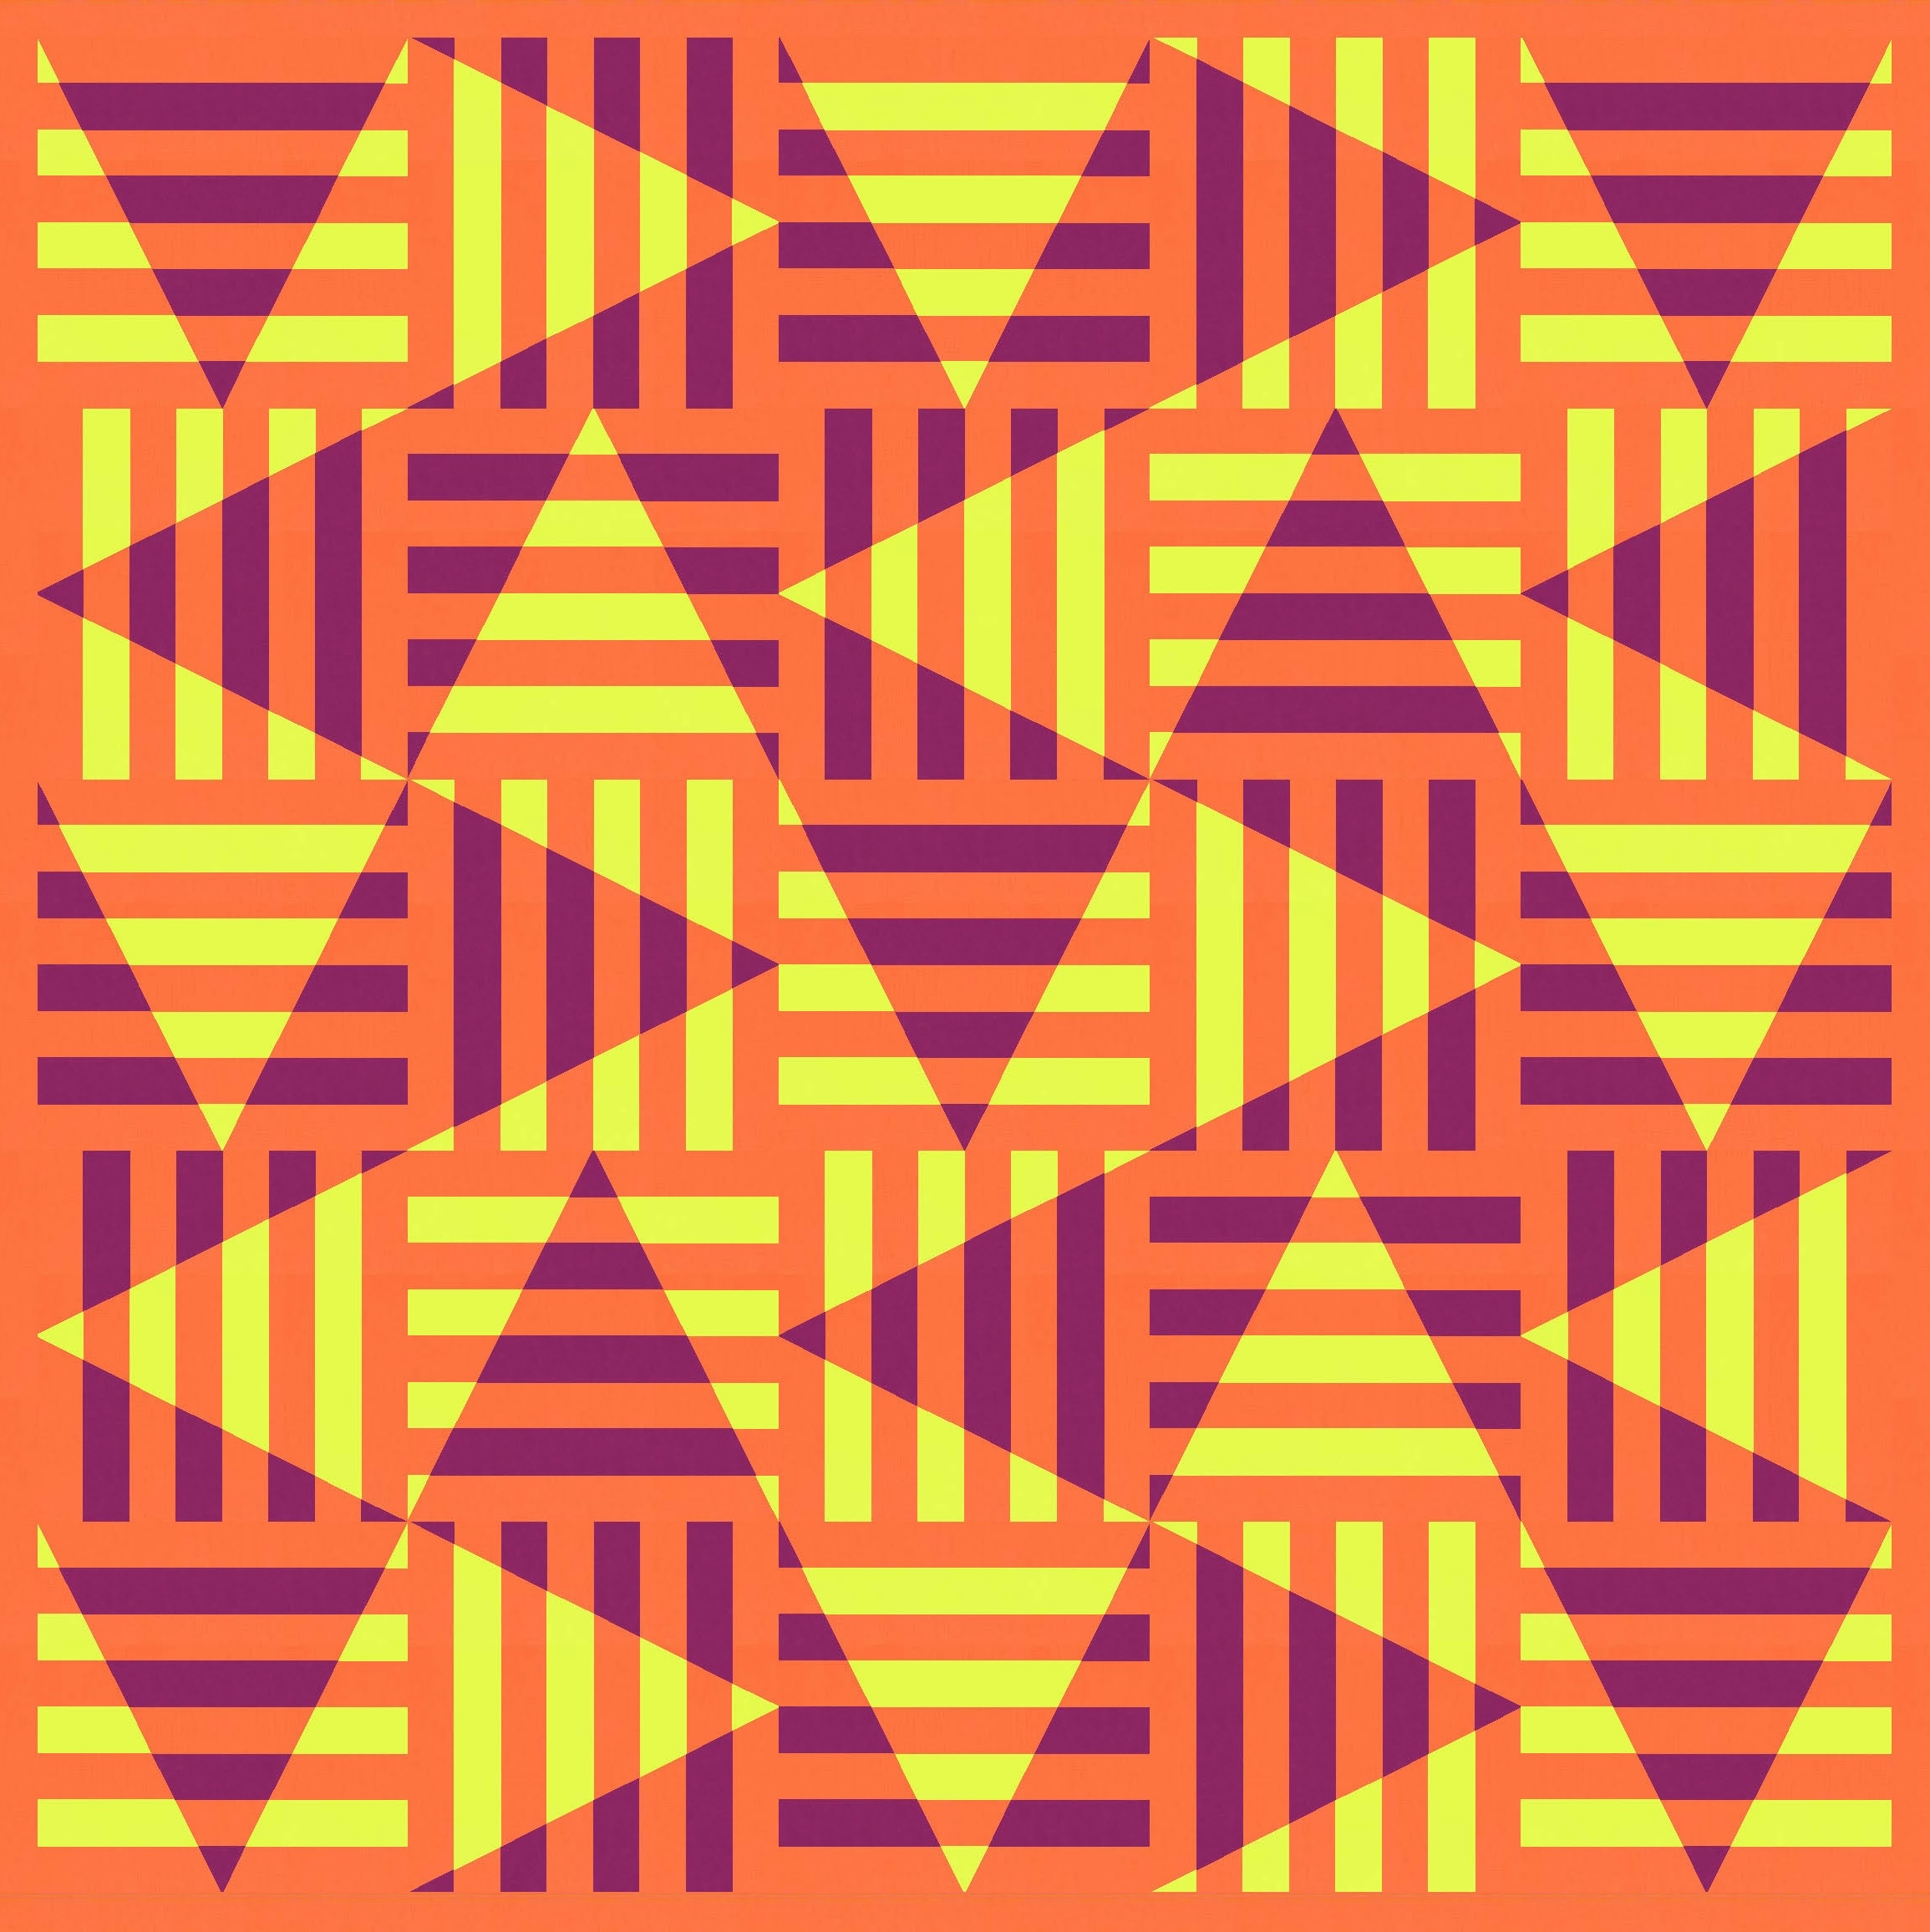

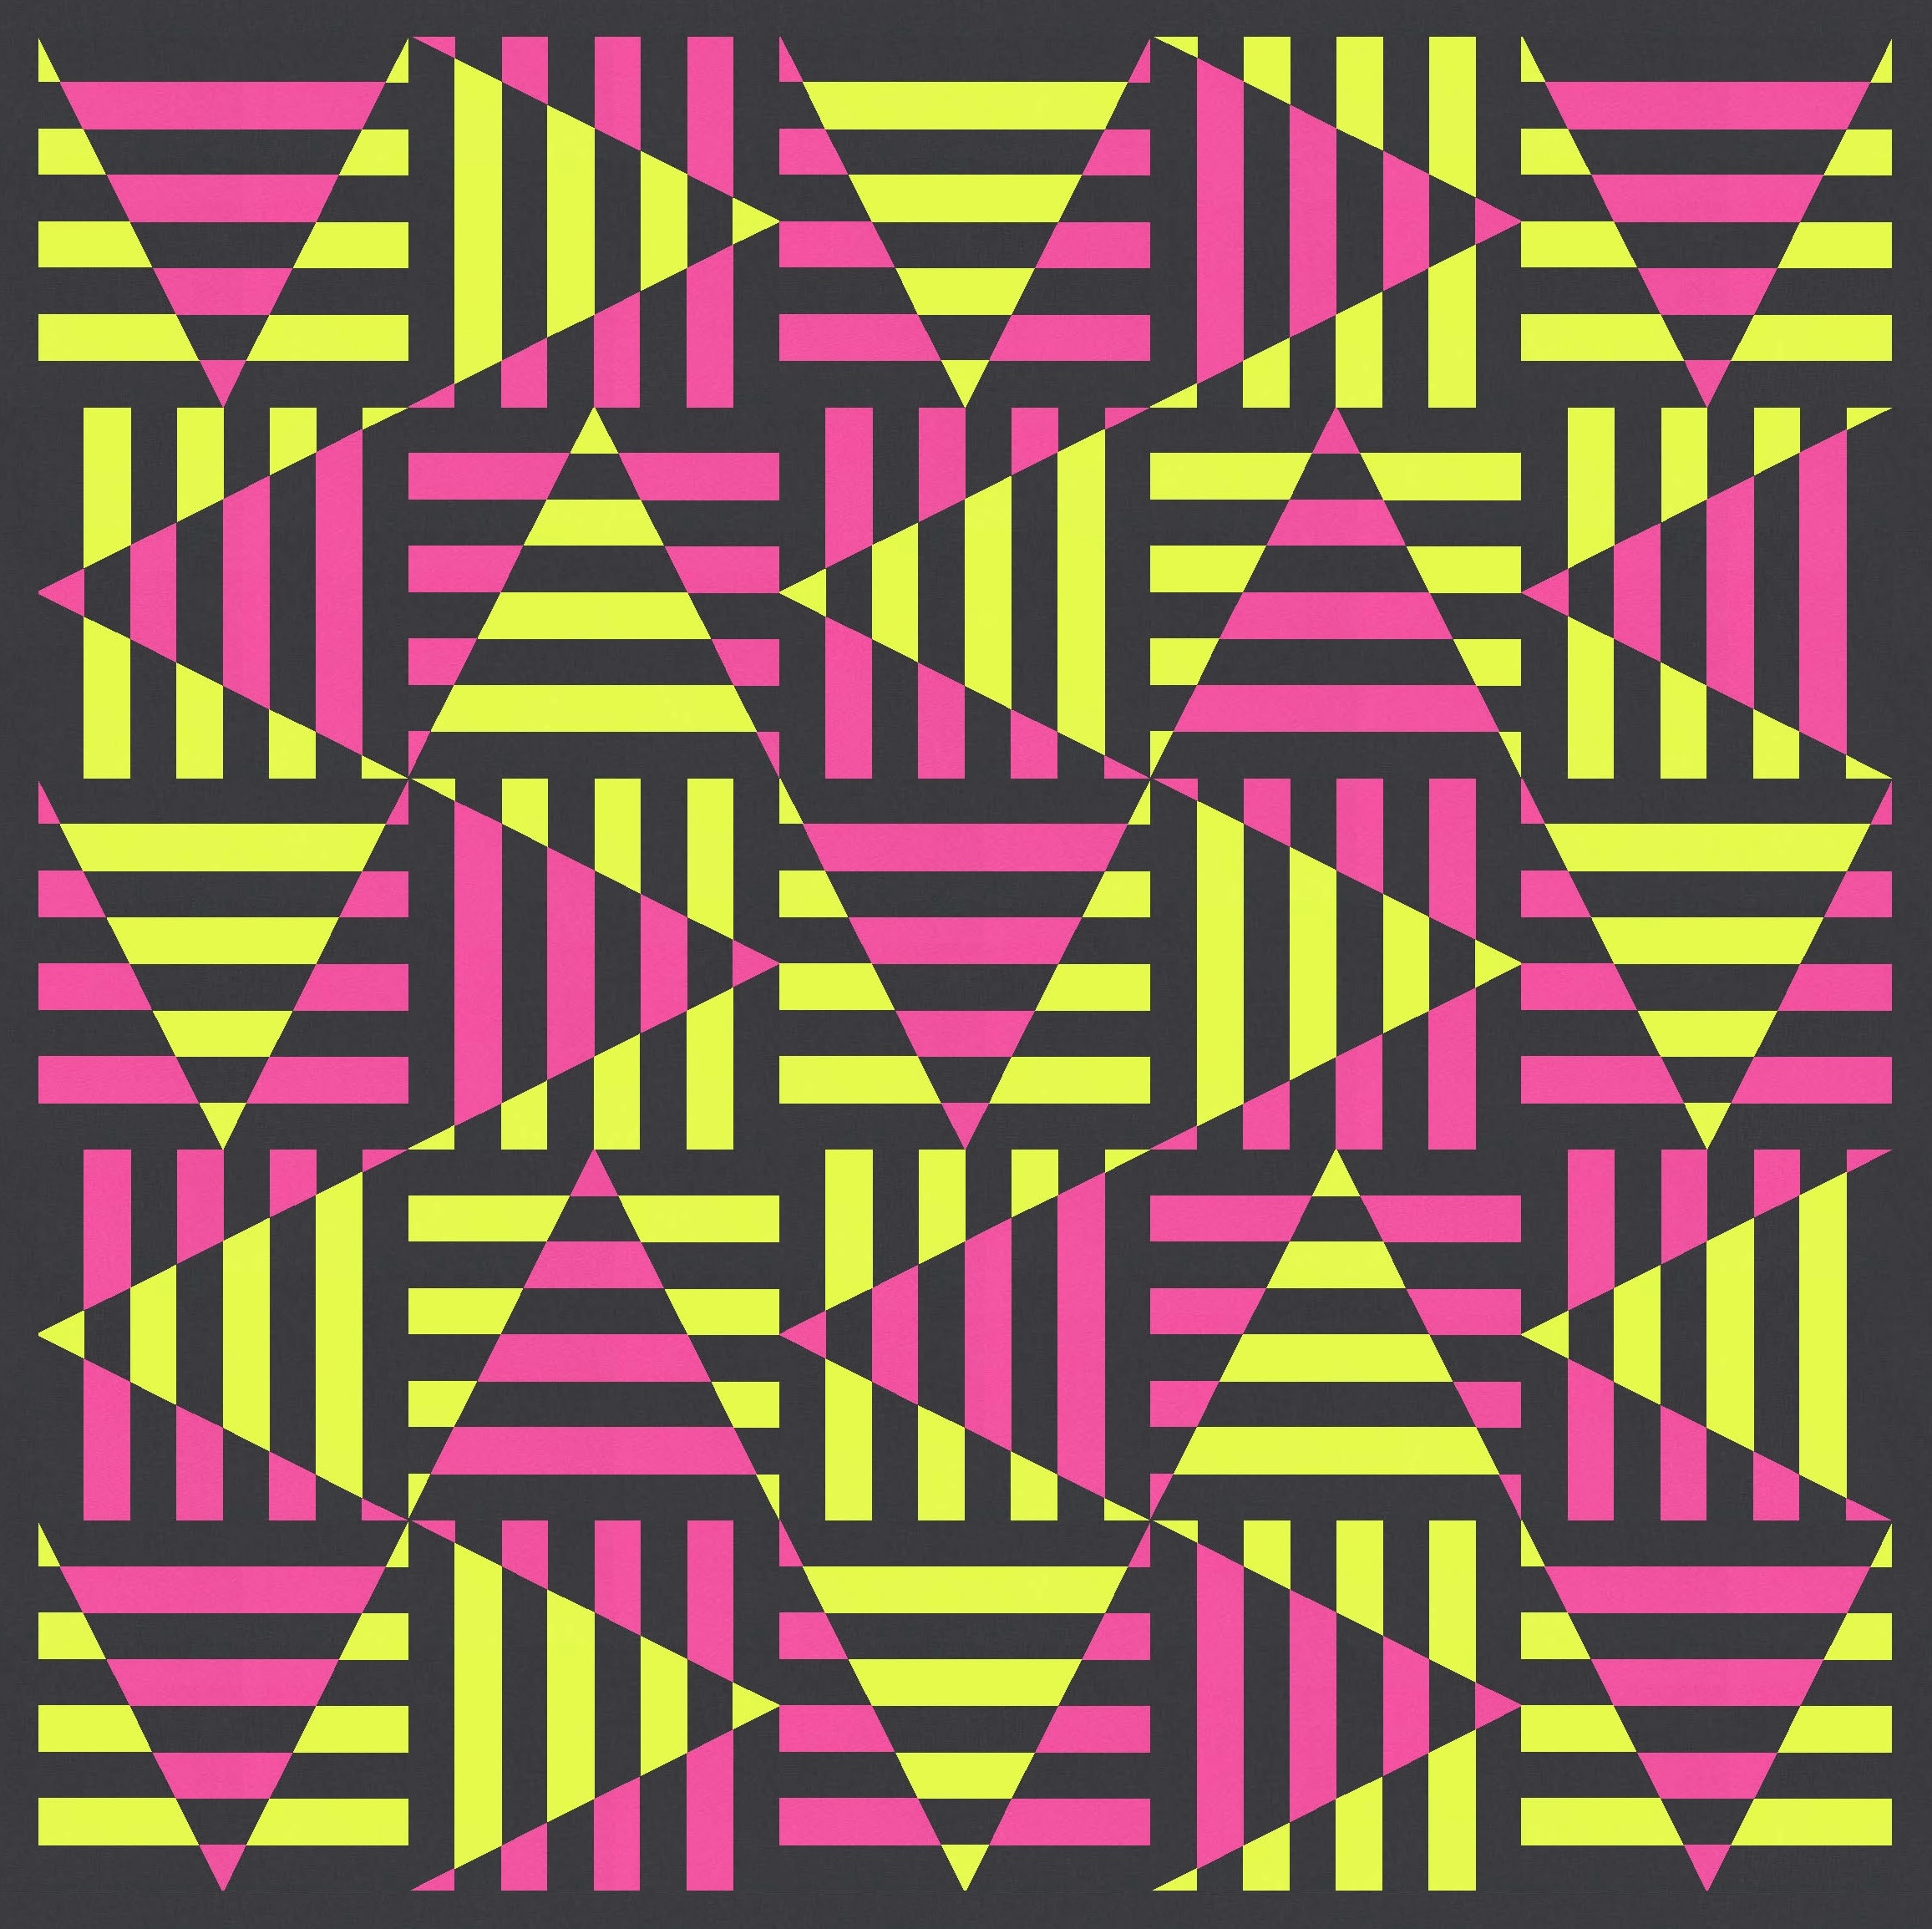
In the previous versions, I coloured the blocks so that those bigger pinwheel shapes were each in only two colours, but that’s not necessary. In the two versions below, the colours are much more mixed up, although the angled lines are still evident. These versions are a little messier, but the design is purposefully chaotic so I don’t think it matters.
I do kinda prefer the regularity of the original colour placement though.
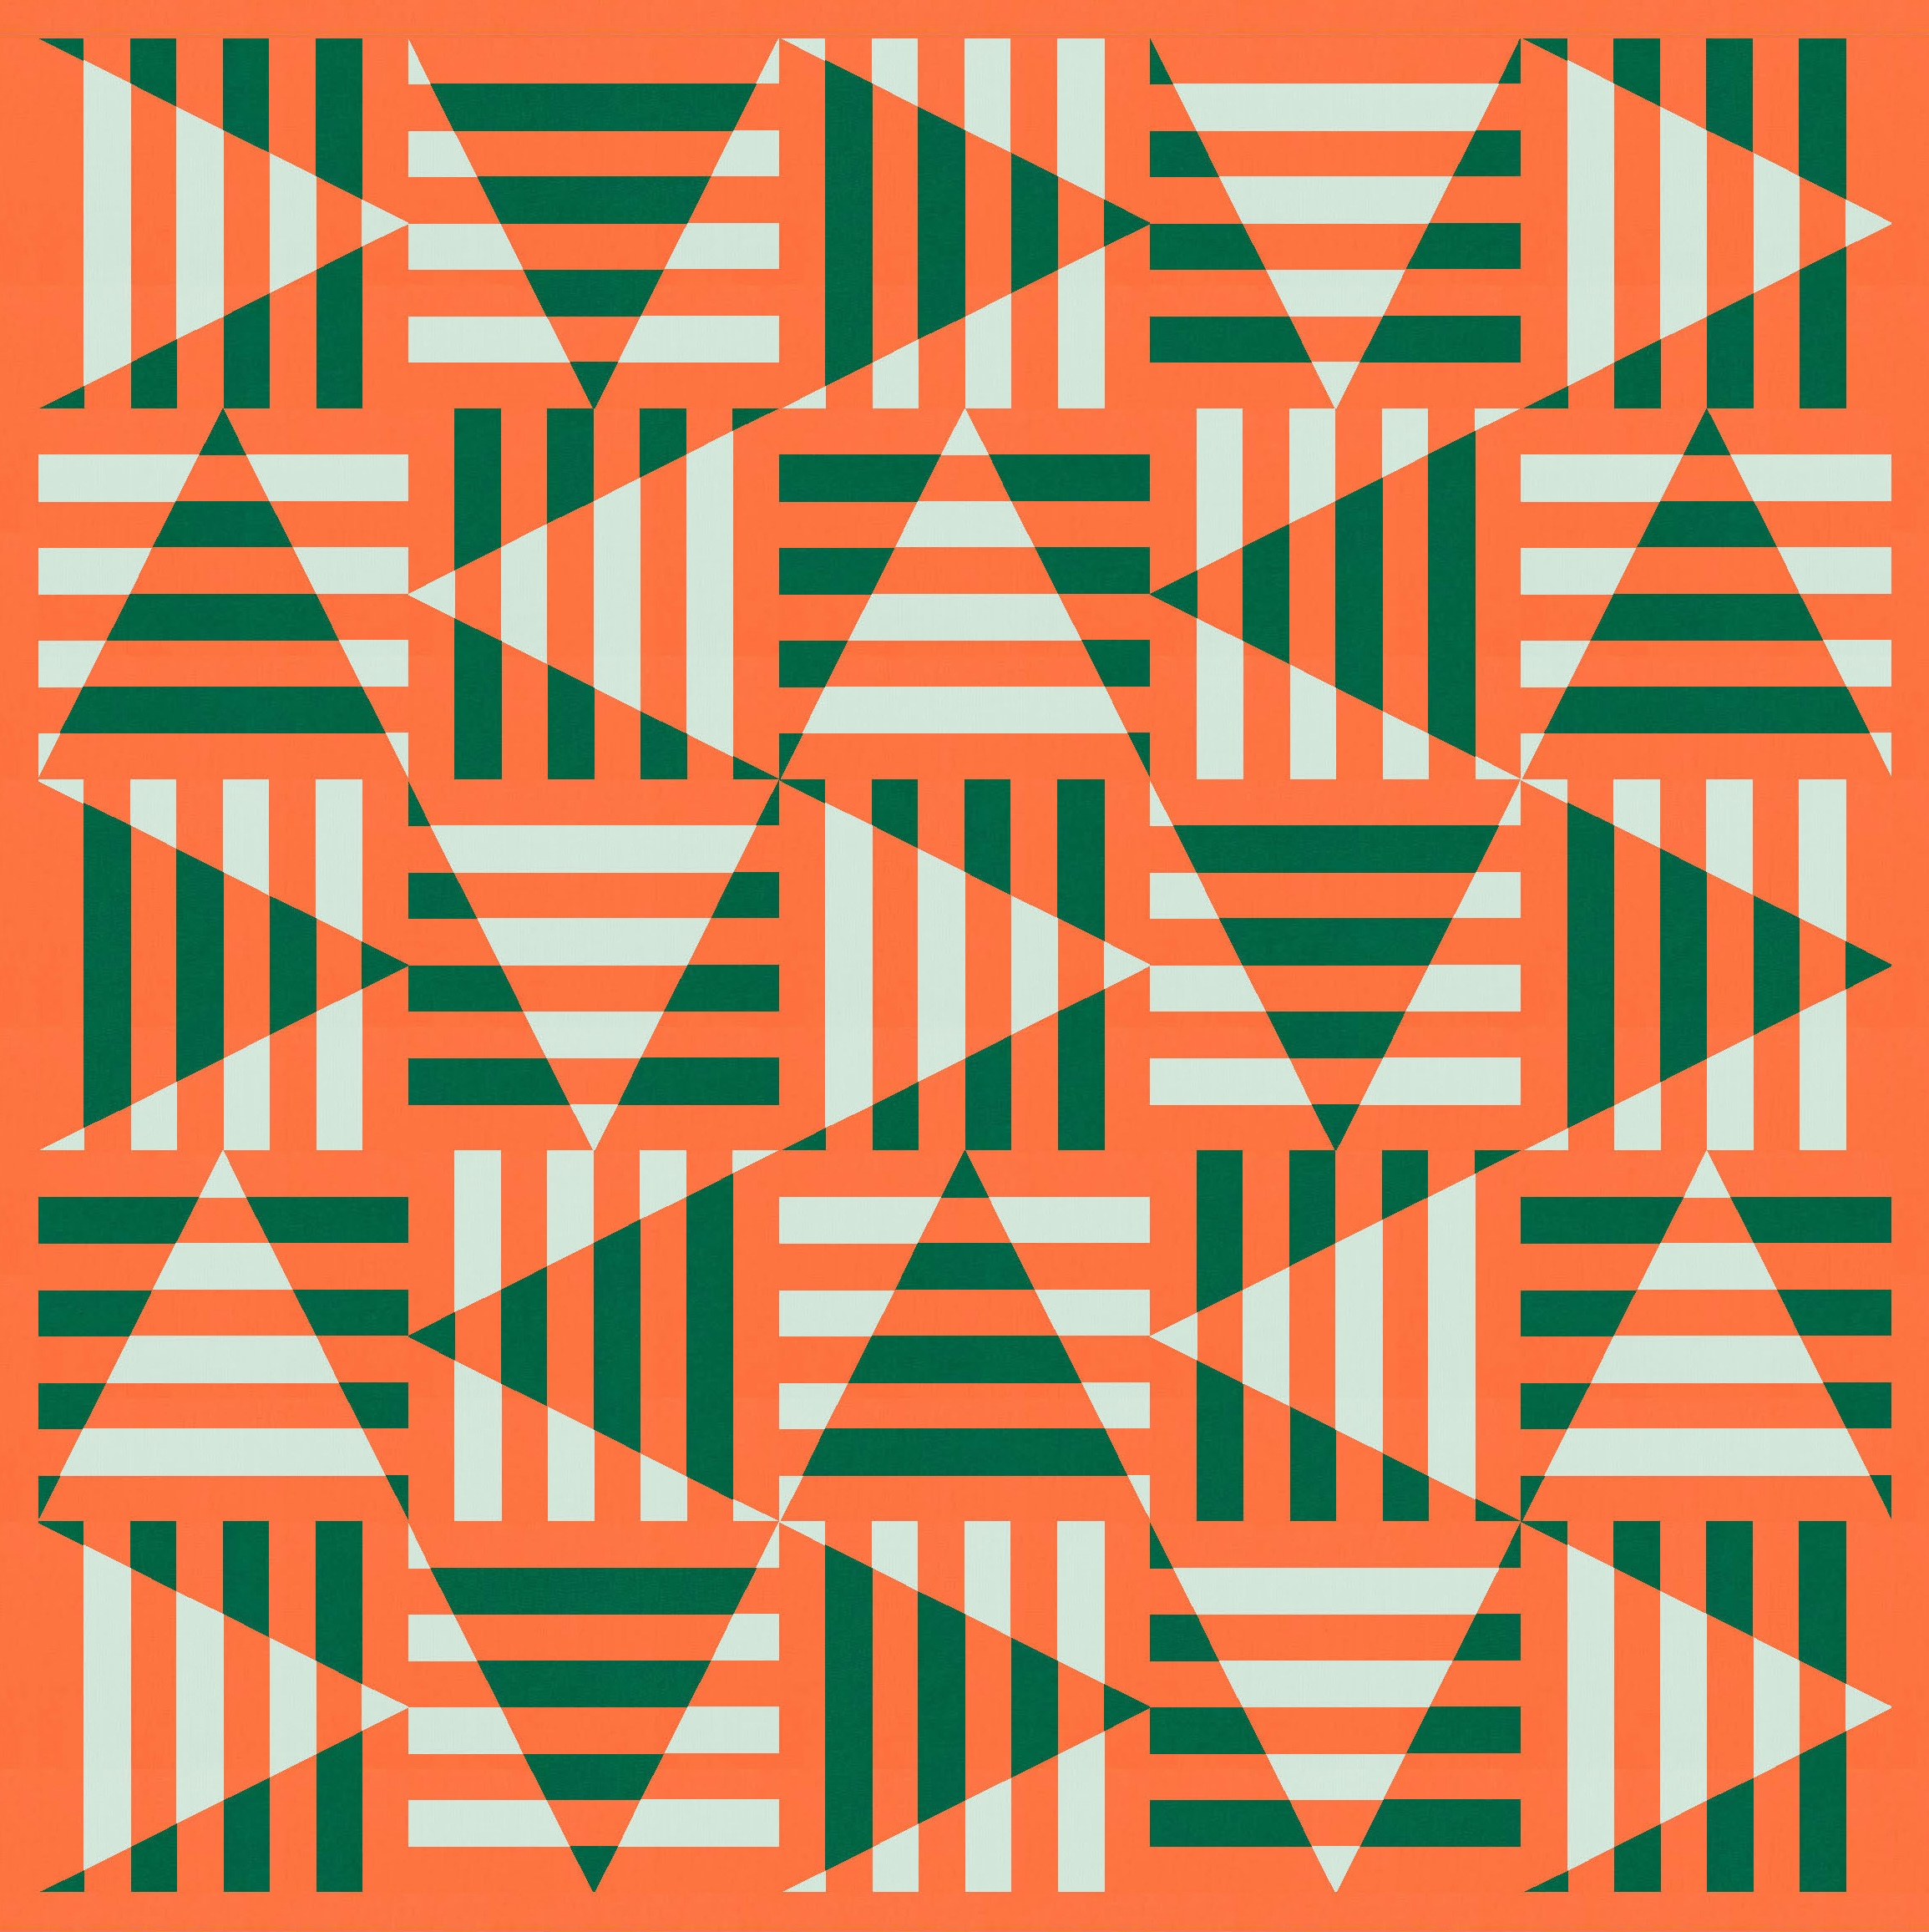
I scaled up to a 6 × 6 block layout so you can clearly see more of those angled ‘Χ’ shapes (formed between four of the big pinwheels) too. Can you see the 3 × 3 layout of those shapes?

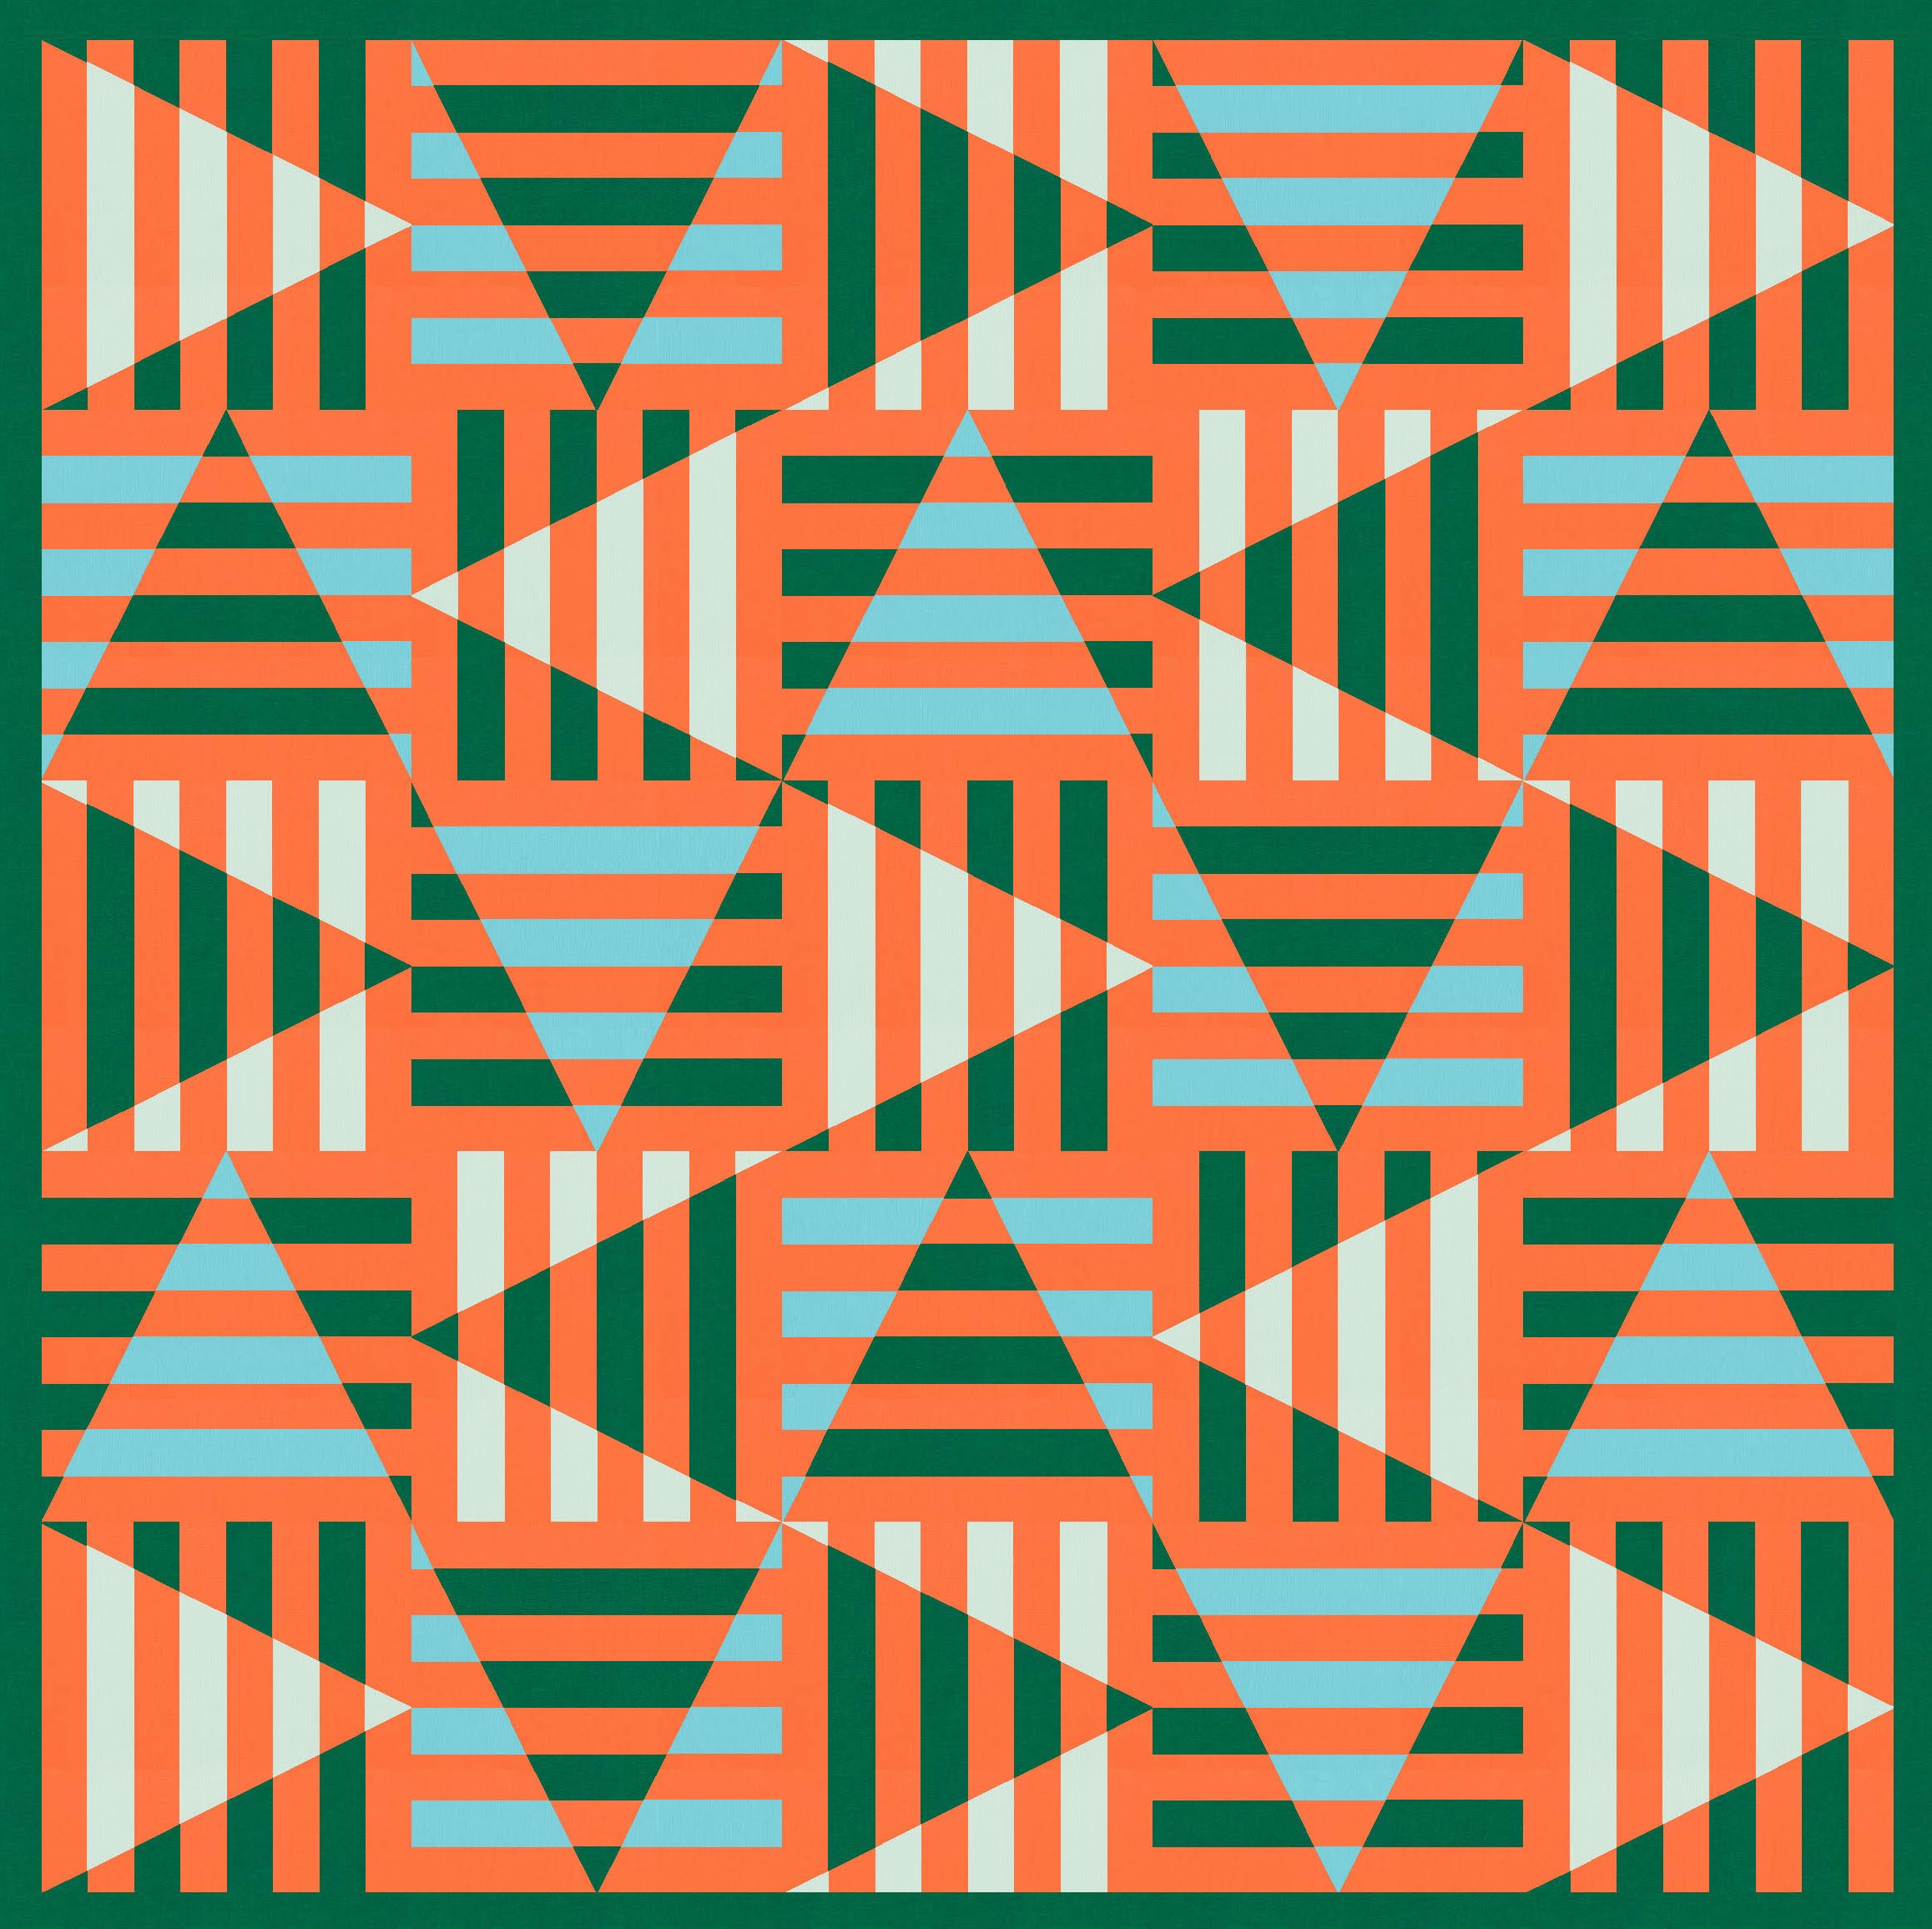
There’s also scope to scale up the palette: in the next few versions, I’ve used four colours. The choice of colours really dictates how clearly those secondary shapes jump out or blend in, and how much of a transparency effect emerges.
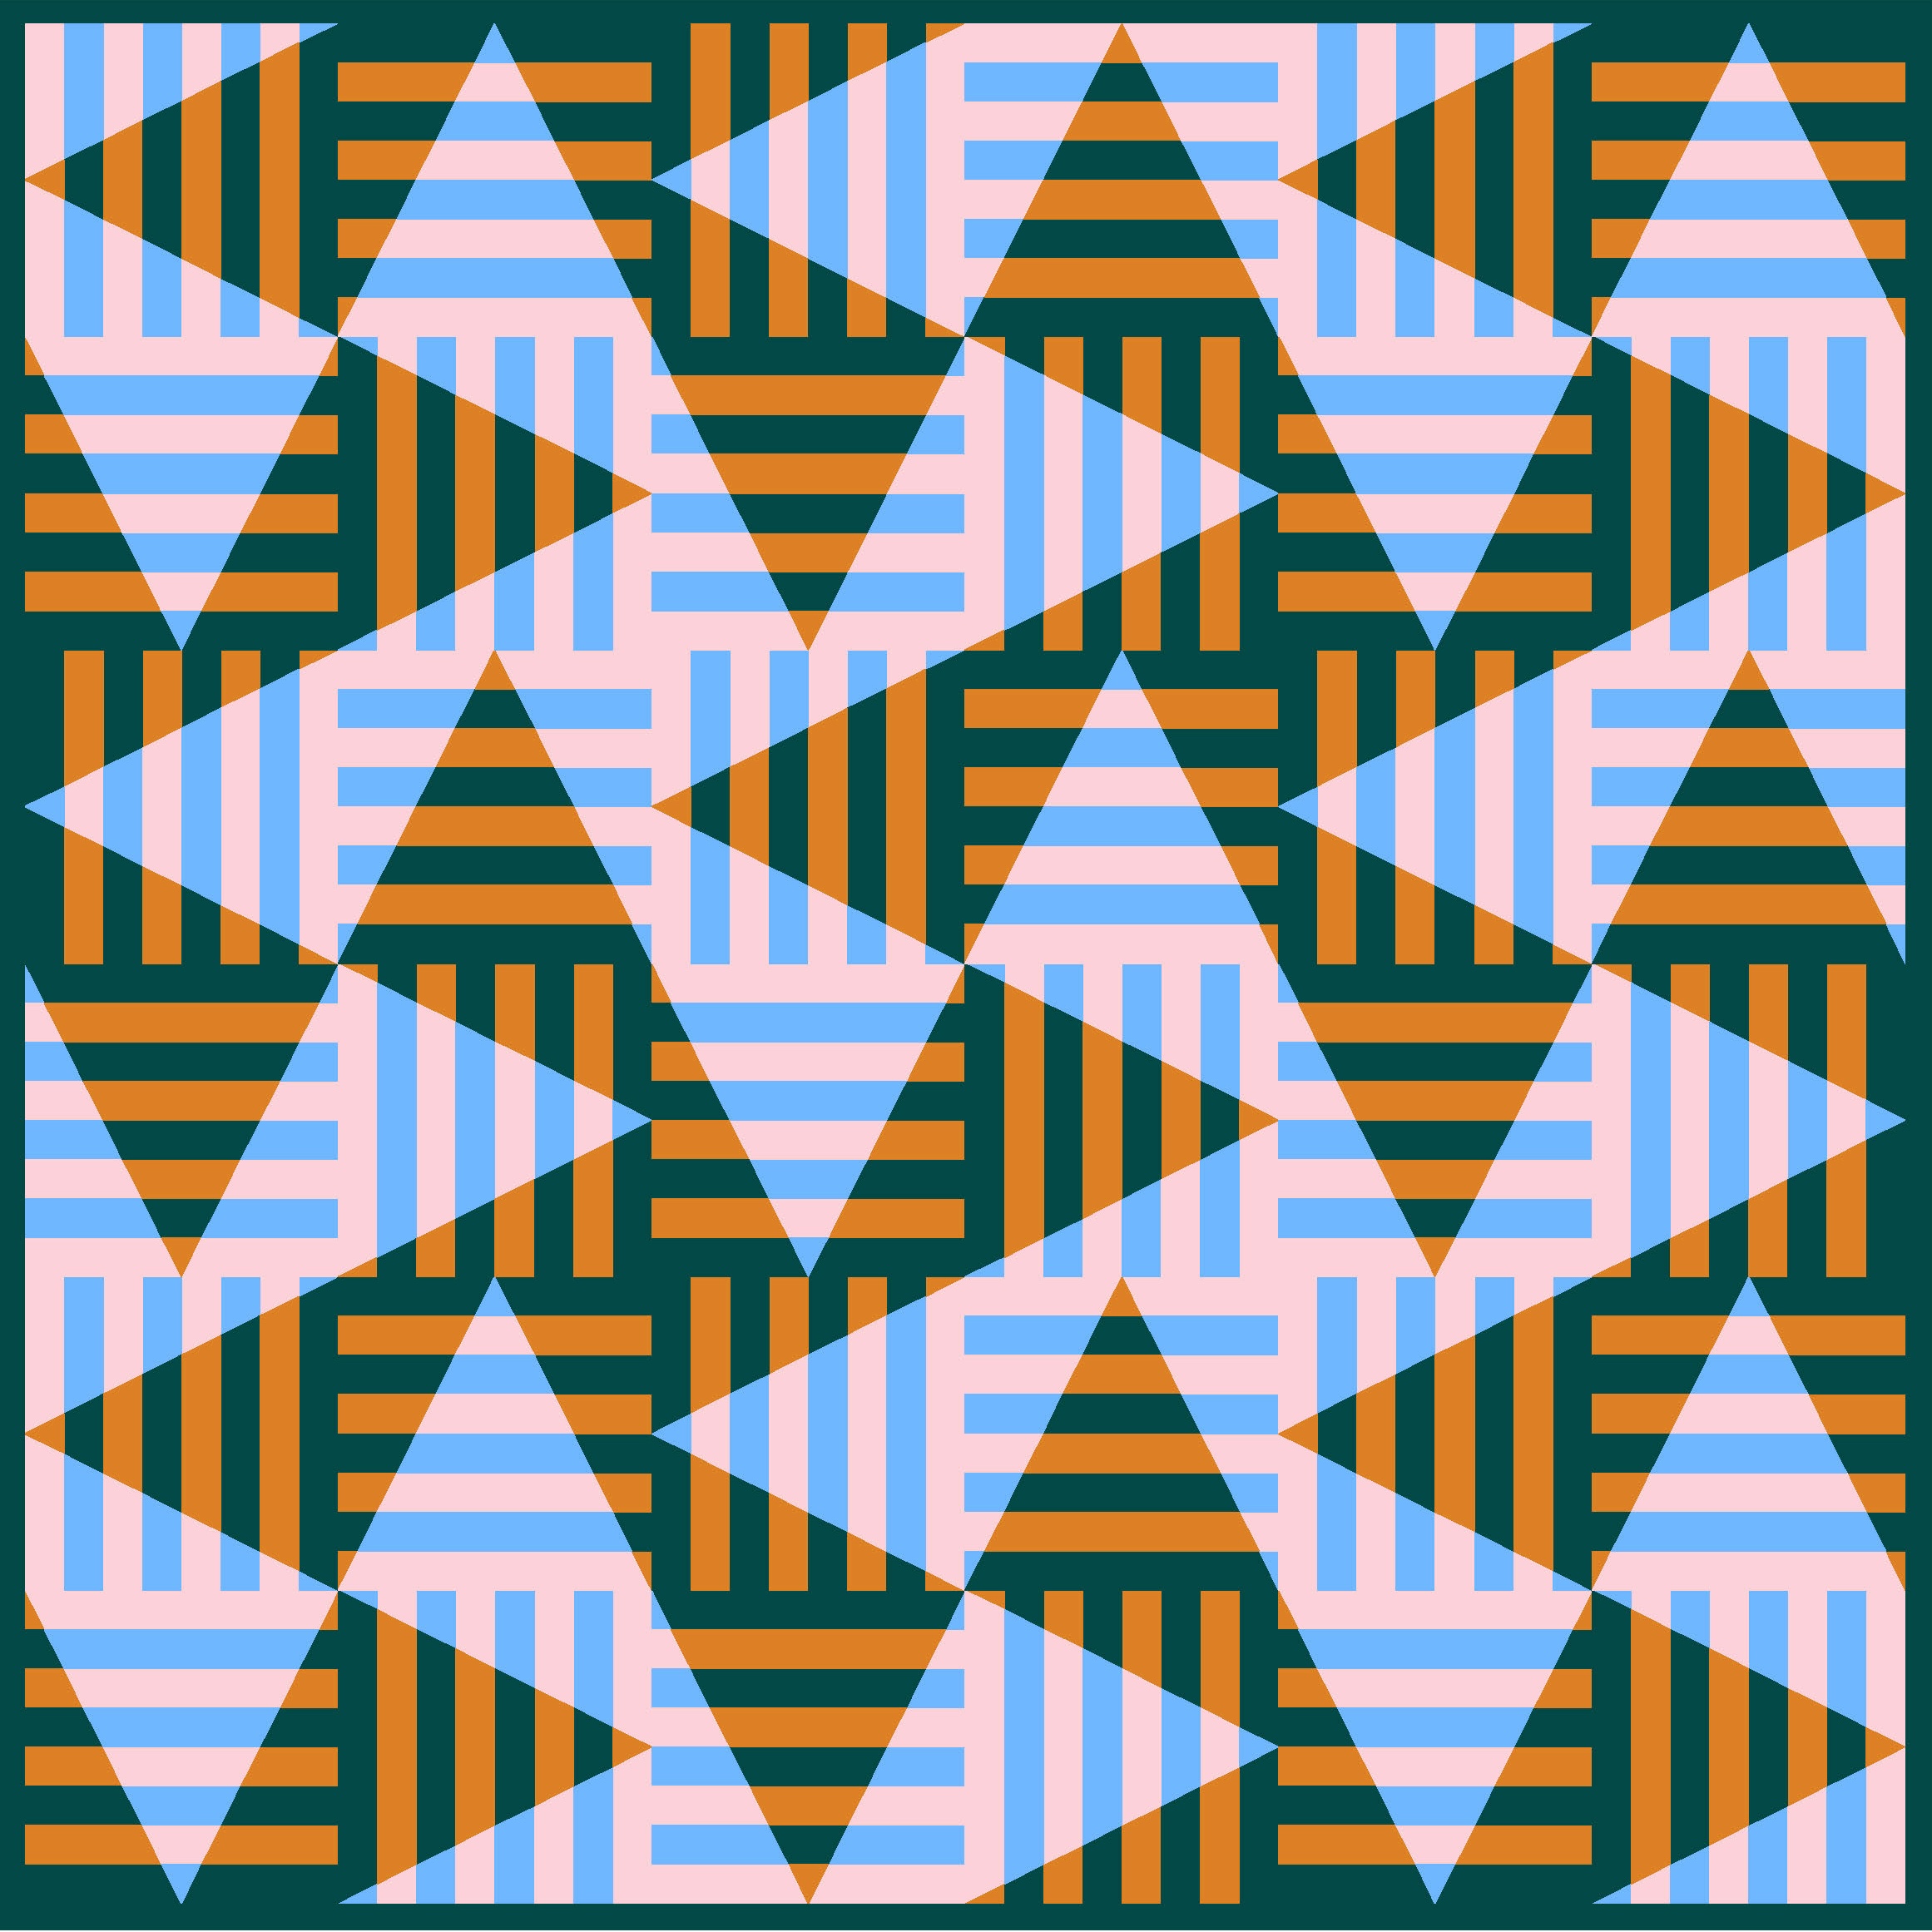
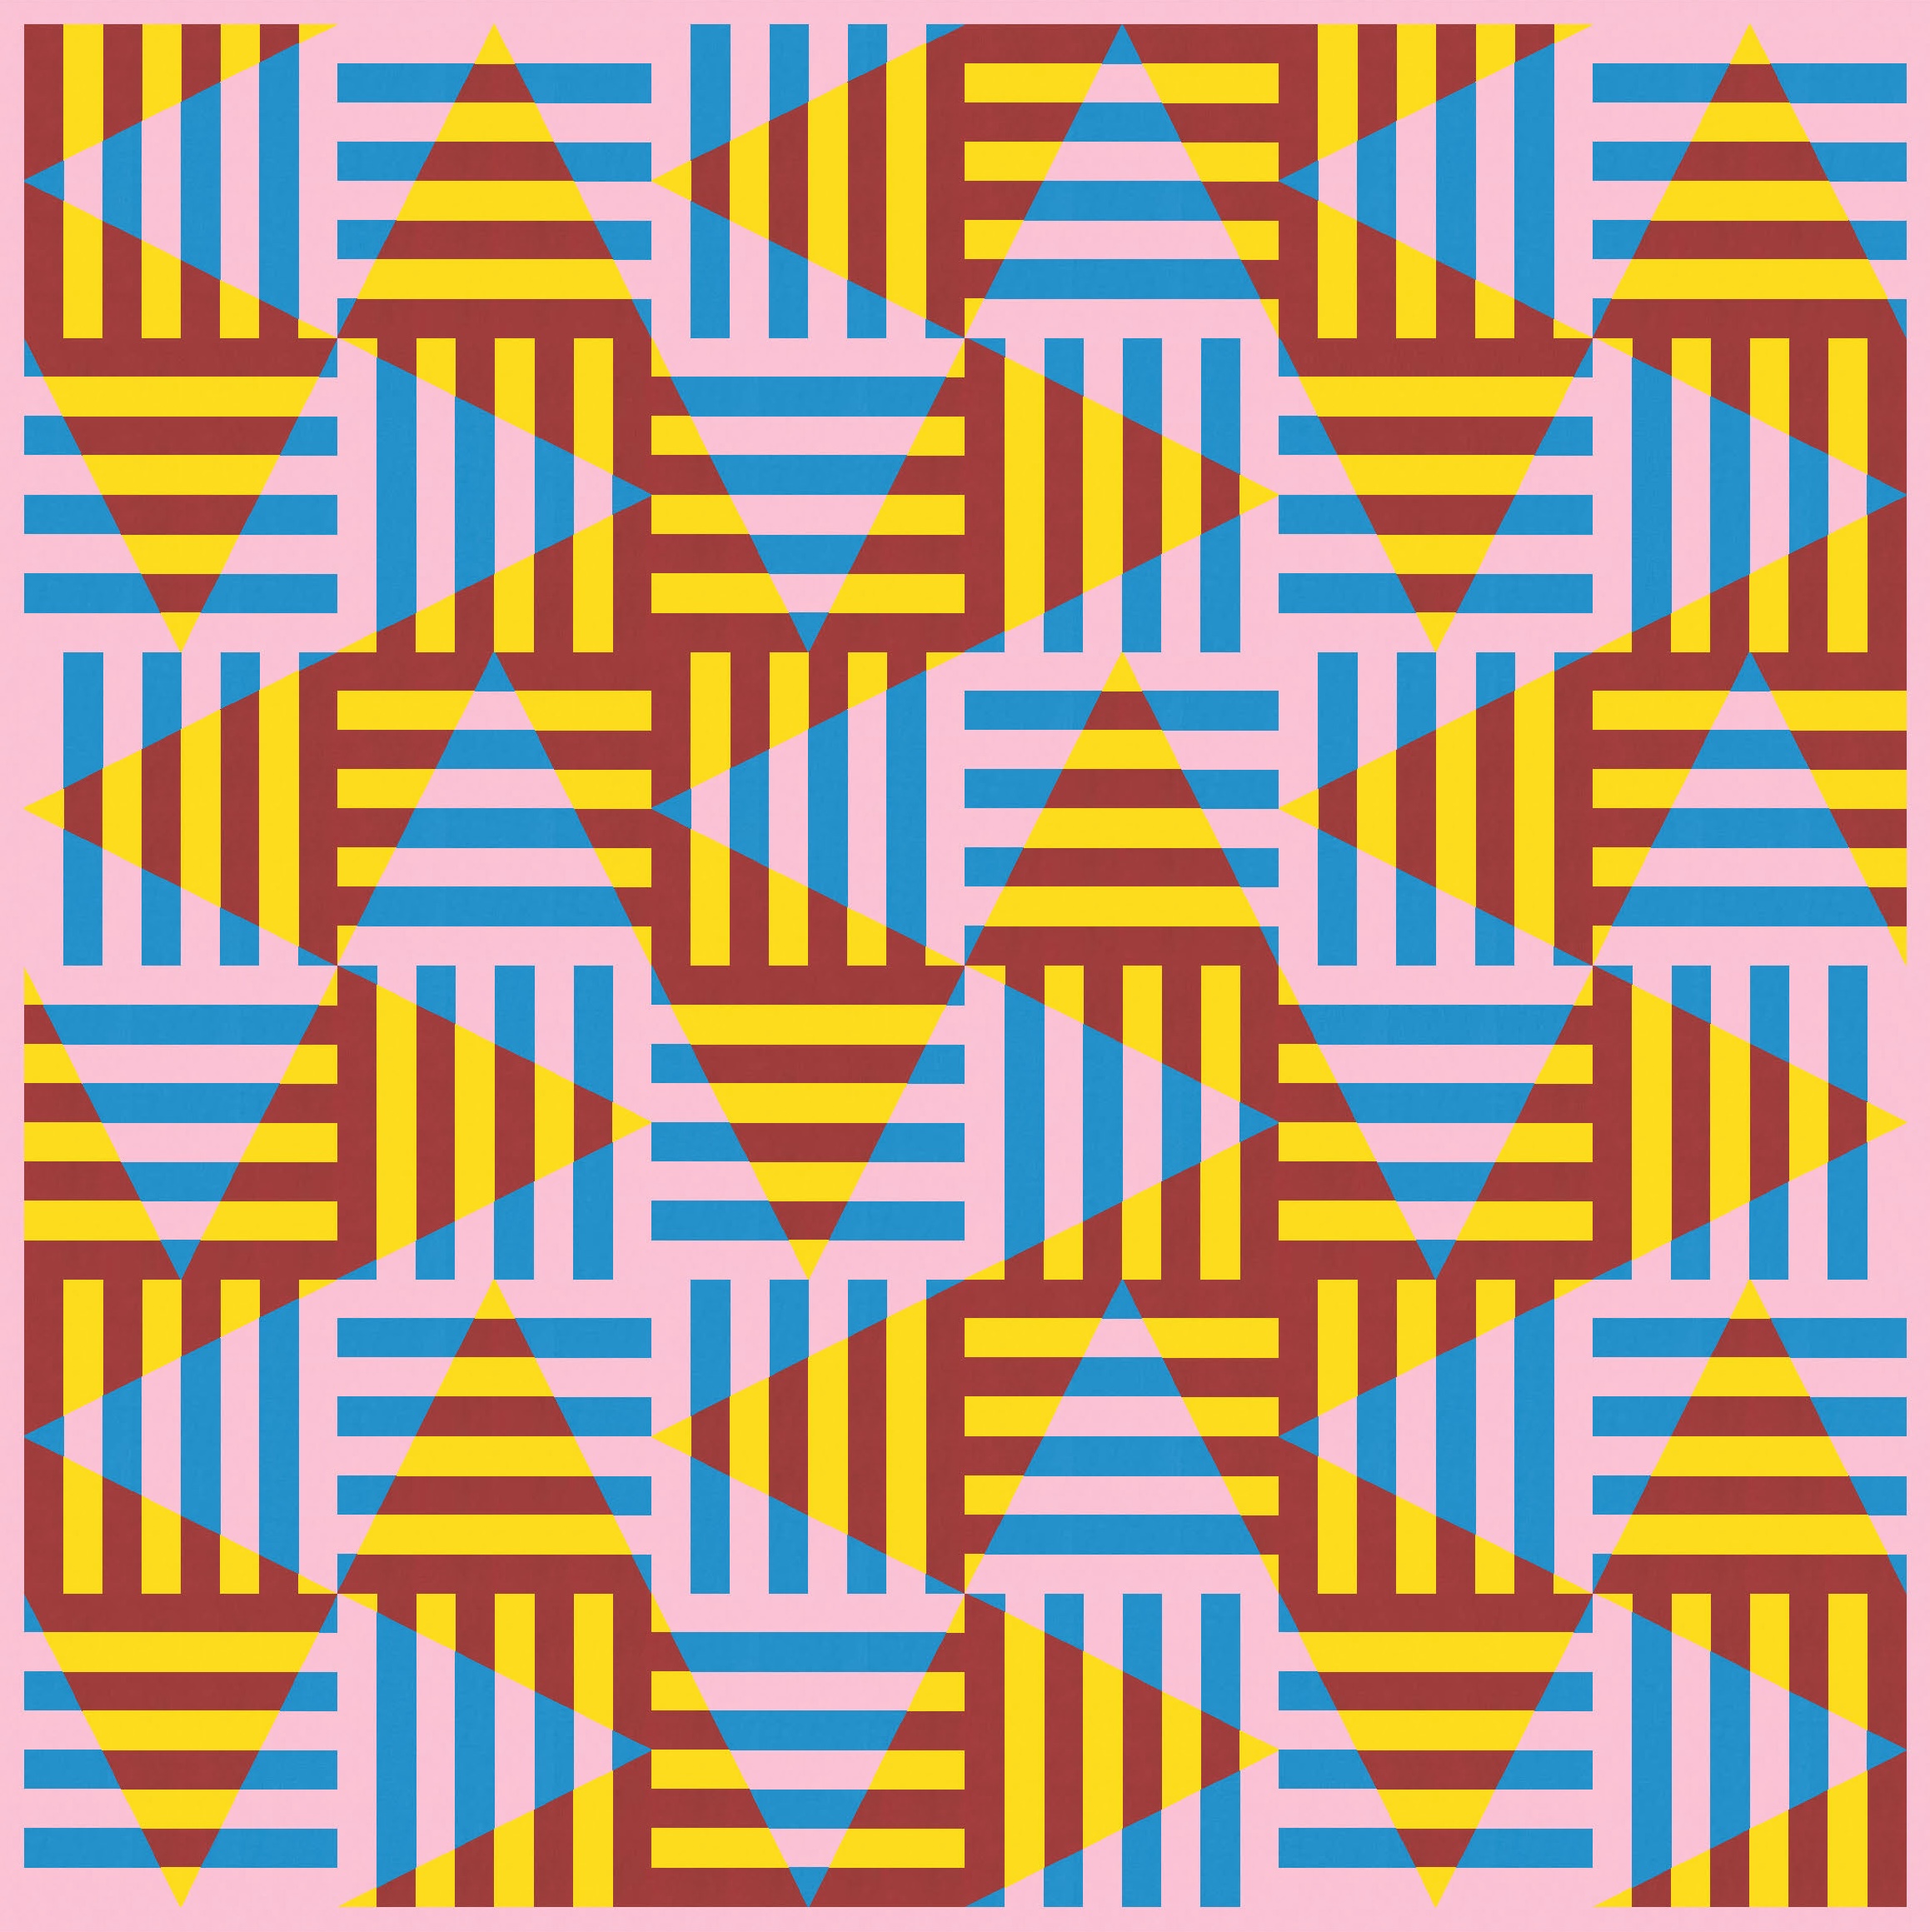
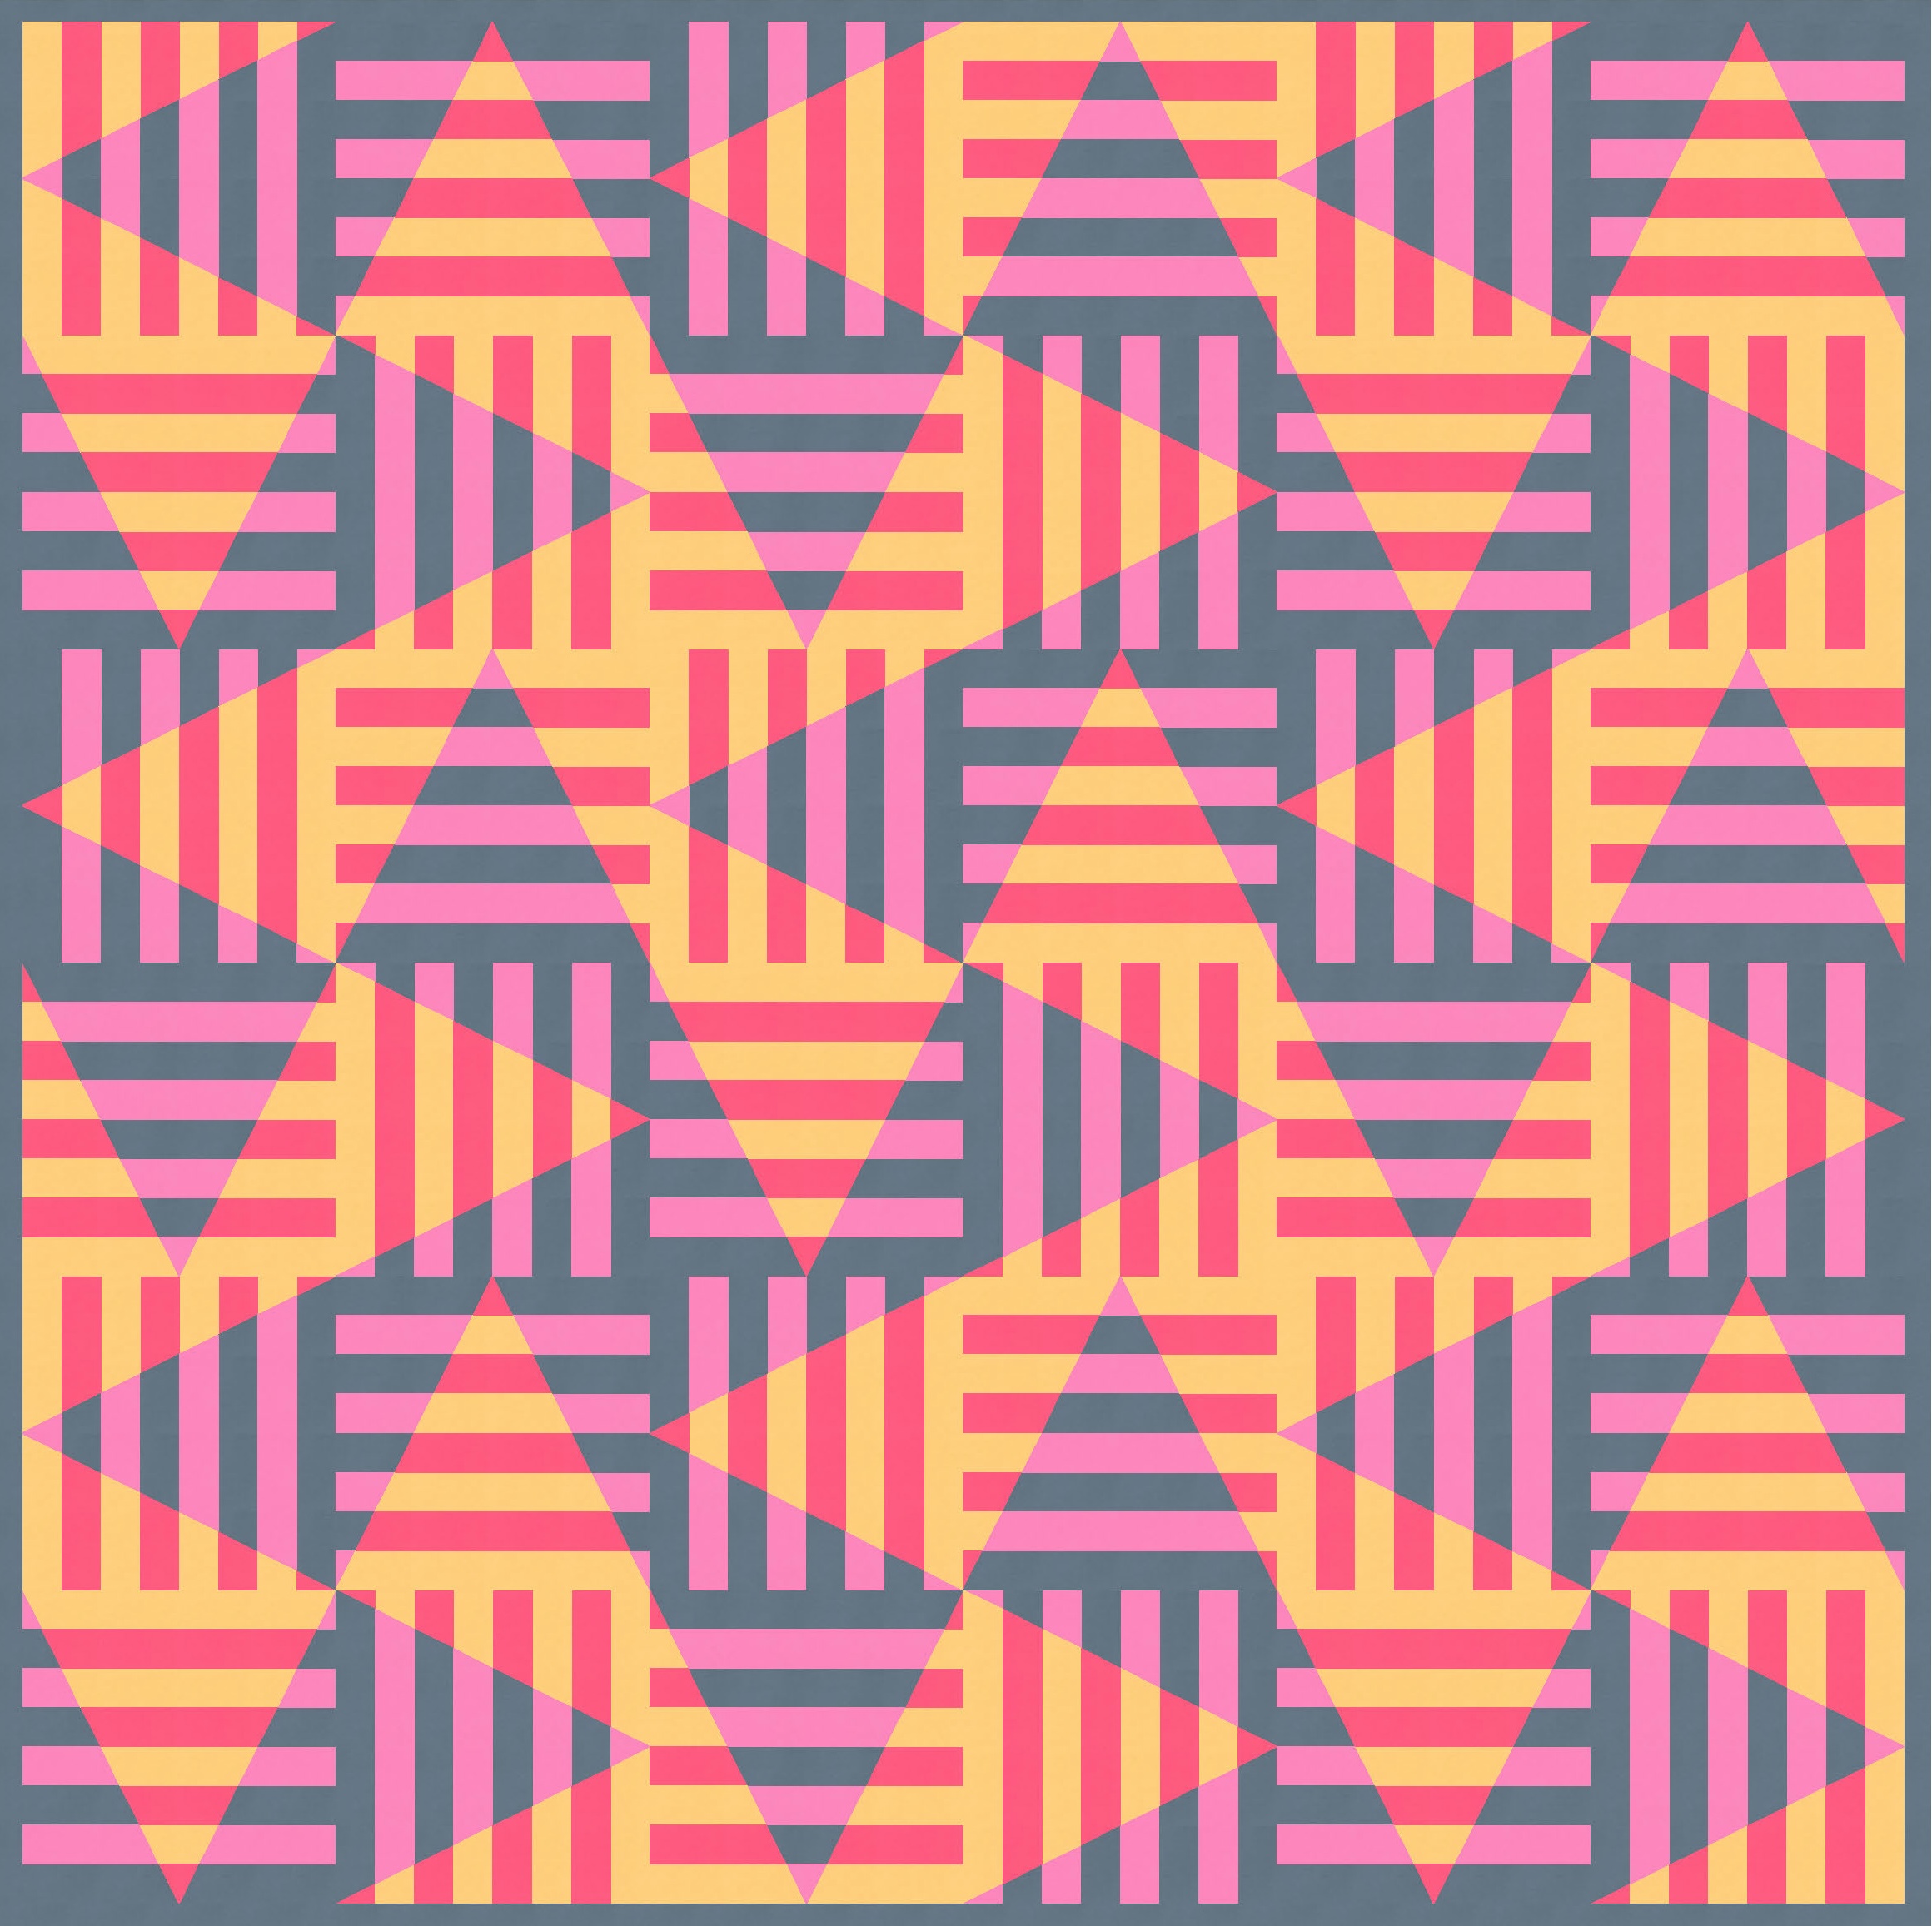
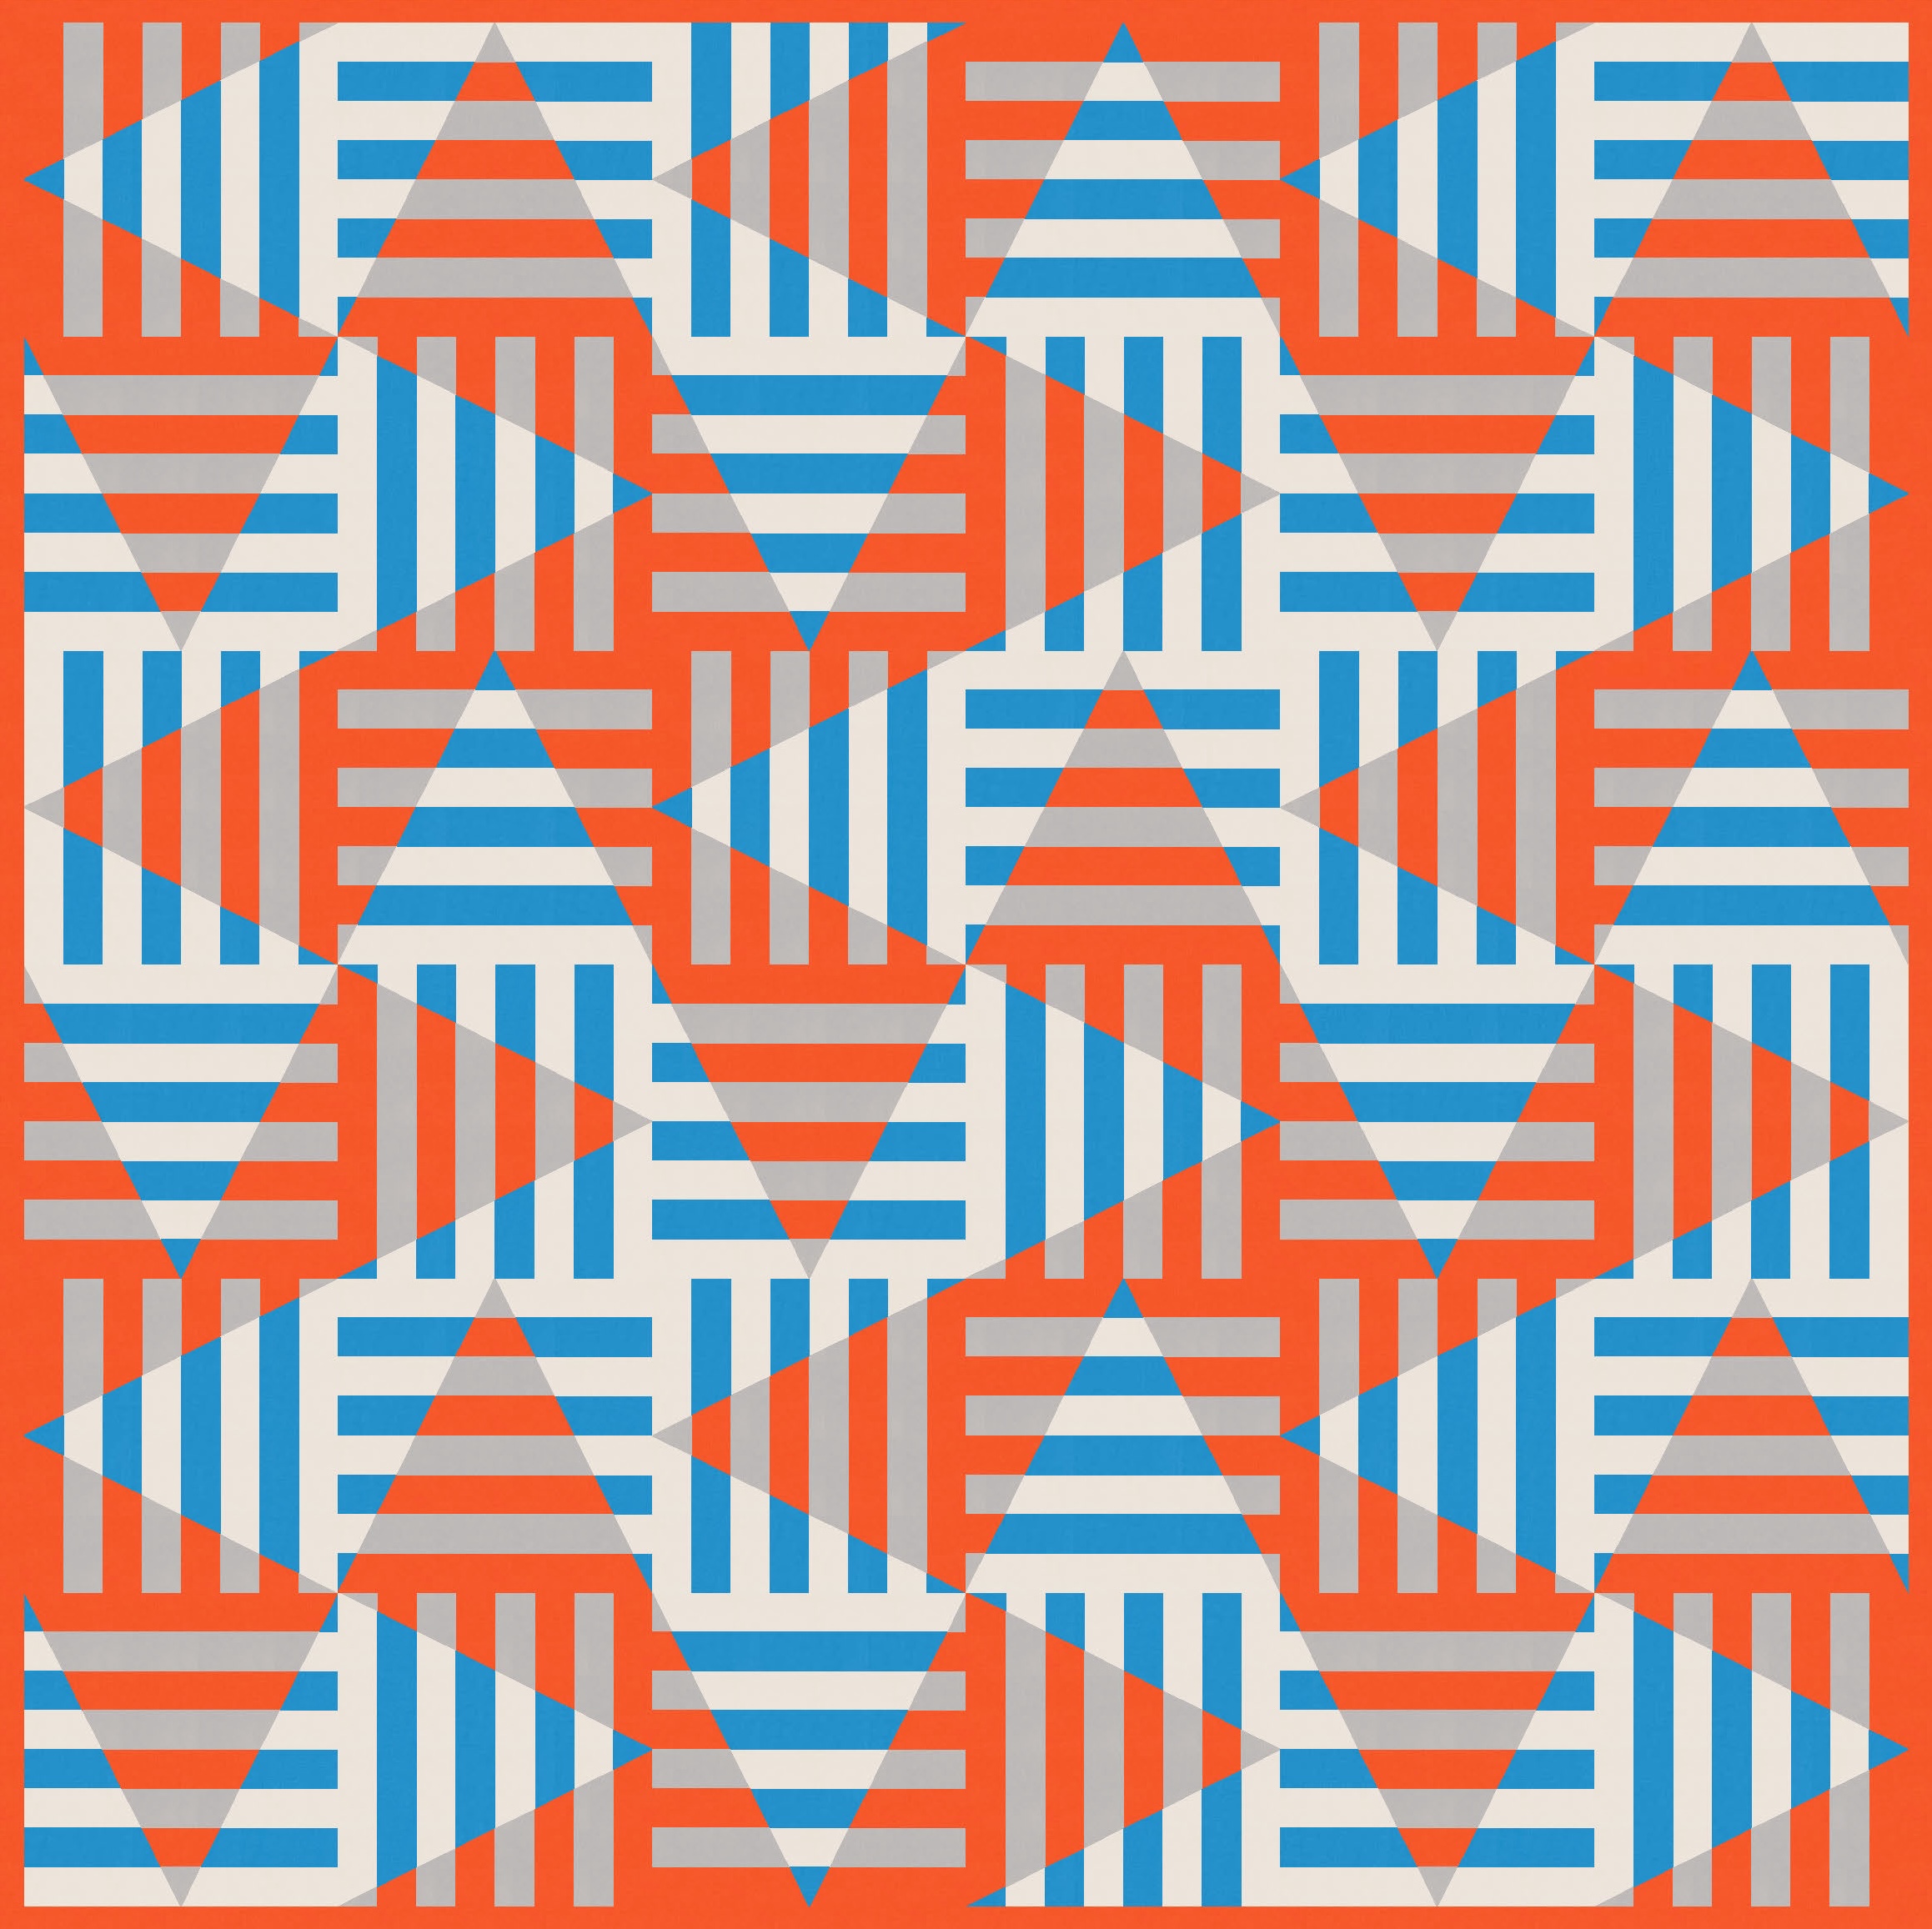
I don’t think it would be easy to add any more colours to the palette; four is the sensible limit for a design with four discrete elements (the alternating stripes on the inside of the triangles and the alternating stripes on the outside). Any more, and I think the colour might overwhelm the design.
To make this week’s sketch into a quilt, I’d probably sew a bunch of strip sets and then use templates to sub-cut the three pieces of the triangle-in-a-square block (you could make your own templates or just buy a triangle-in-a-square ruler).
Or you could just find two stripy fabrics?!
Sewing the large inside triangle to the two smaller outside triangles would require a fair bit of points matching to line up all the stripes, but pressing your seams in opposite directions when sewing the two strip sets would probably help. Nested seams may not work quite as well when you’re sewing pieces together on an angle though. (As I’m typing this out, I really want to try that to see…!) If you worked with striped fabrics instead of strip sets, you wouldn’t need to bother about pressing but you’d still need to be careful about matching up the stripes.
I didn’t think I’d be interested in making this one, but the more I think about it, the more I’m tempted to see if it’s as deceptively simple as I think it might be. Hmm… if I do try it, I’ll report back!
Discover more from Geometriquilt
Subscribe to get the latest posts sent to your email.

OH MY GOODNESS! I LOVE THIS ONE!
Can I ask for your permission to attempt to make it?
Of course! Send me pics!! ❤️