Sunday sketch #472
I designed this week’s sketch before the QuiltCon 2026 Diamond Quilting Challenge was announced, but it did make me realise that I don’t design with diamonds much. I think that’s mostly because I haven’t figured out how to do it easily in Electric Quilt 8 (my fault, not theirs!). I really should learn one of these days.
But I found another way to make the diamonds in this week’s sketch, which I’ll explain later. For now, let me walk you through how I created this design.
I saw this diamond shape with an internal curvy star, and figured it would tile nicely. Yep, it does.
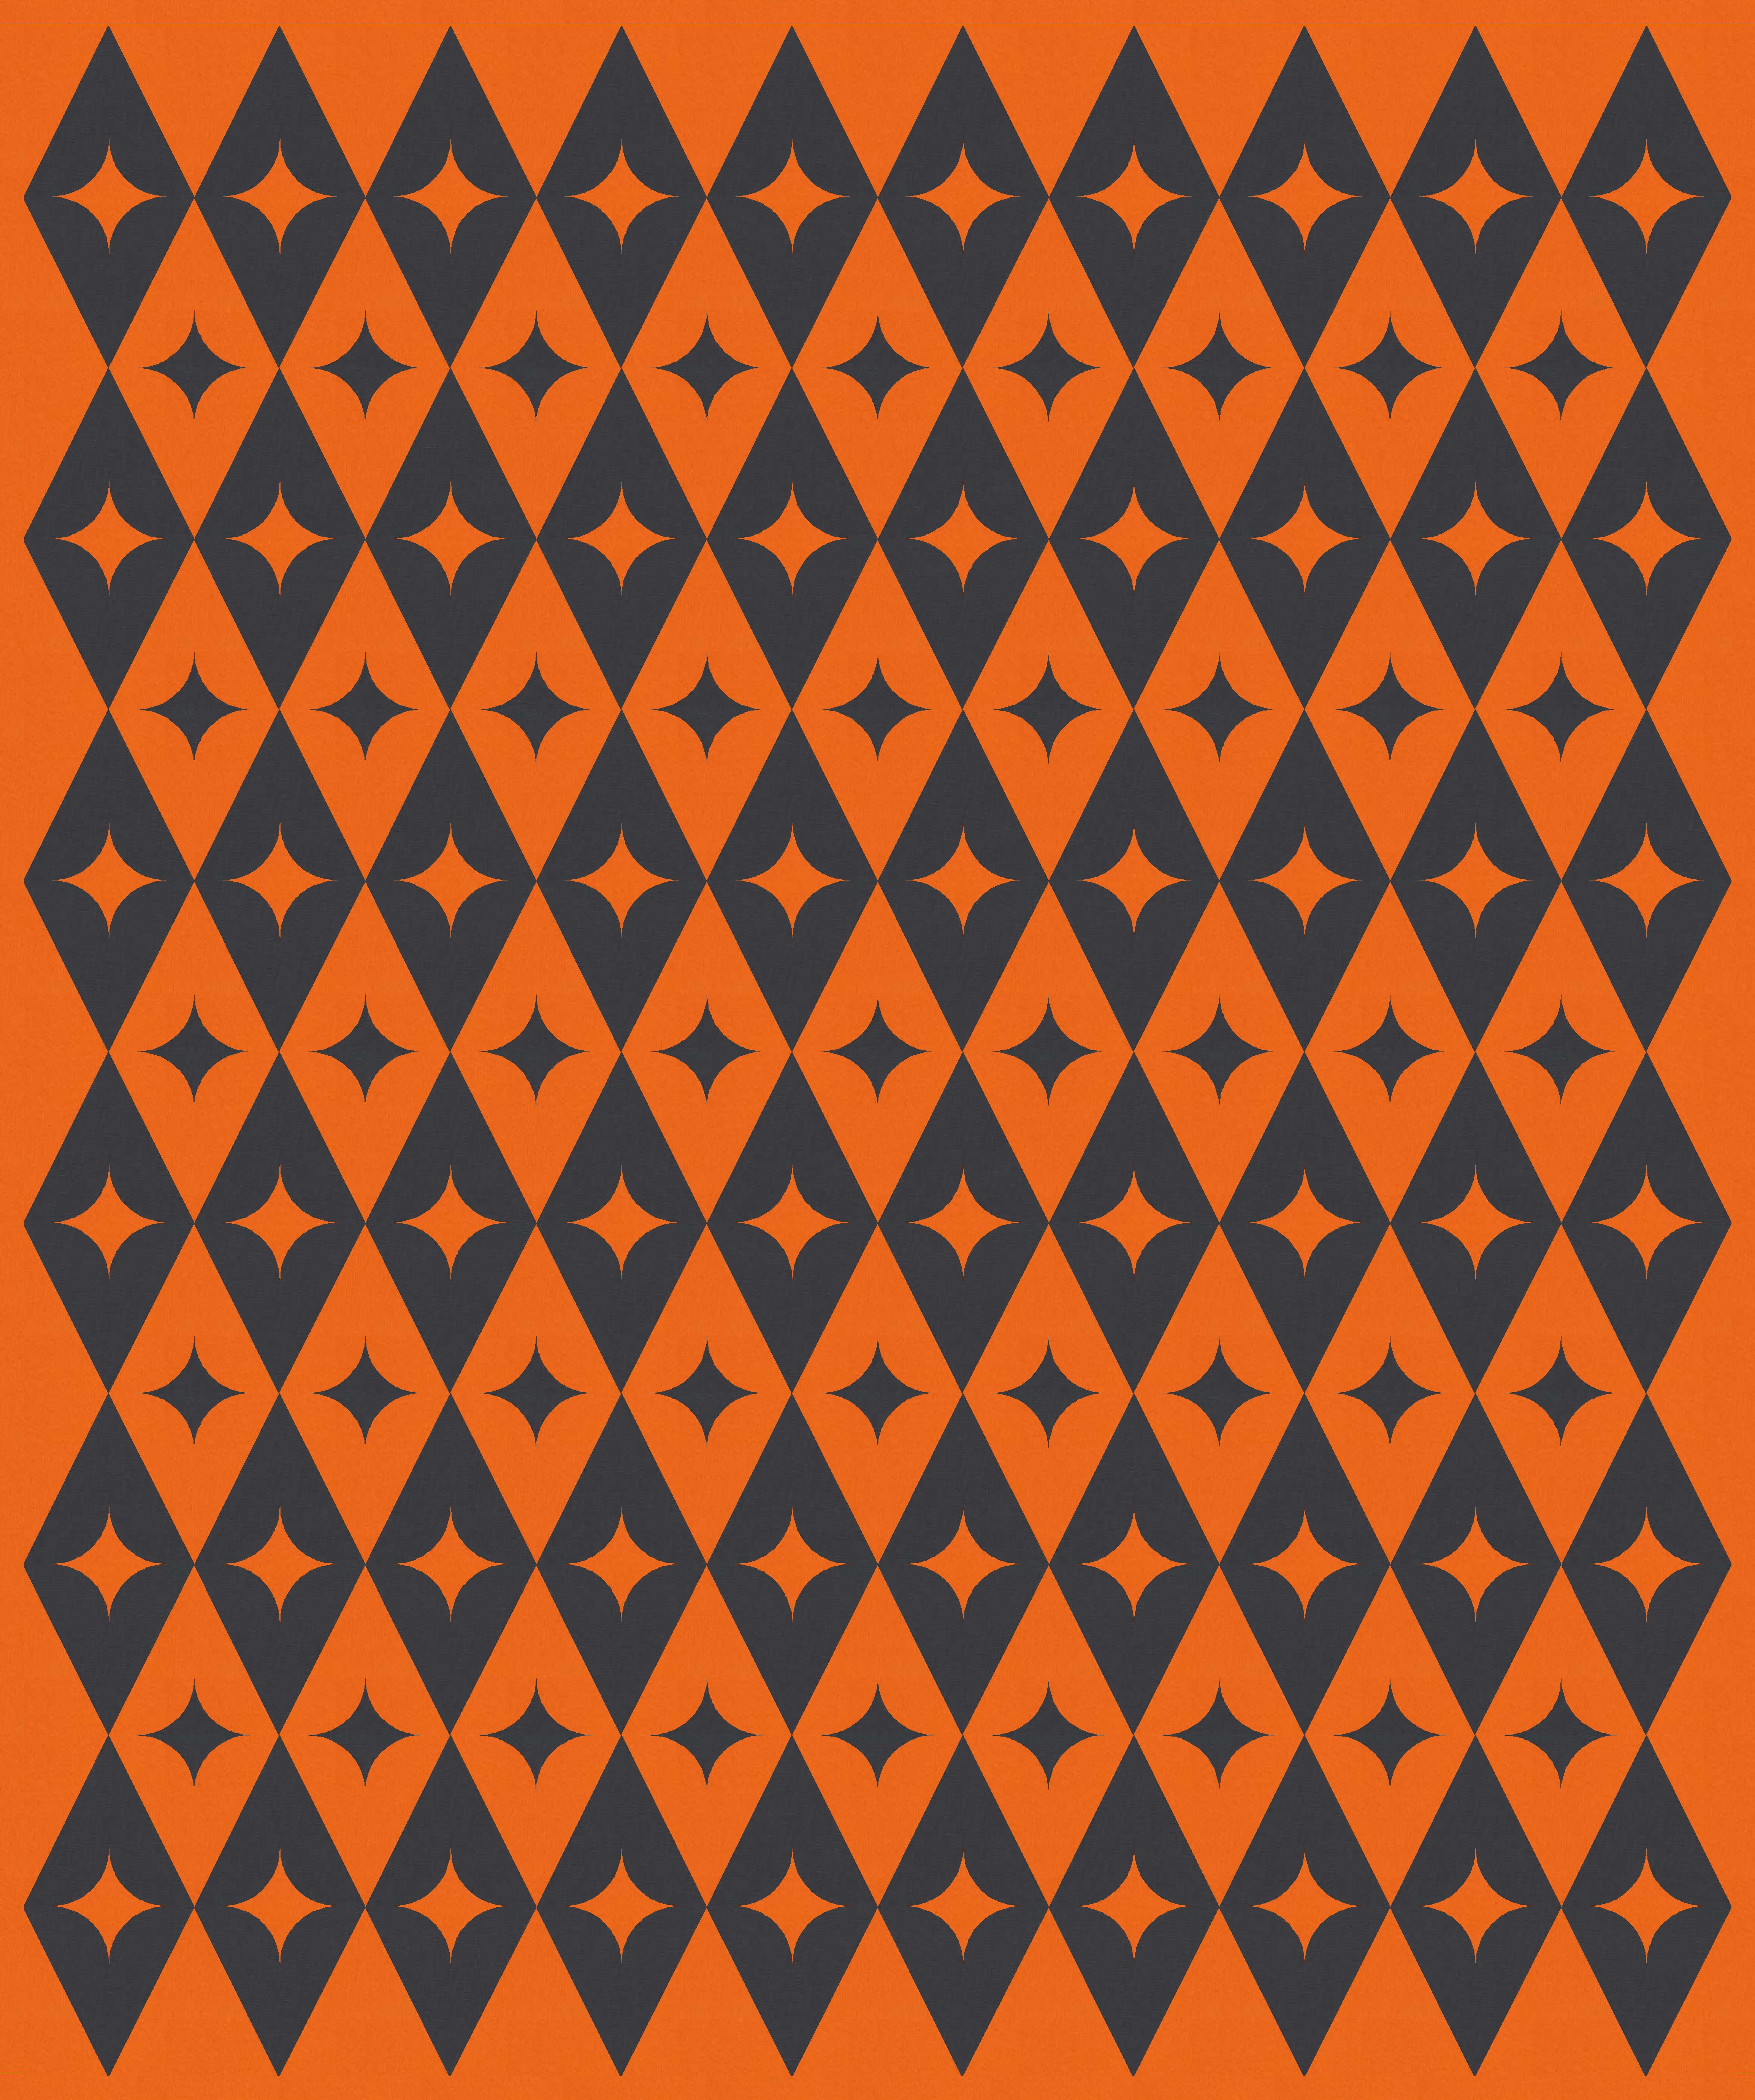
It’s a cute shape and I like the overall feel of this design, but the colouring is… not so interesting. I kept playing with colour placement to see if I could lift the design a little.
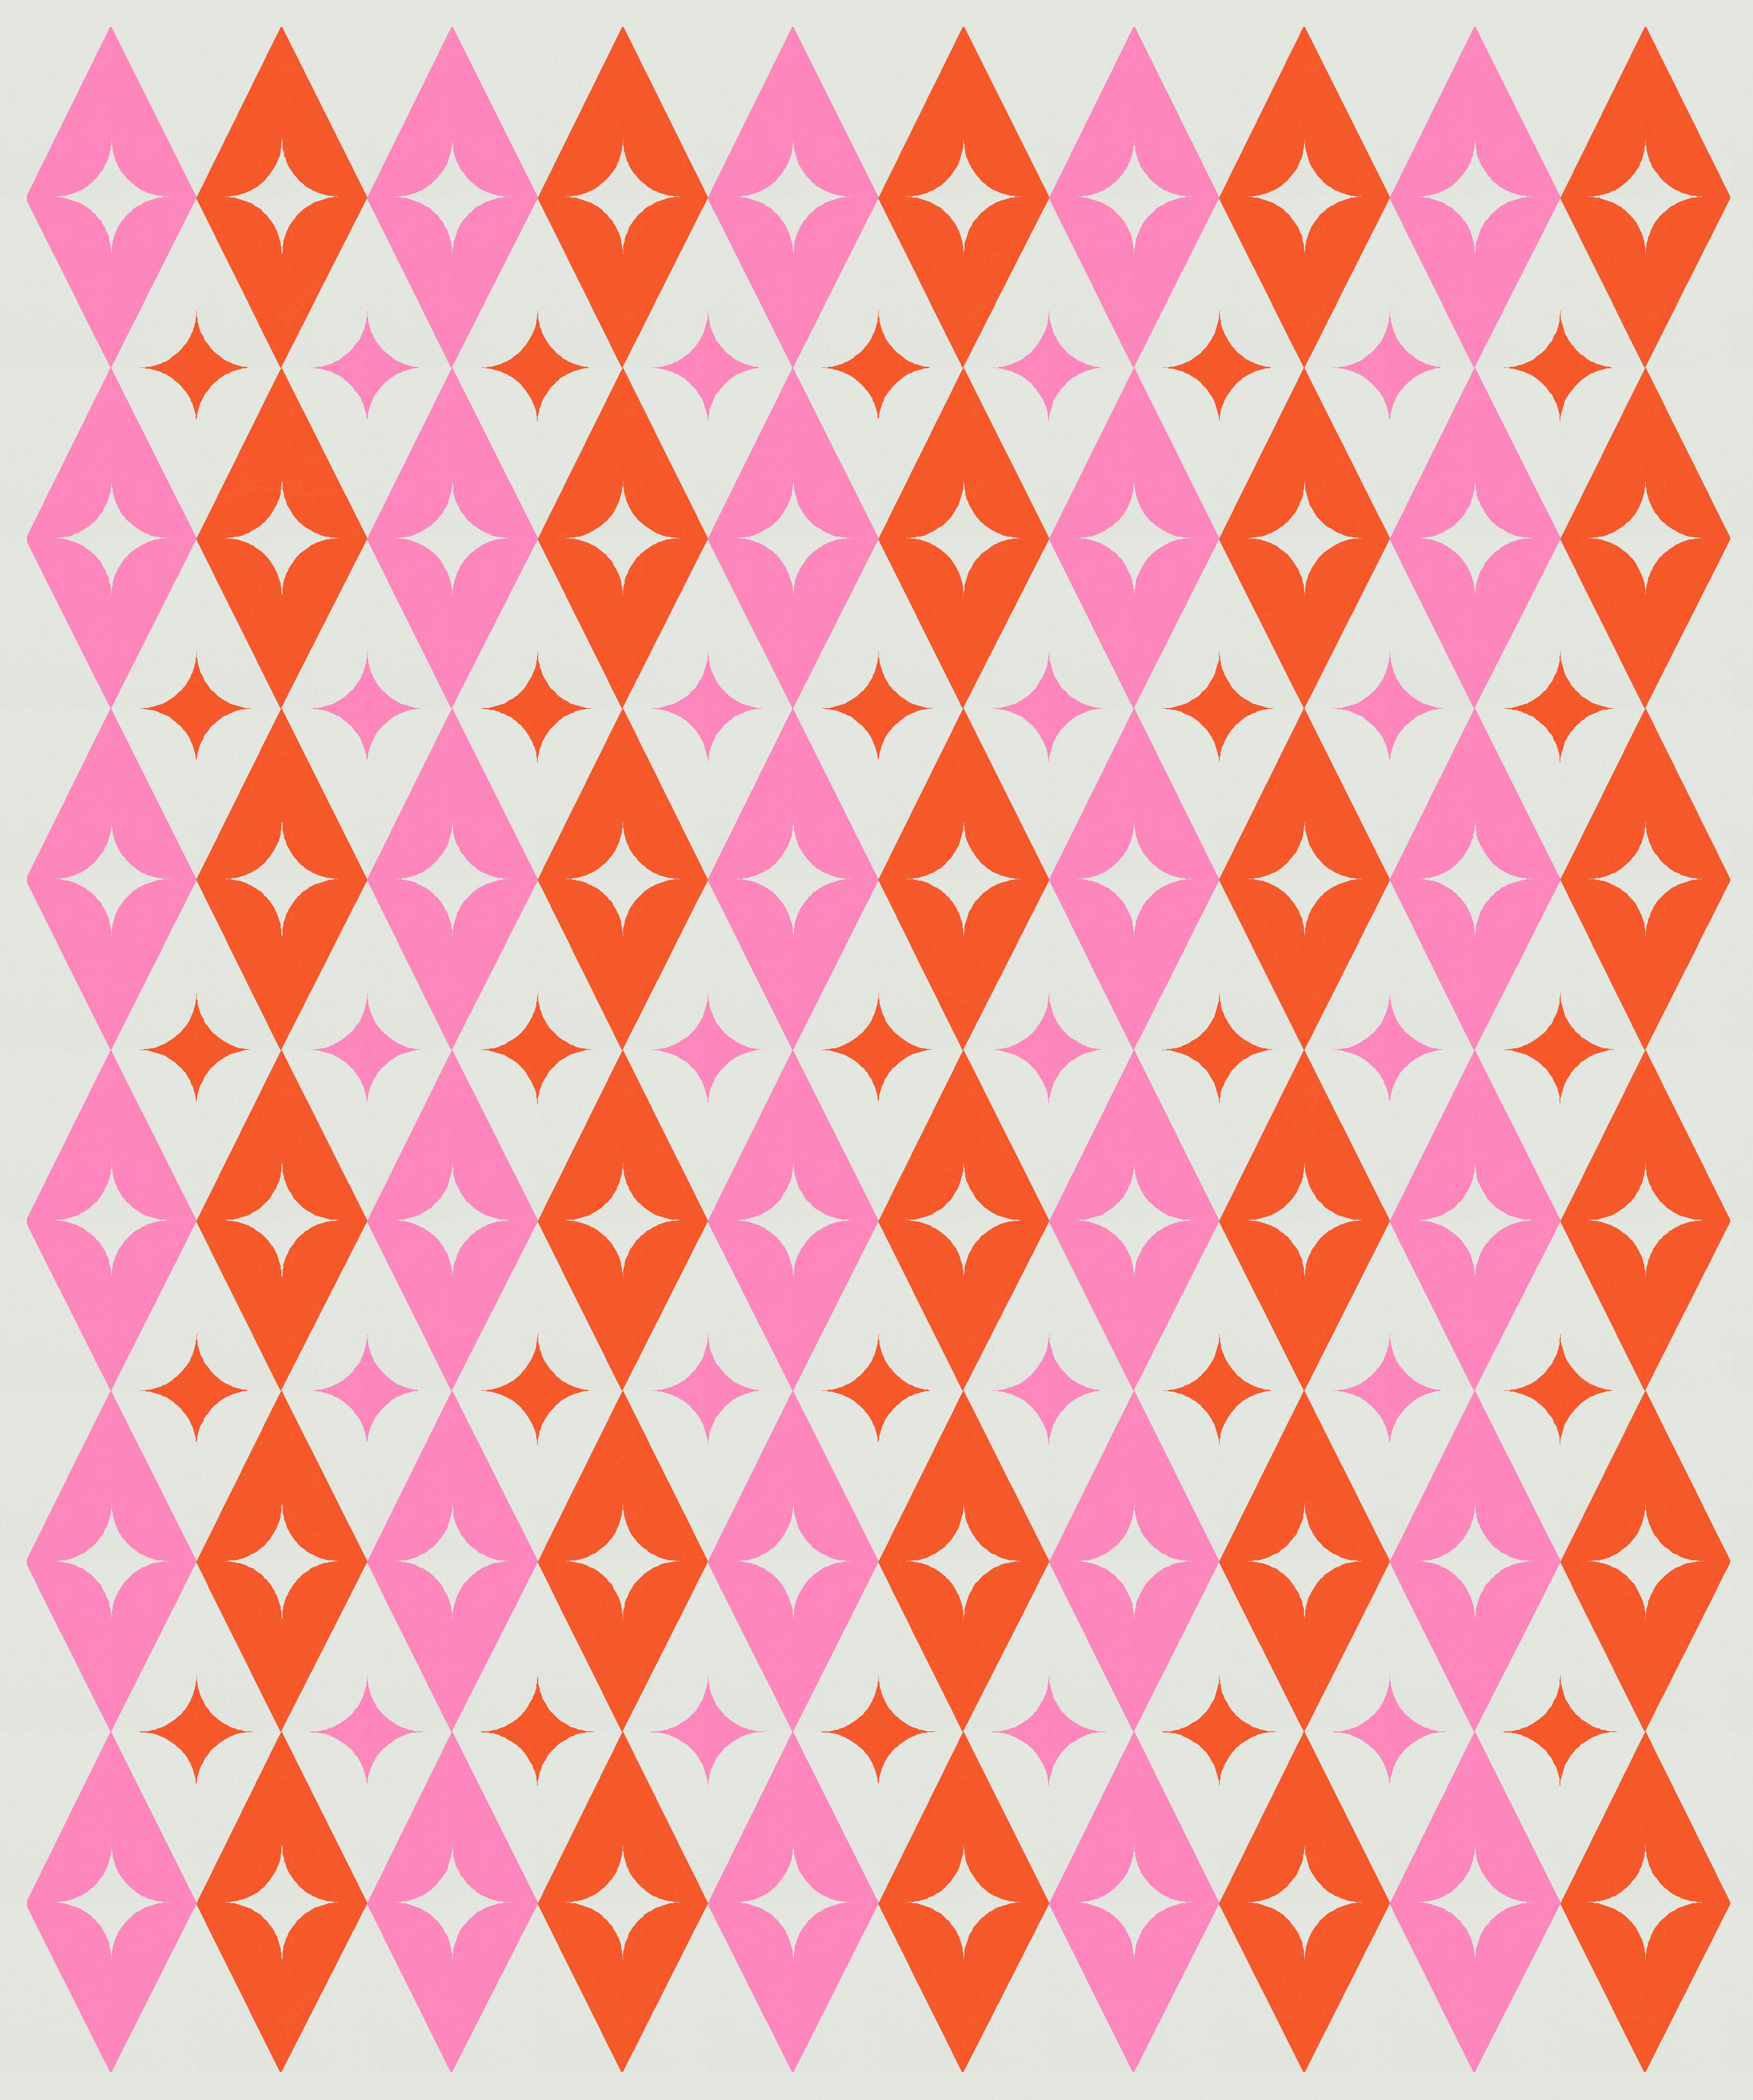
Maybe if I mixed up the colour placement? These next two versions are a bit more interesting, but still don’t give me that ‘yeah!’ feeling I’m looking for.
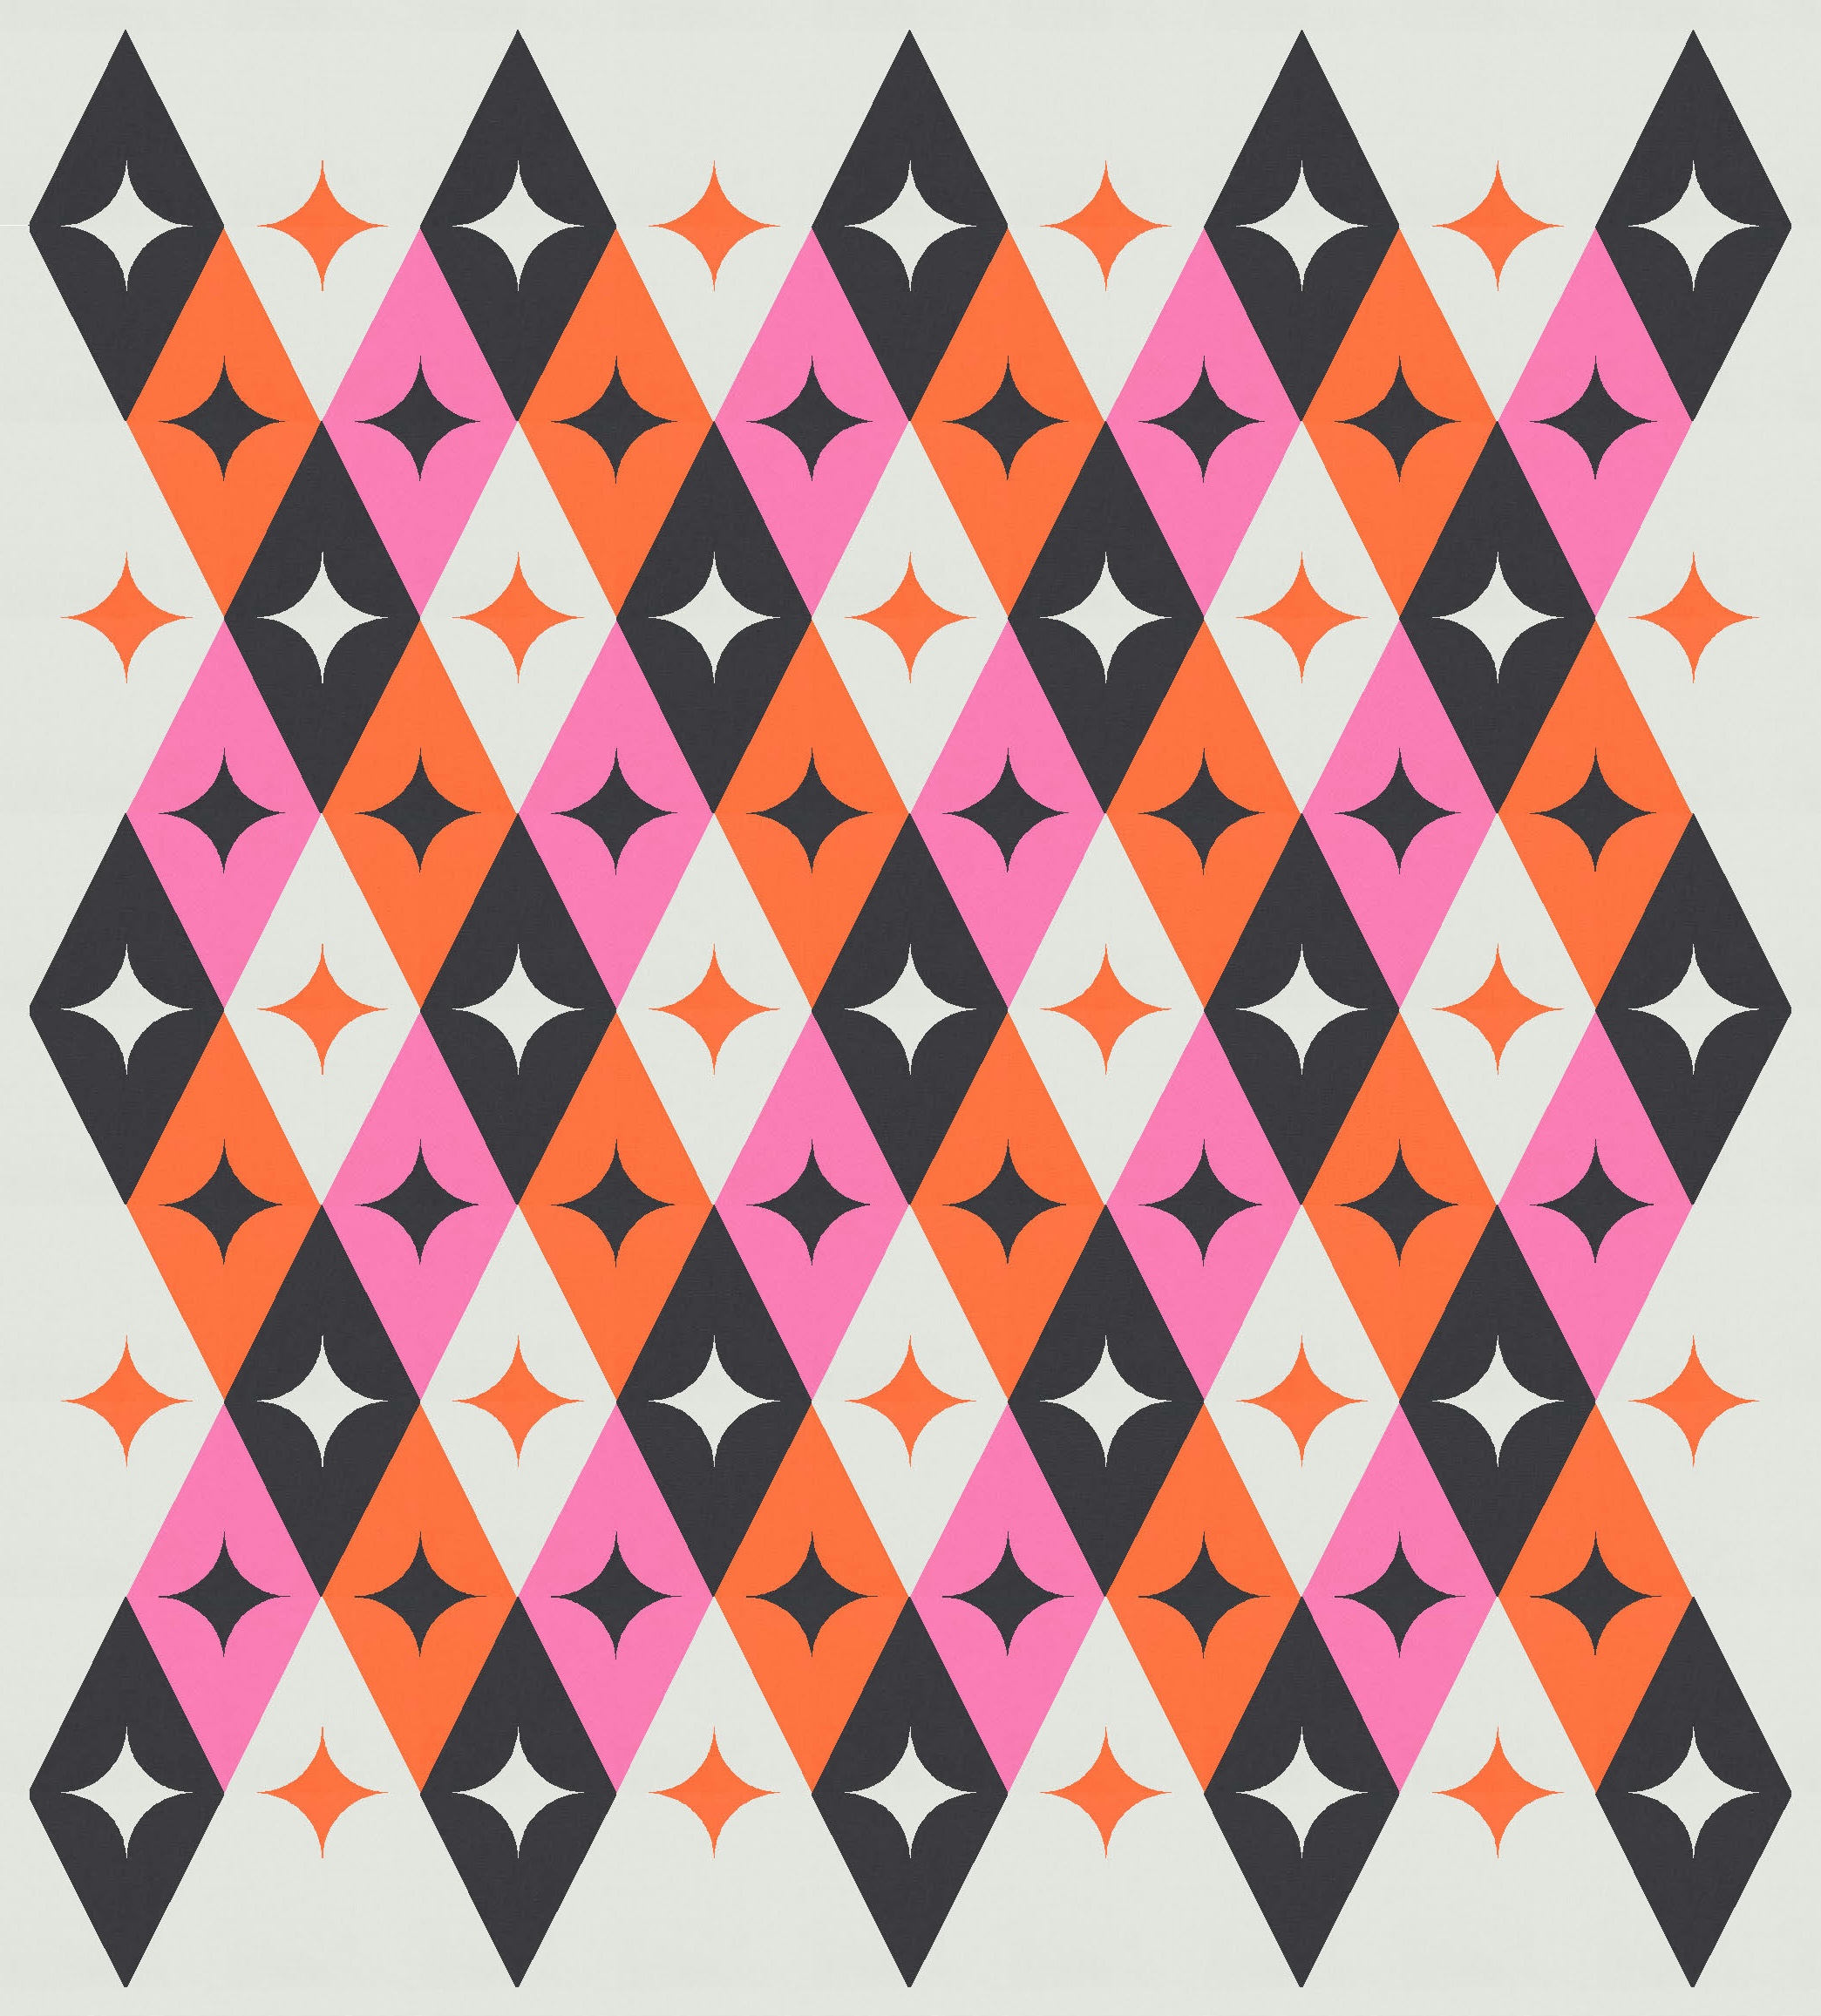
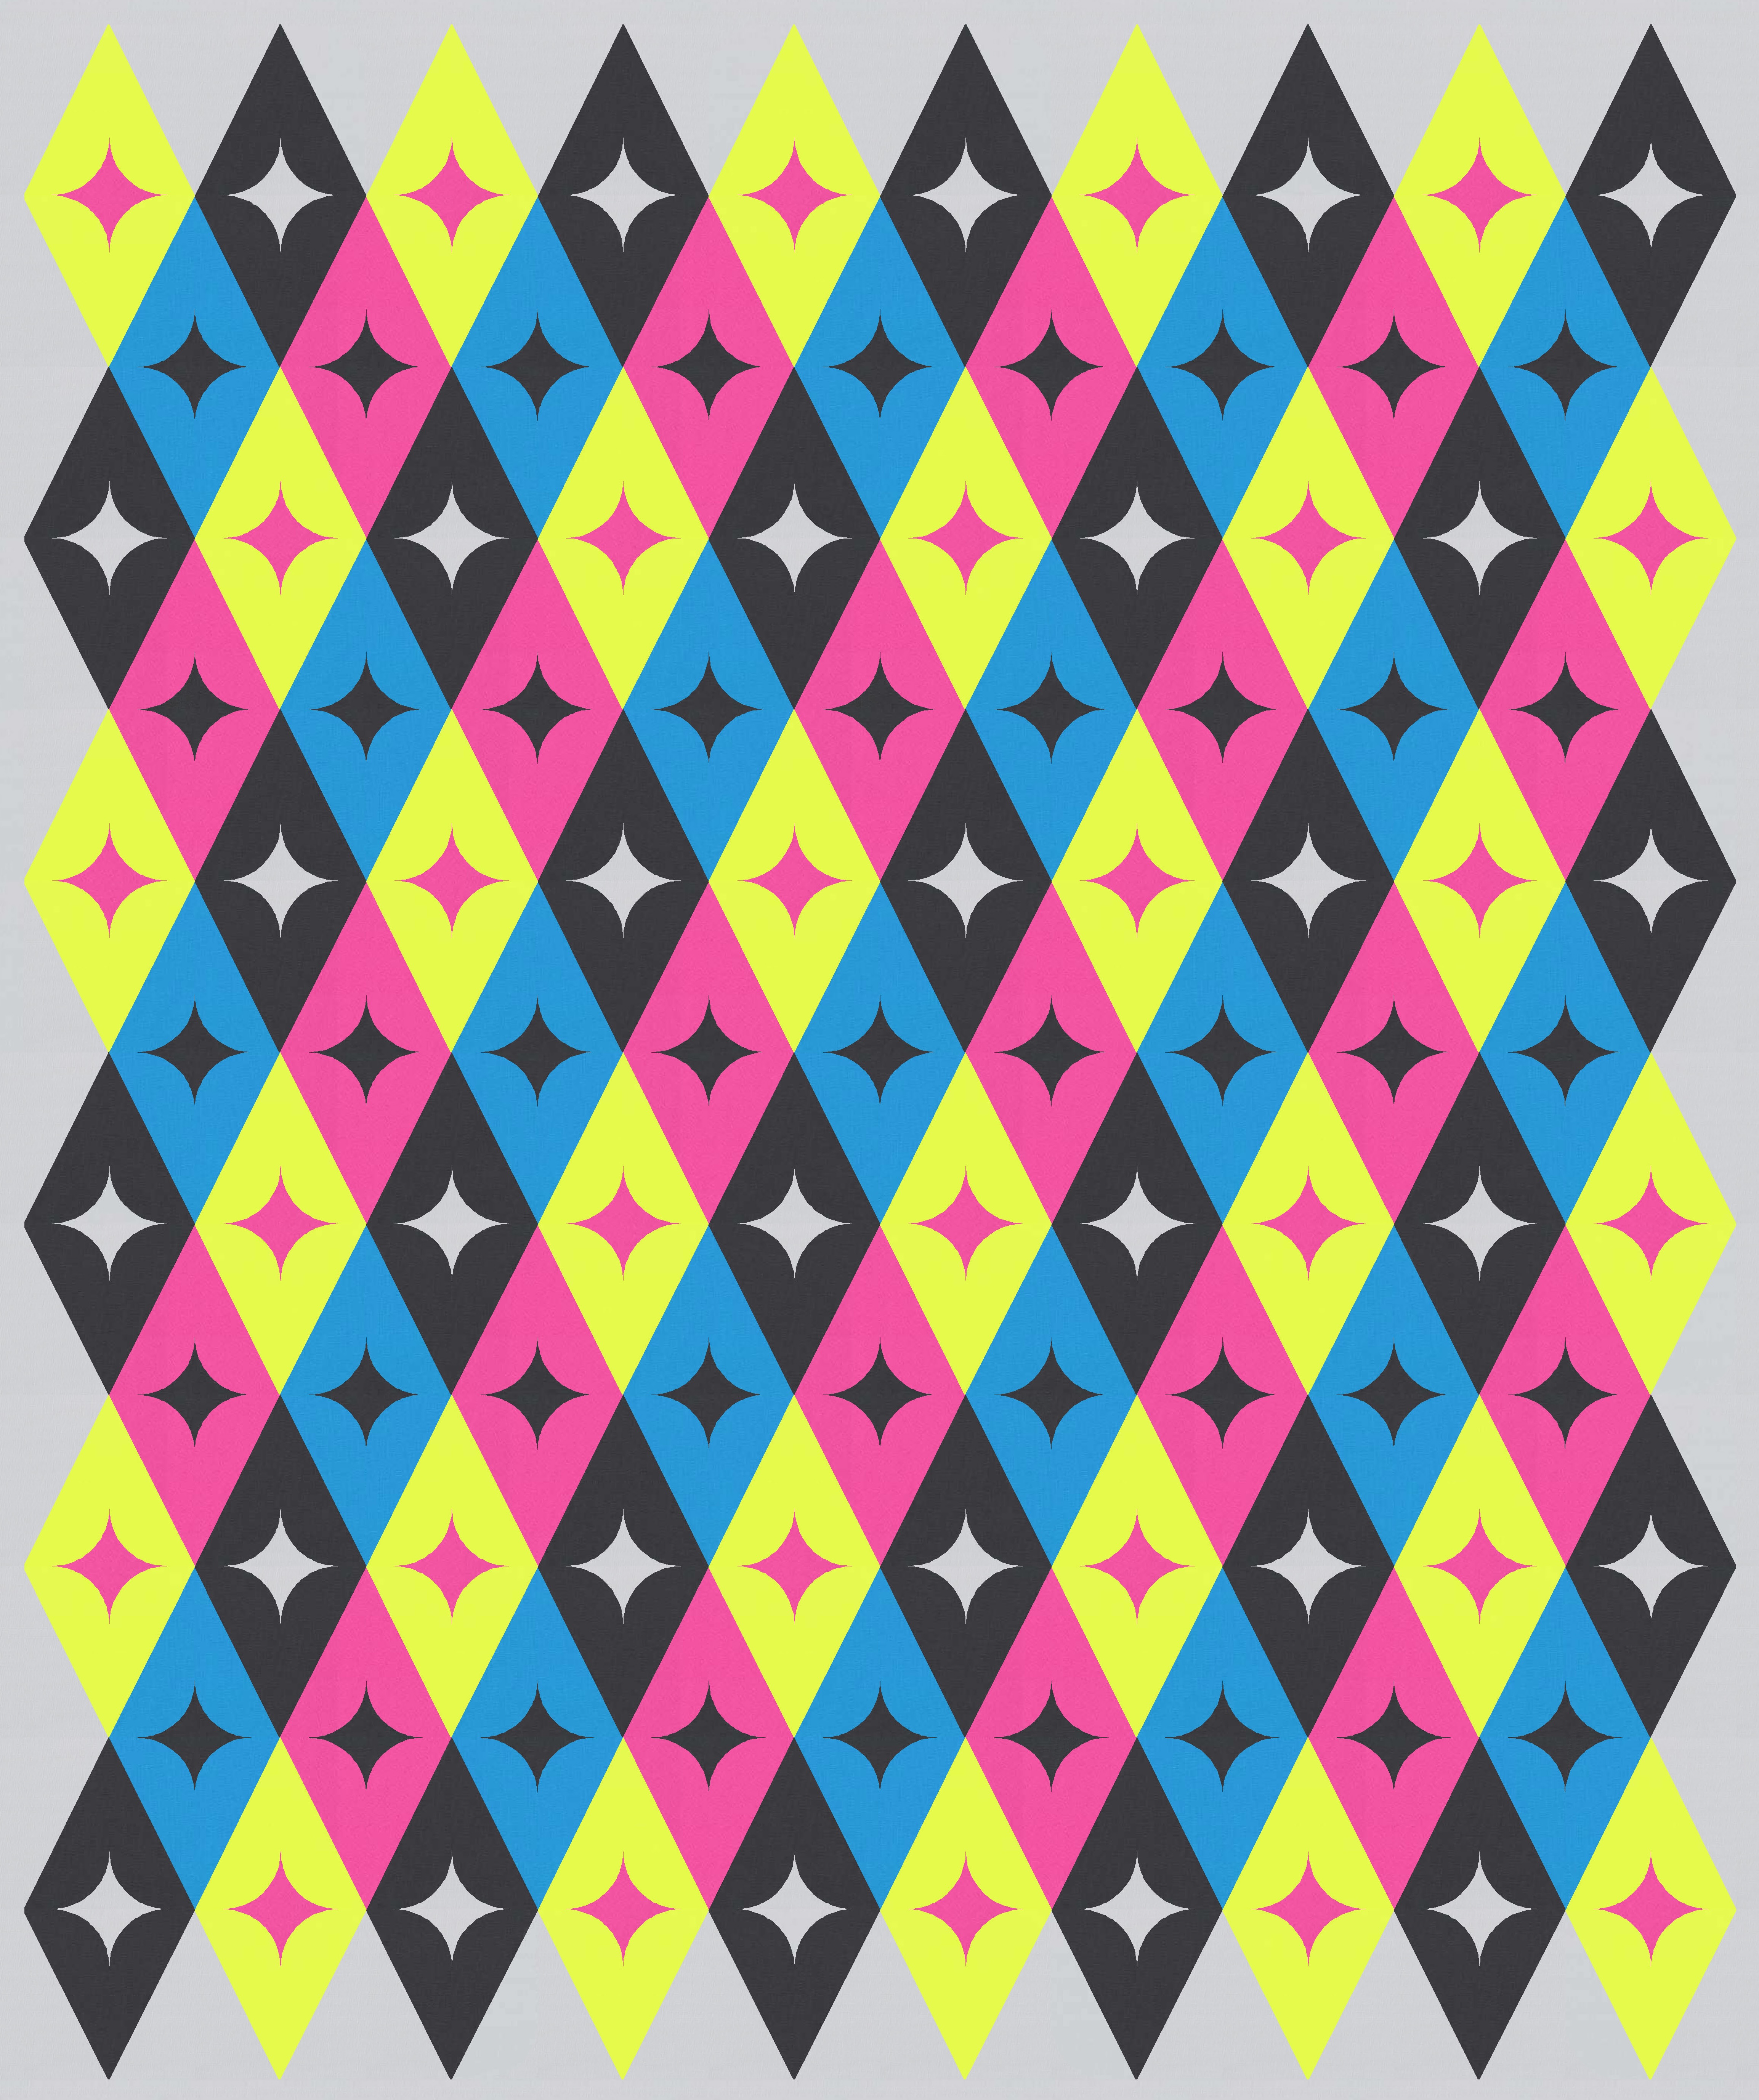
I decided to go instead with a woven/plaid effect. Ahh, that’s more pleasing to my eye.

After the announcement came out about the QuiltCon quilting challenge, I wondered if perhaps I might try making this one into a quilt for submission to the show. I don’t think the version above would work for ‘modern’; I’d have to subtract some stuff, add some asymmetry, think about different colours. But I think this design is usable as a base for something a bit more modern.

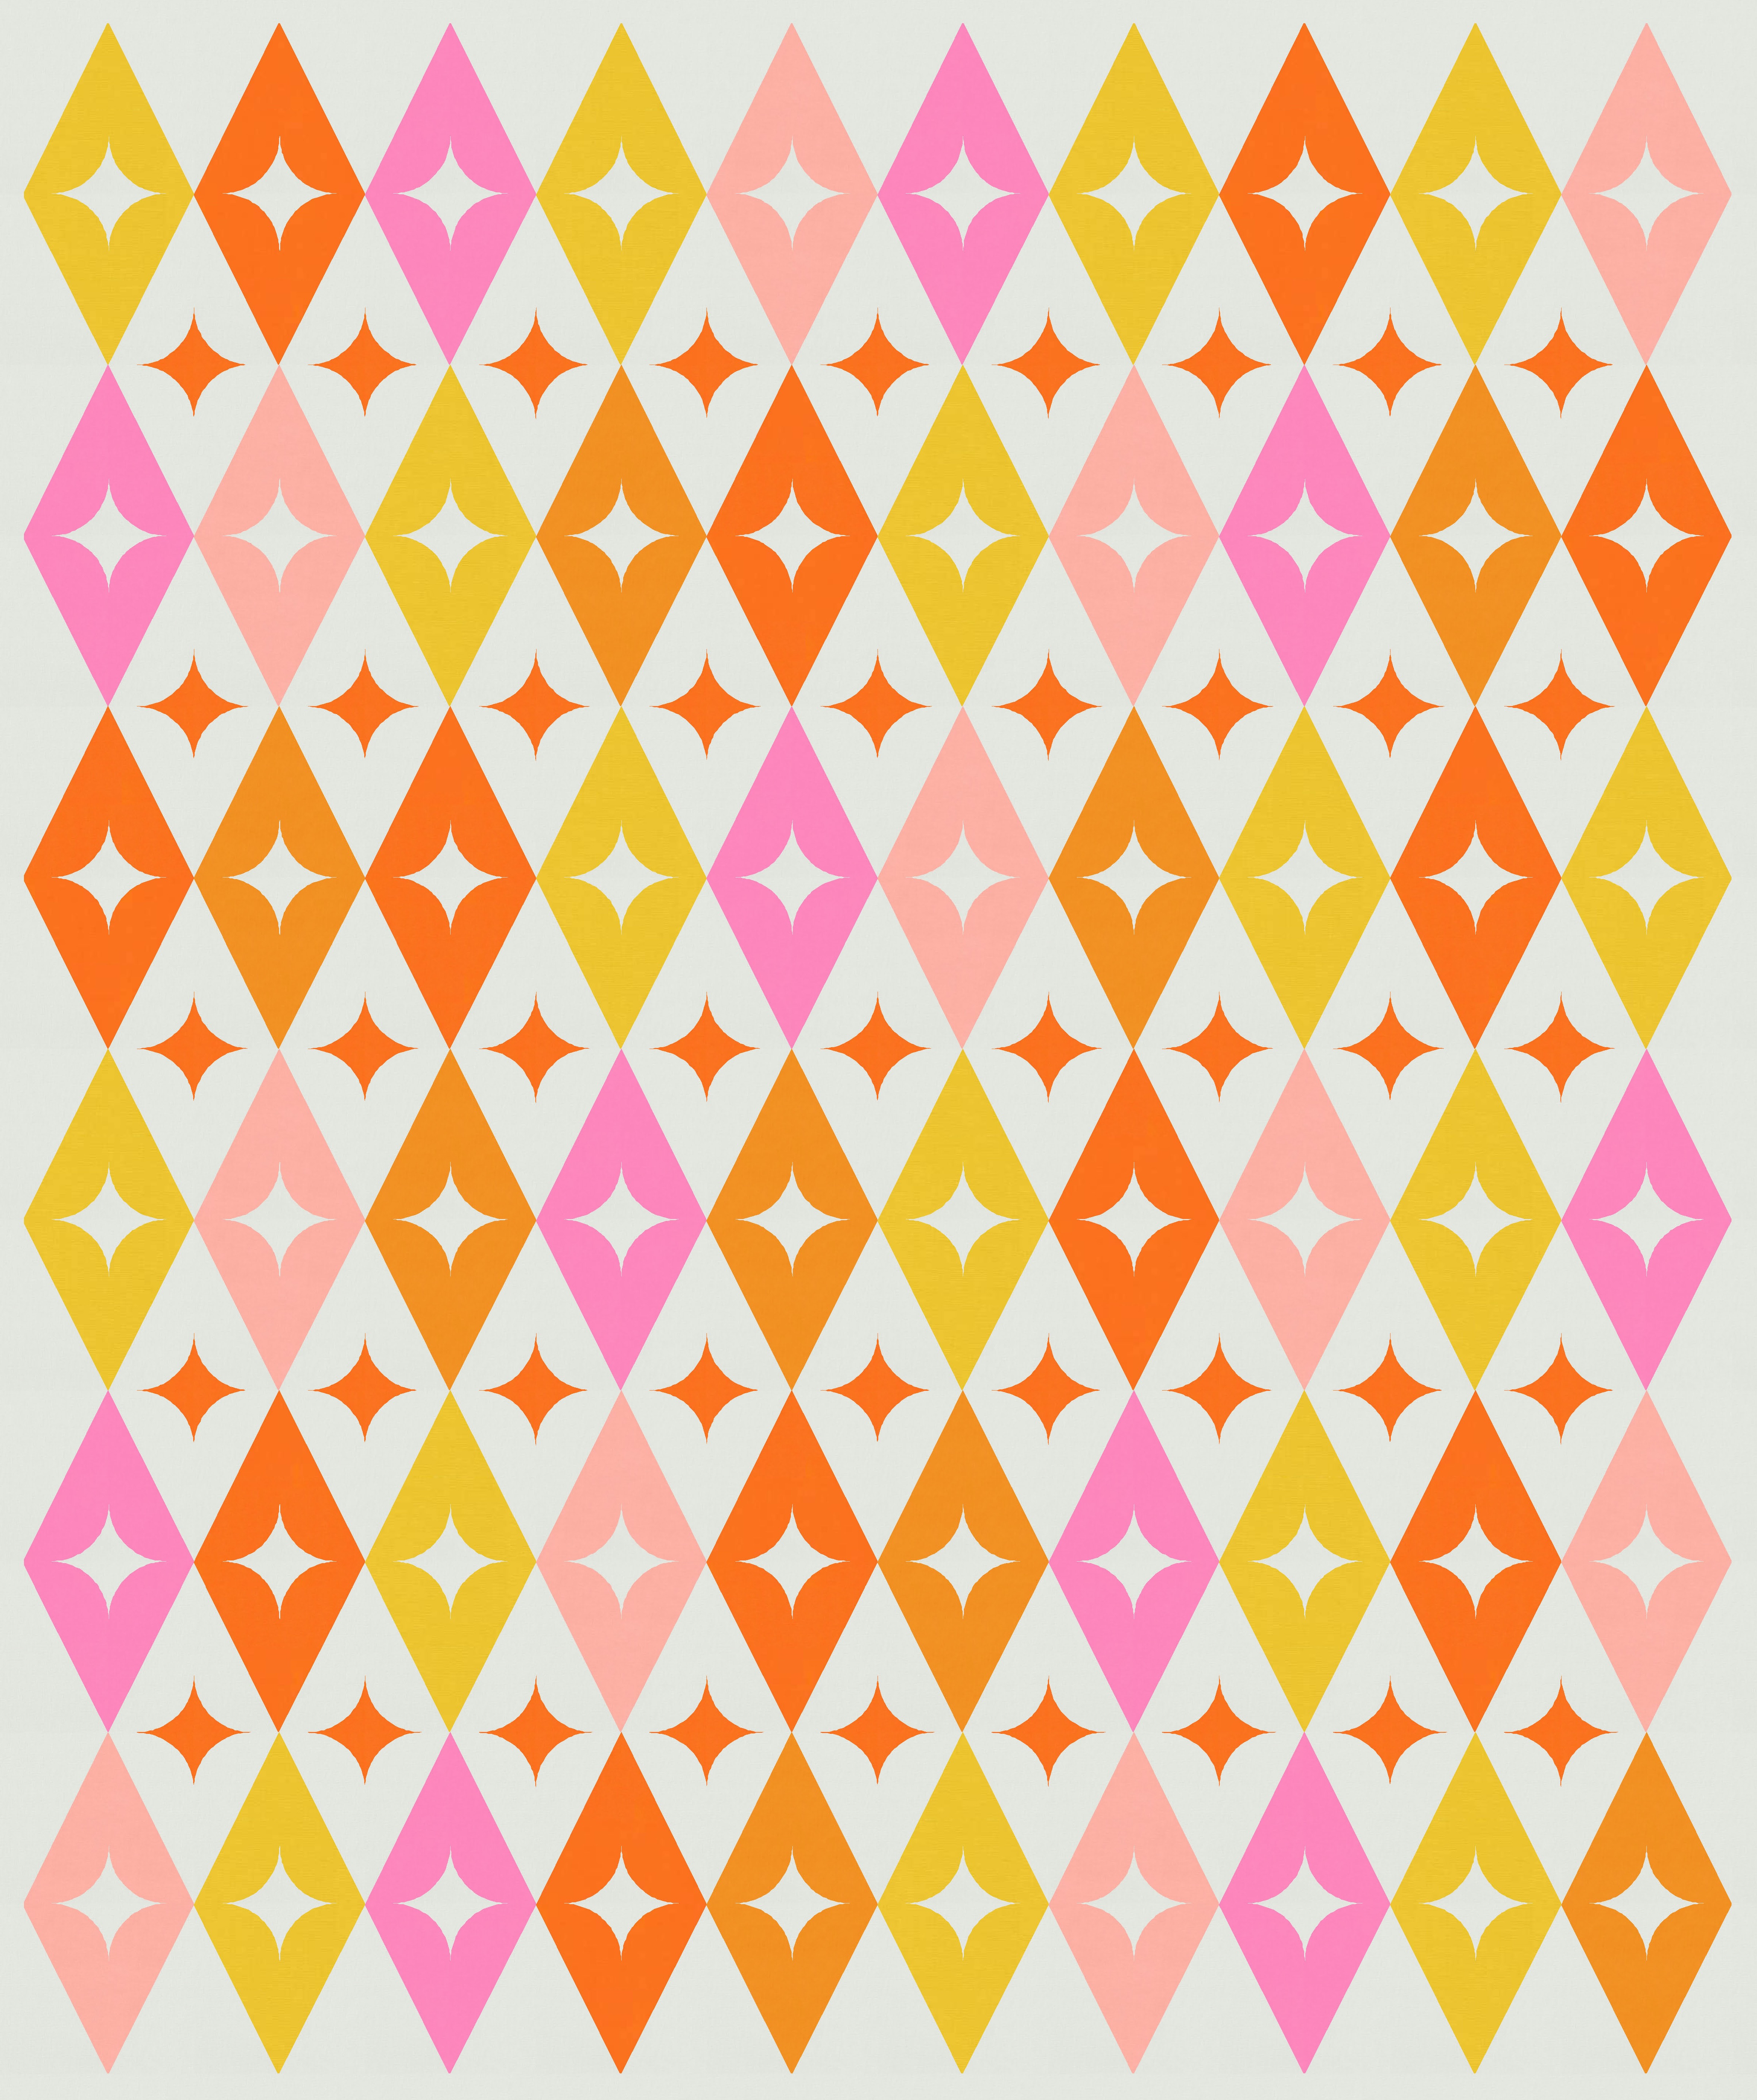
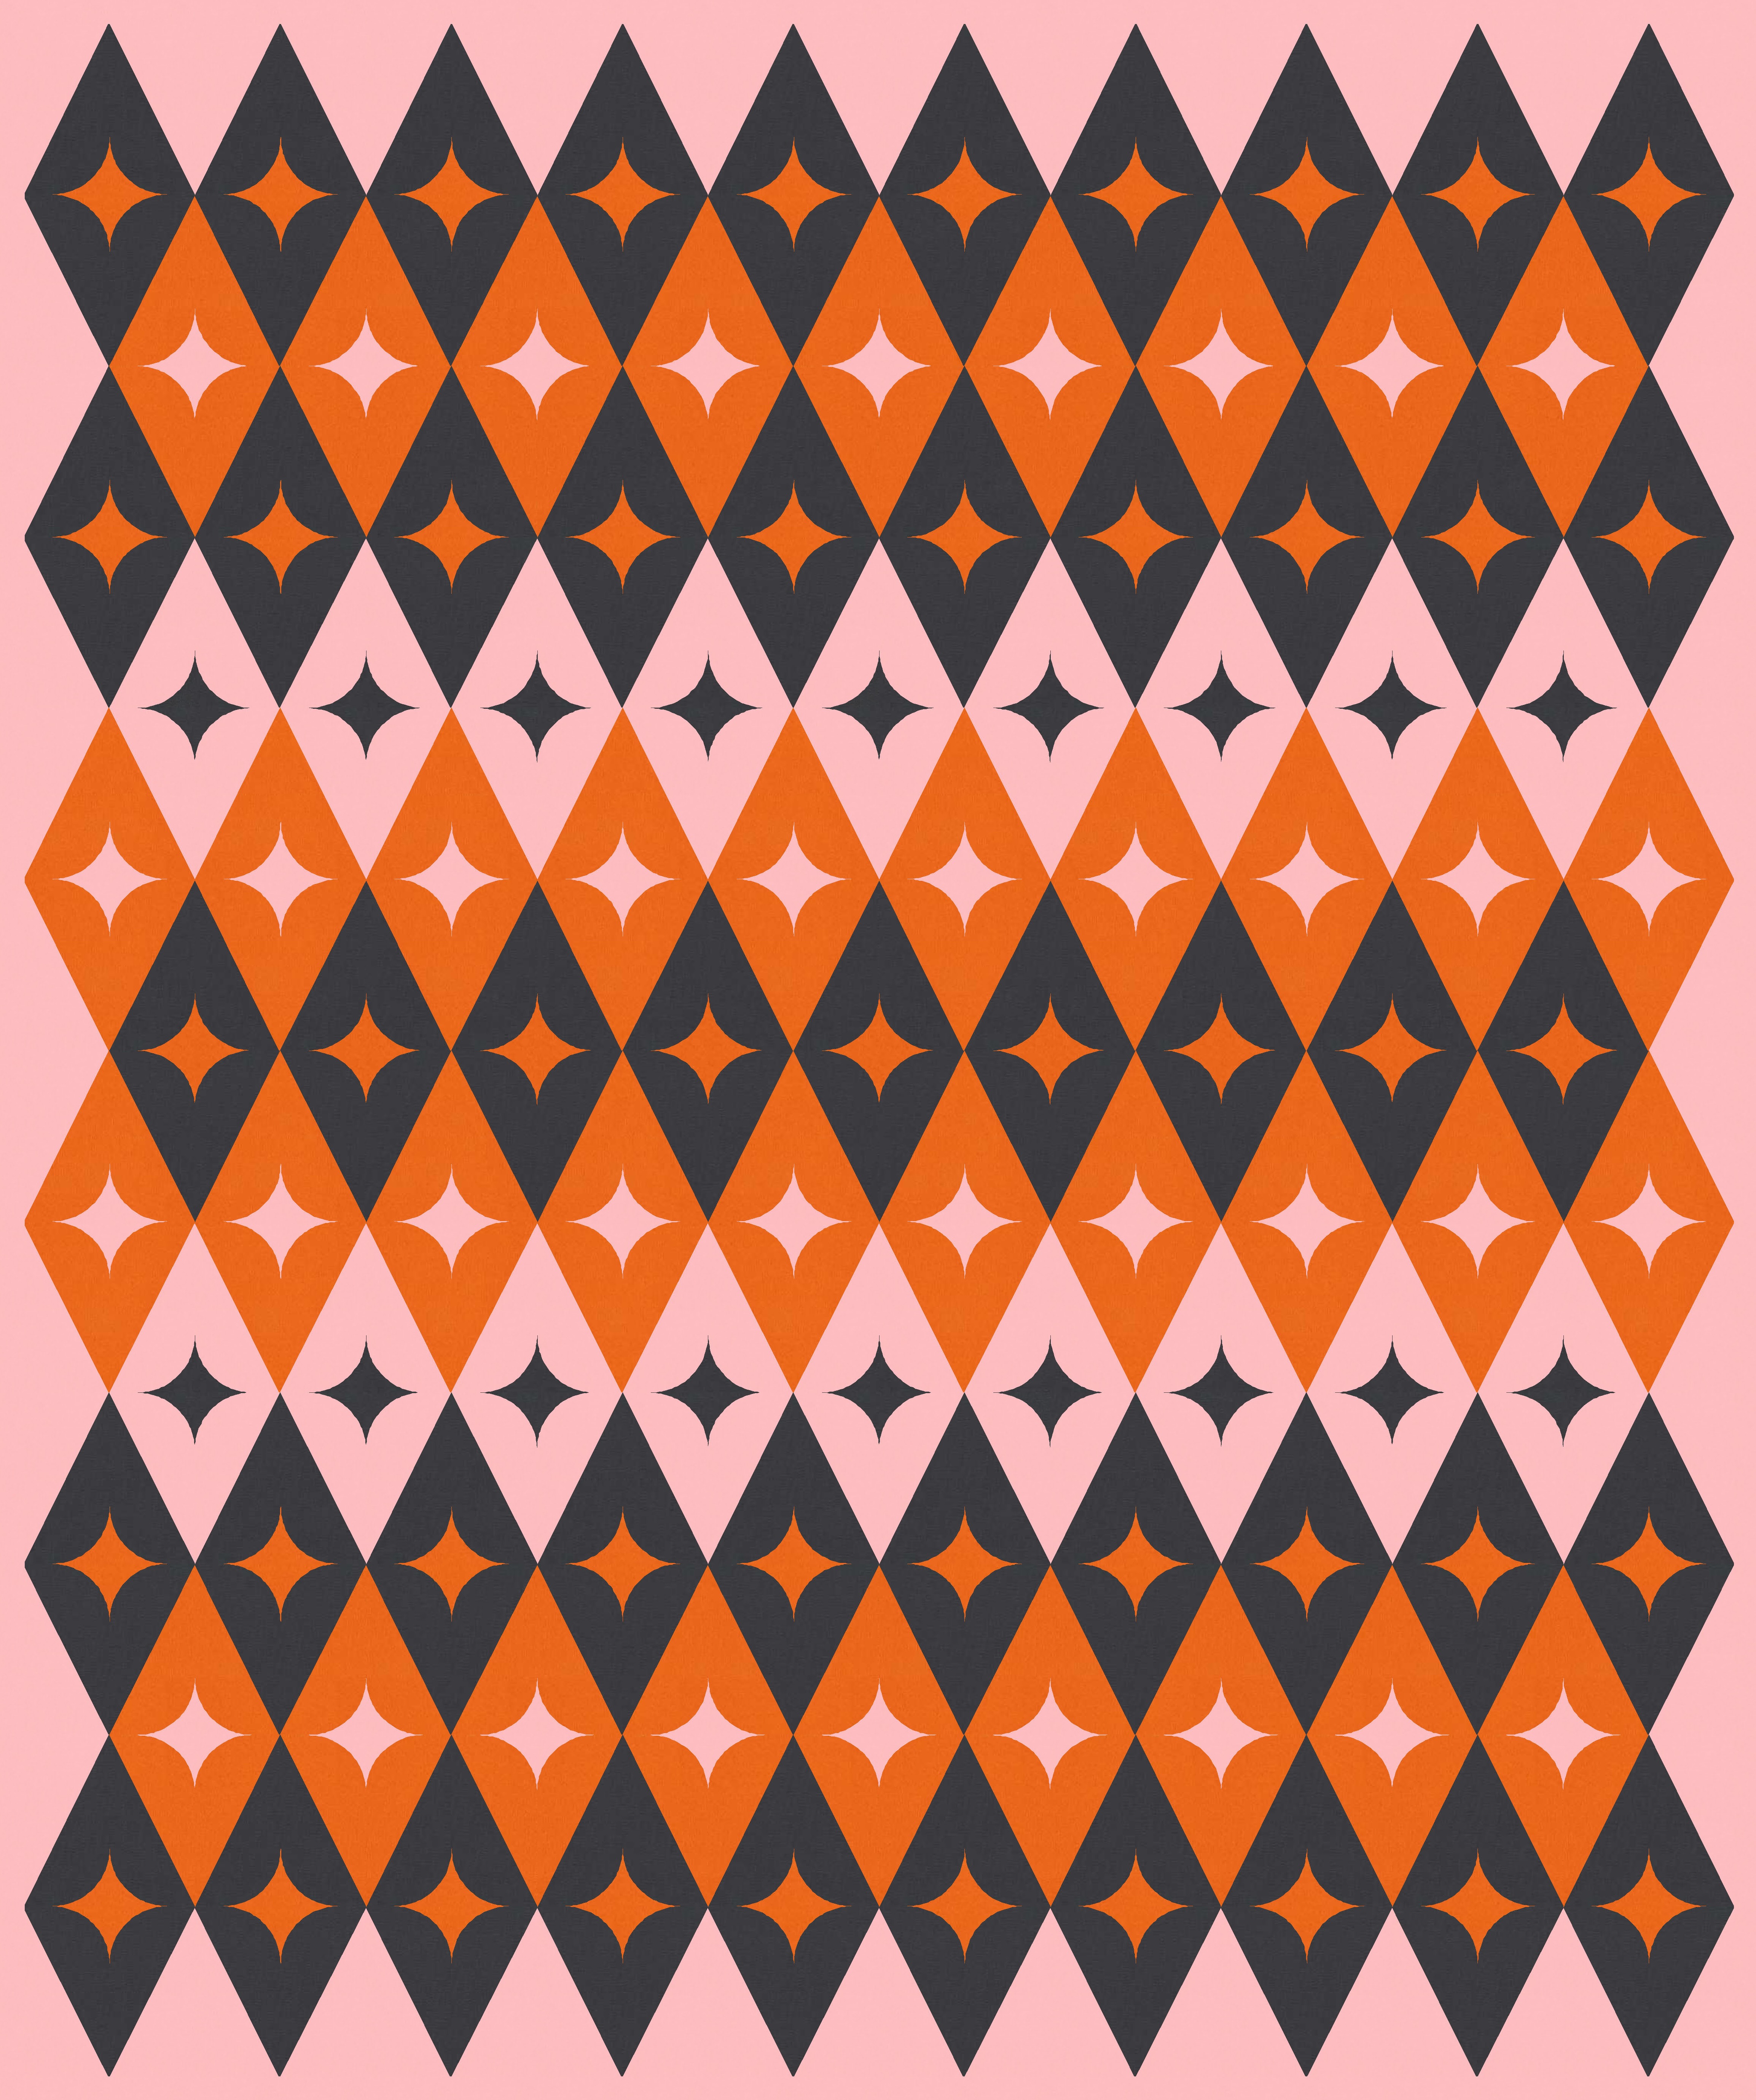
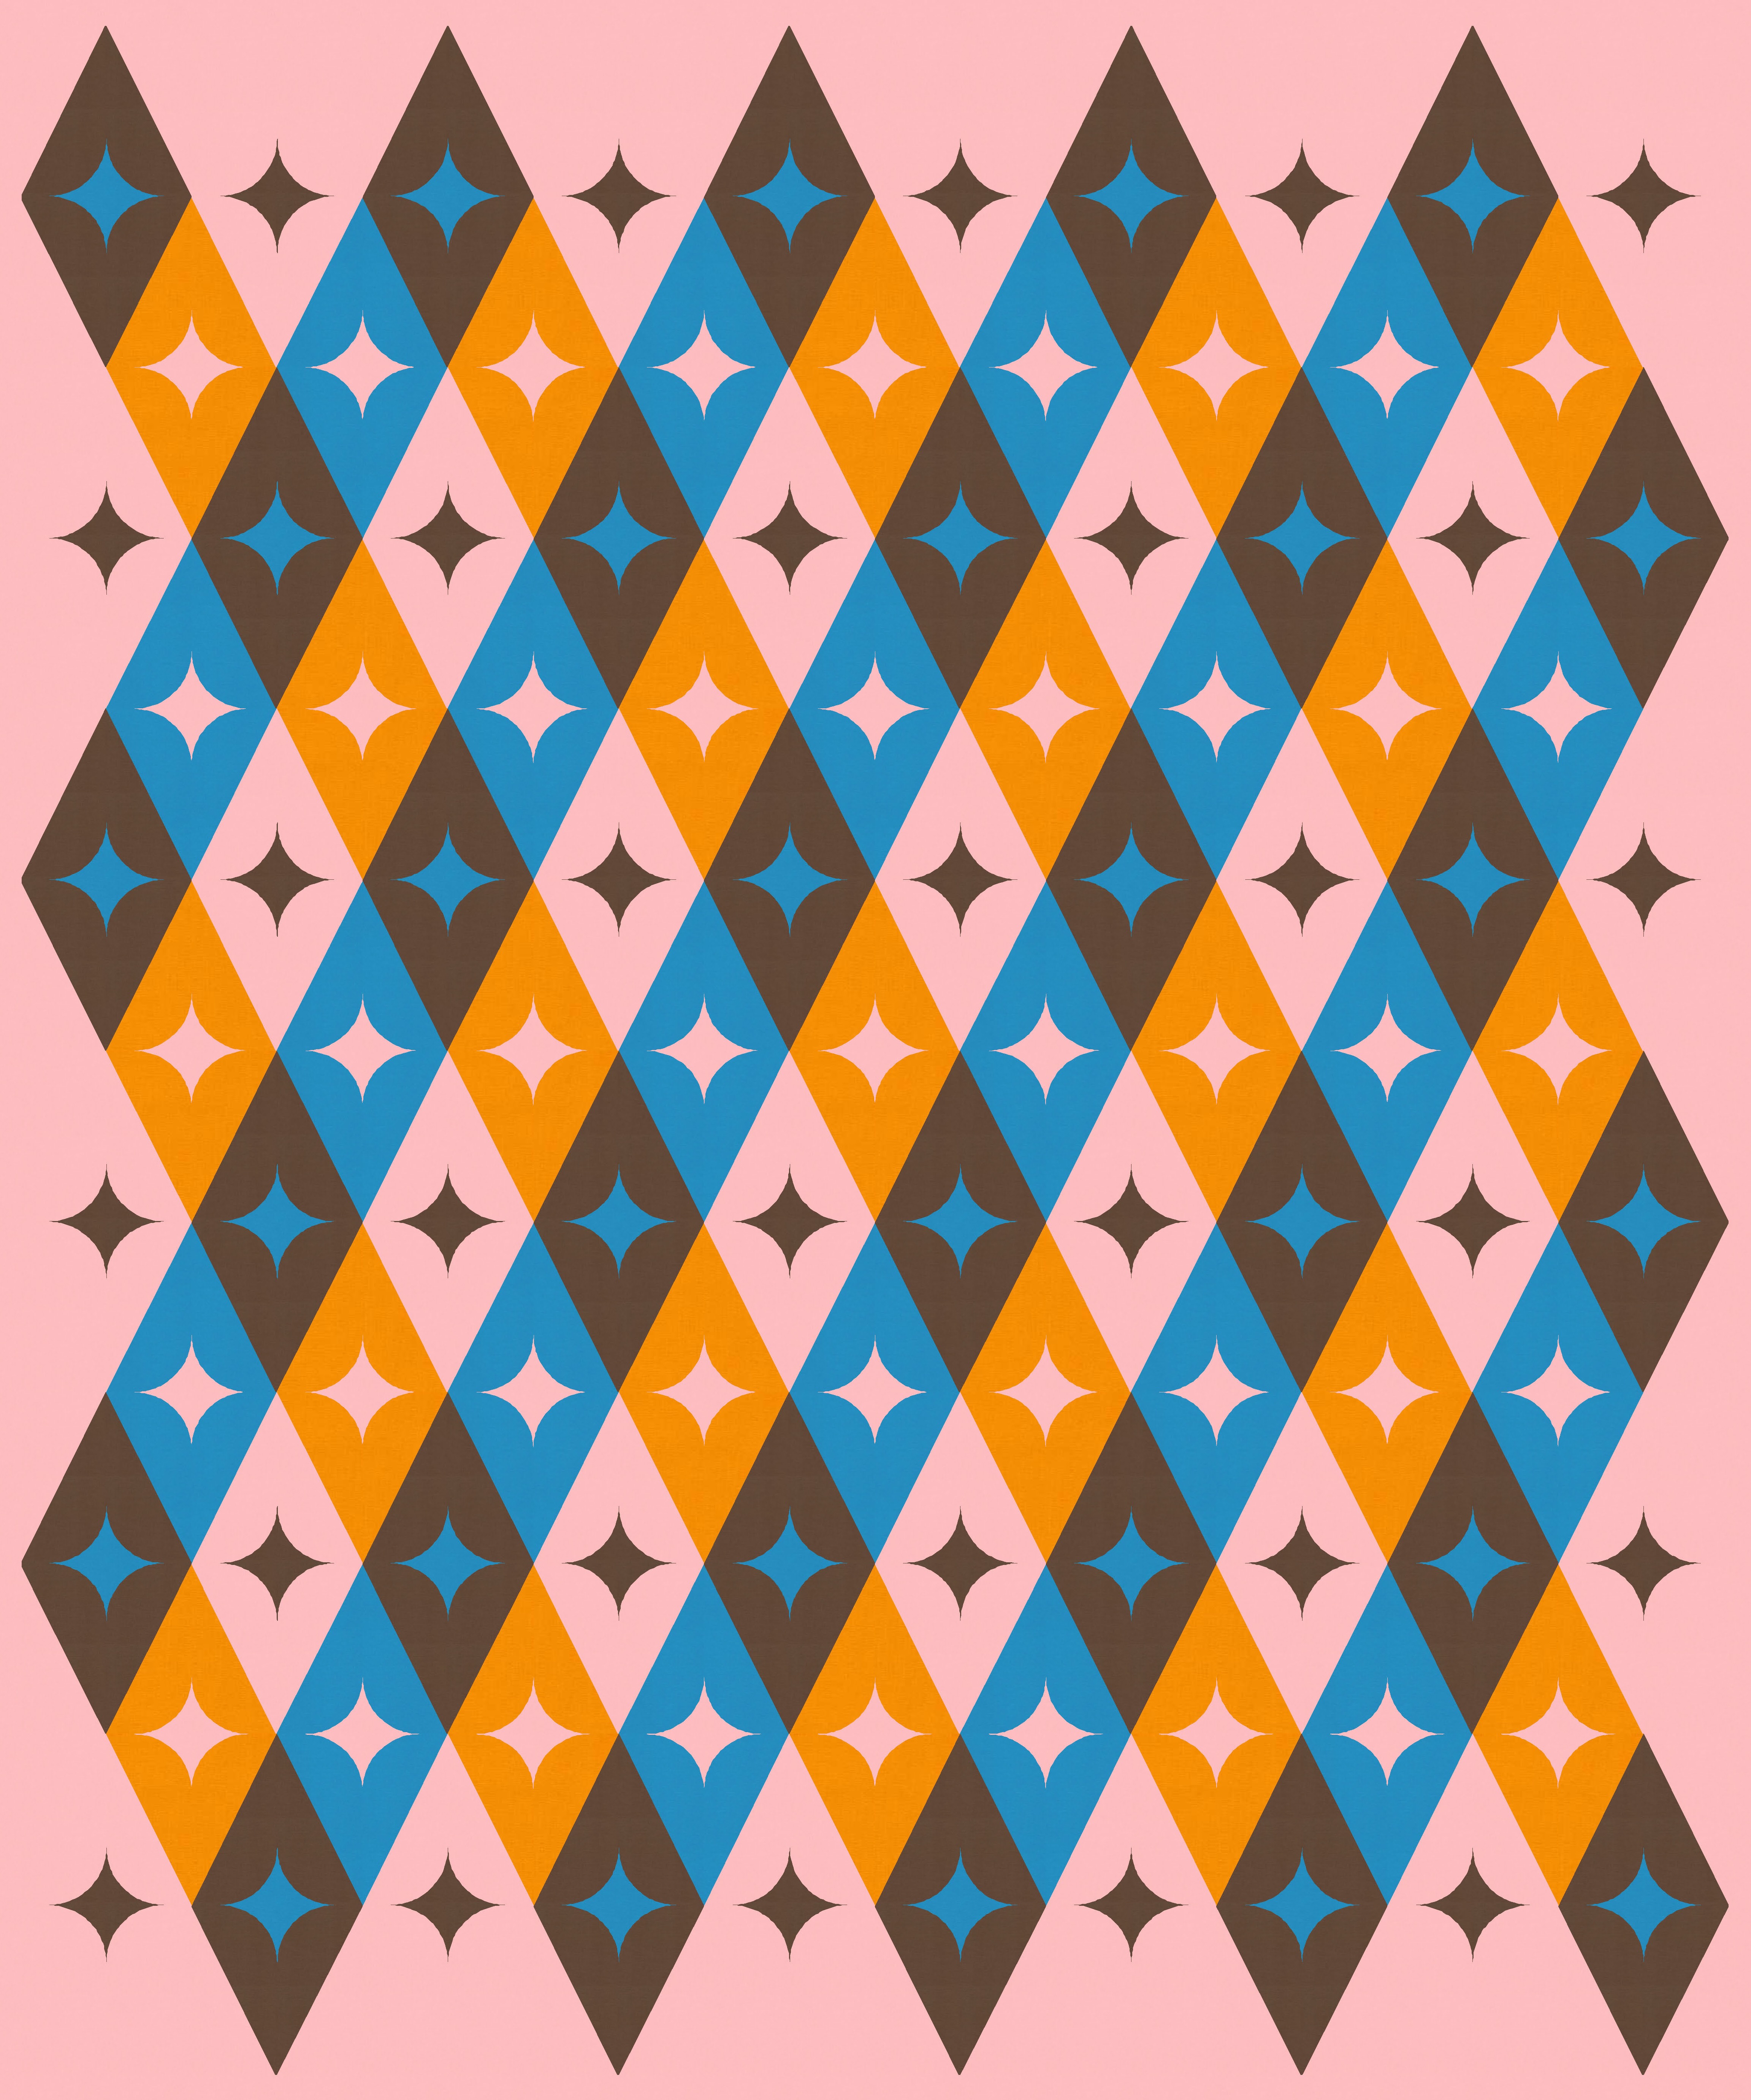
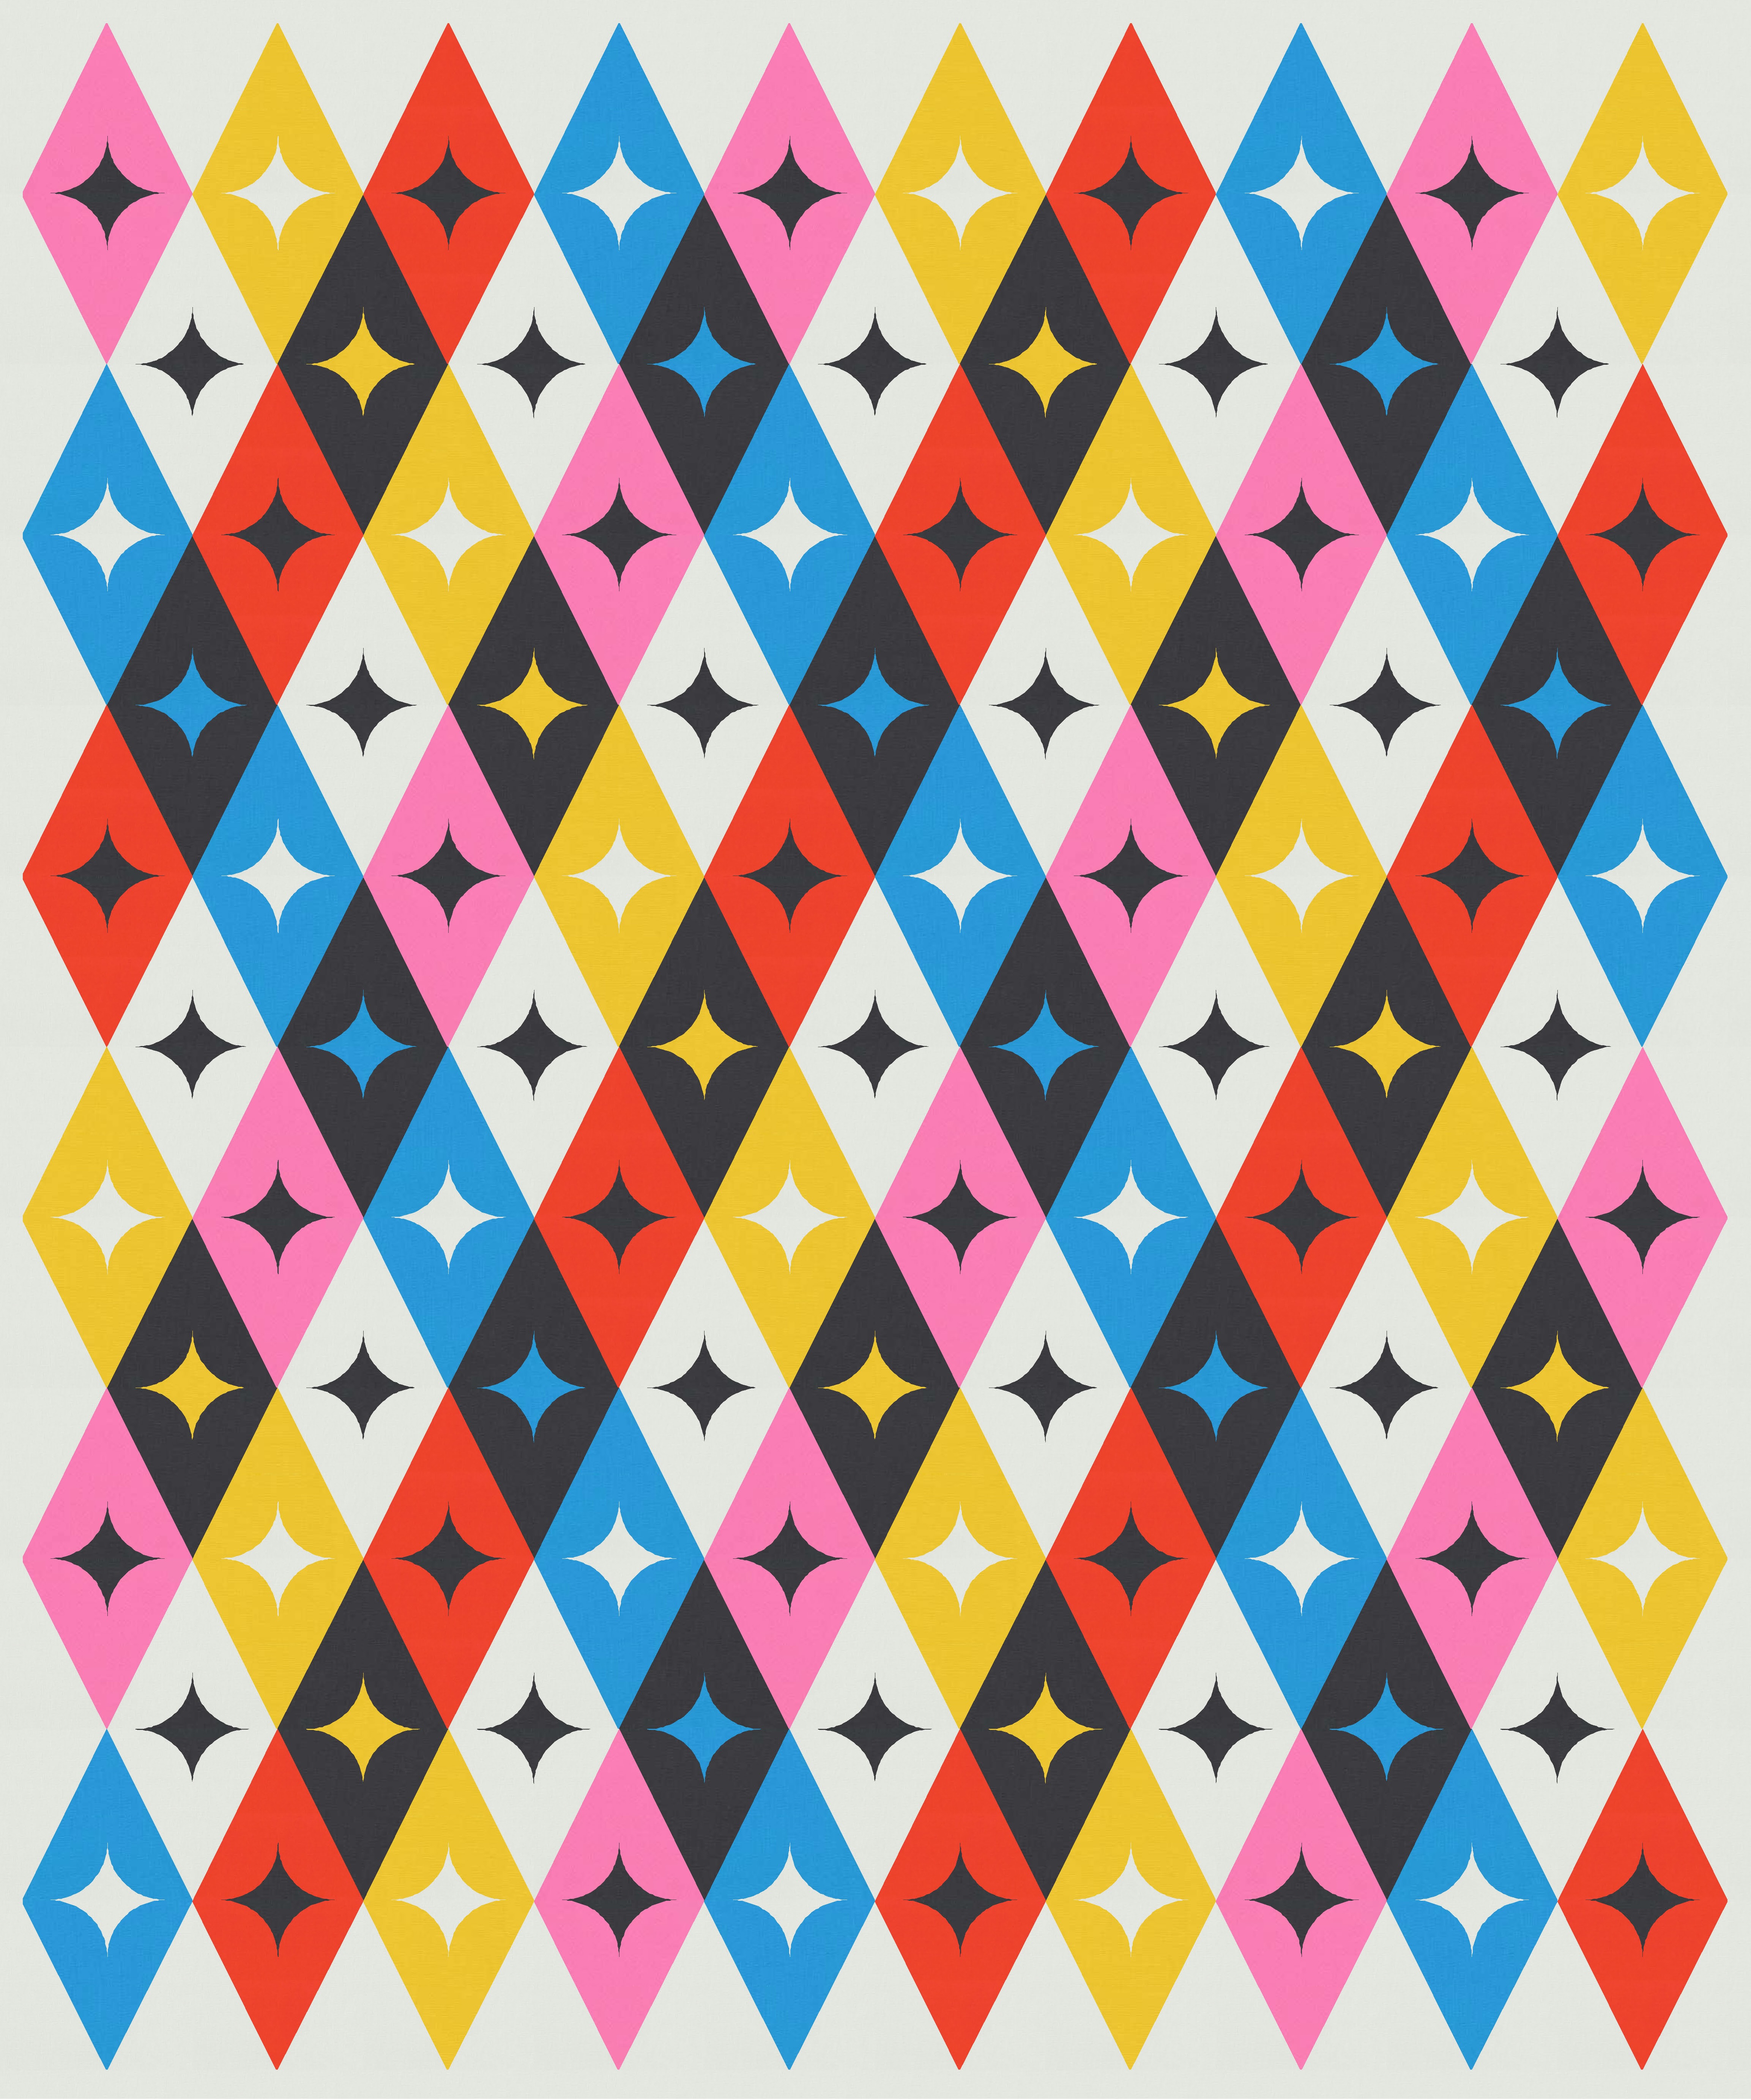
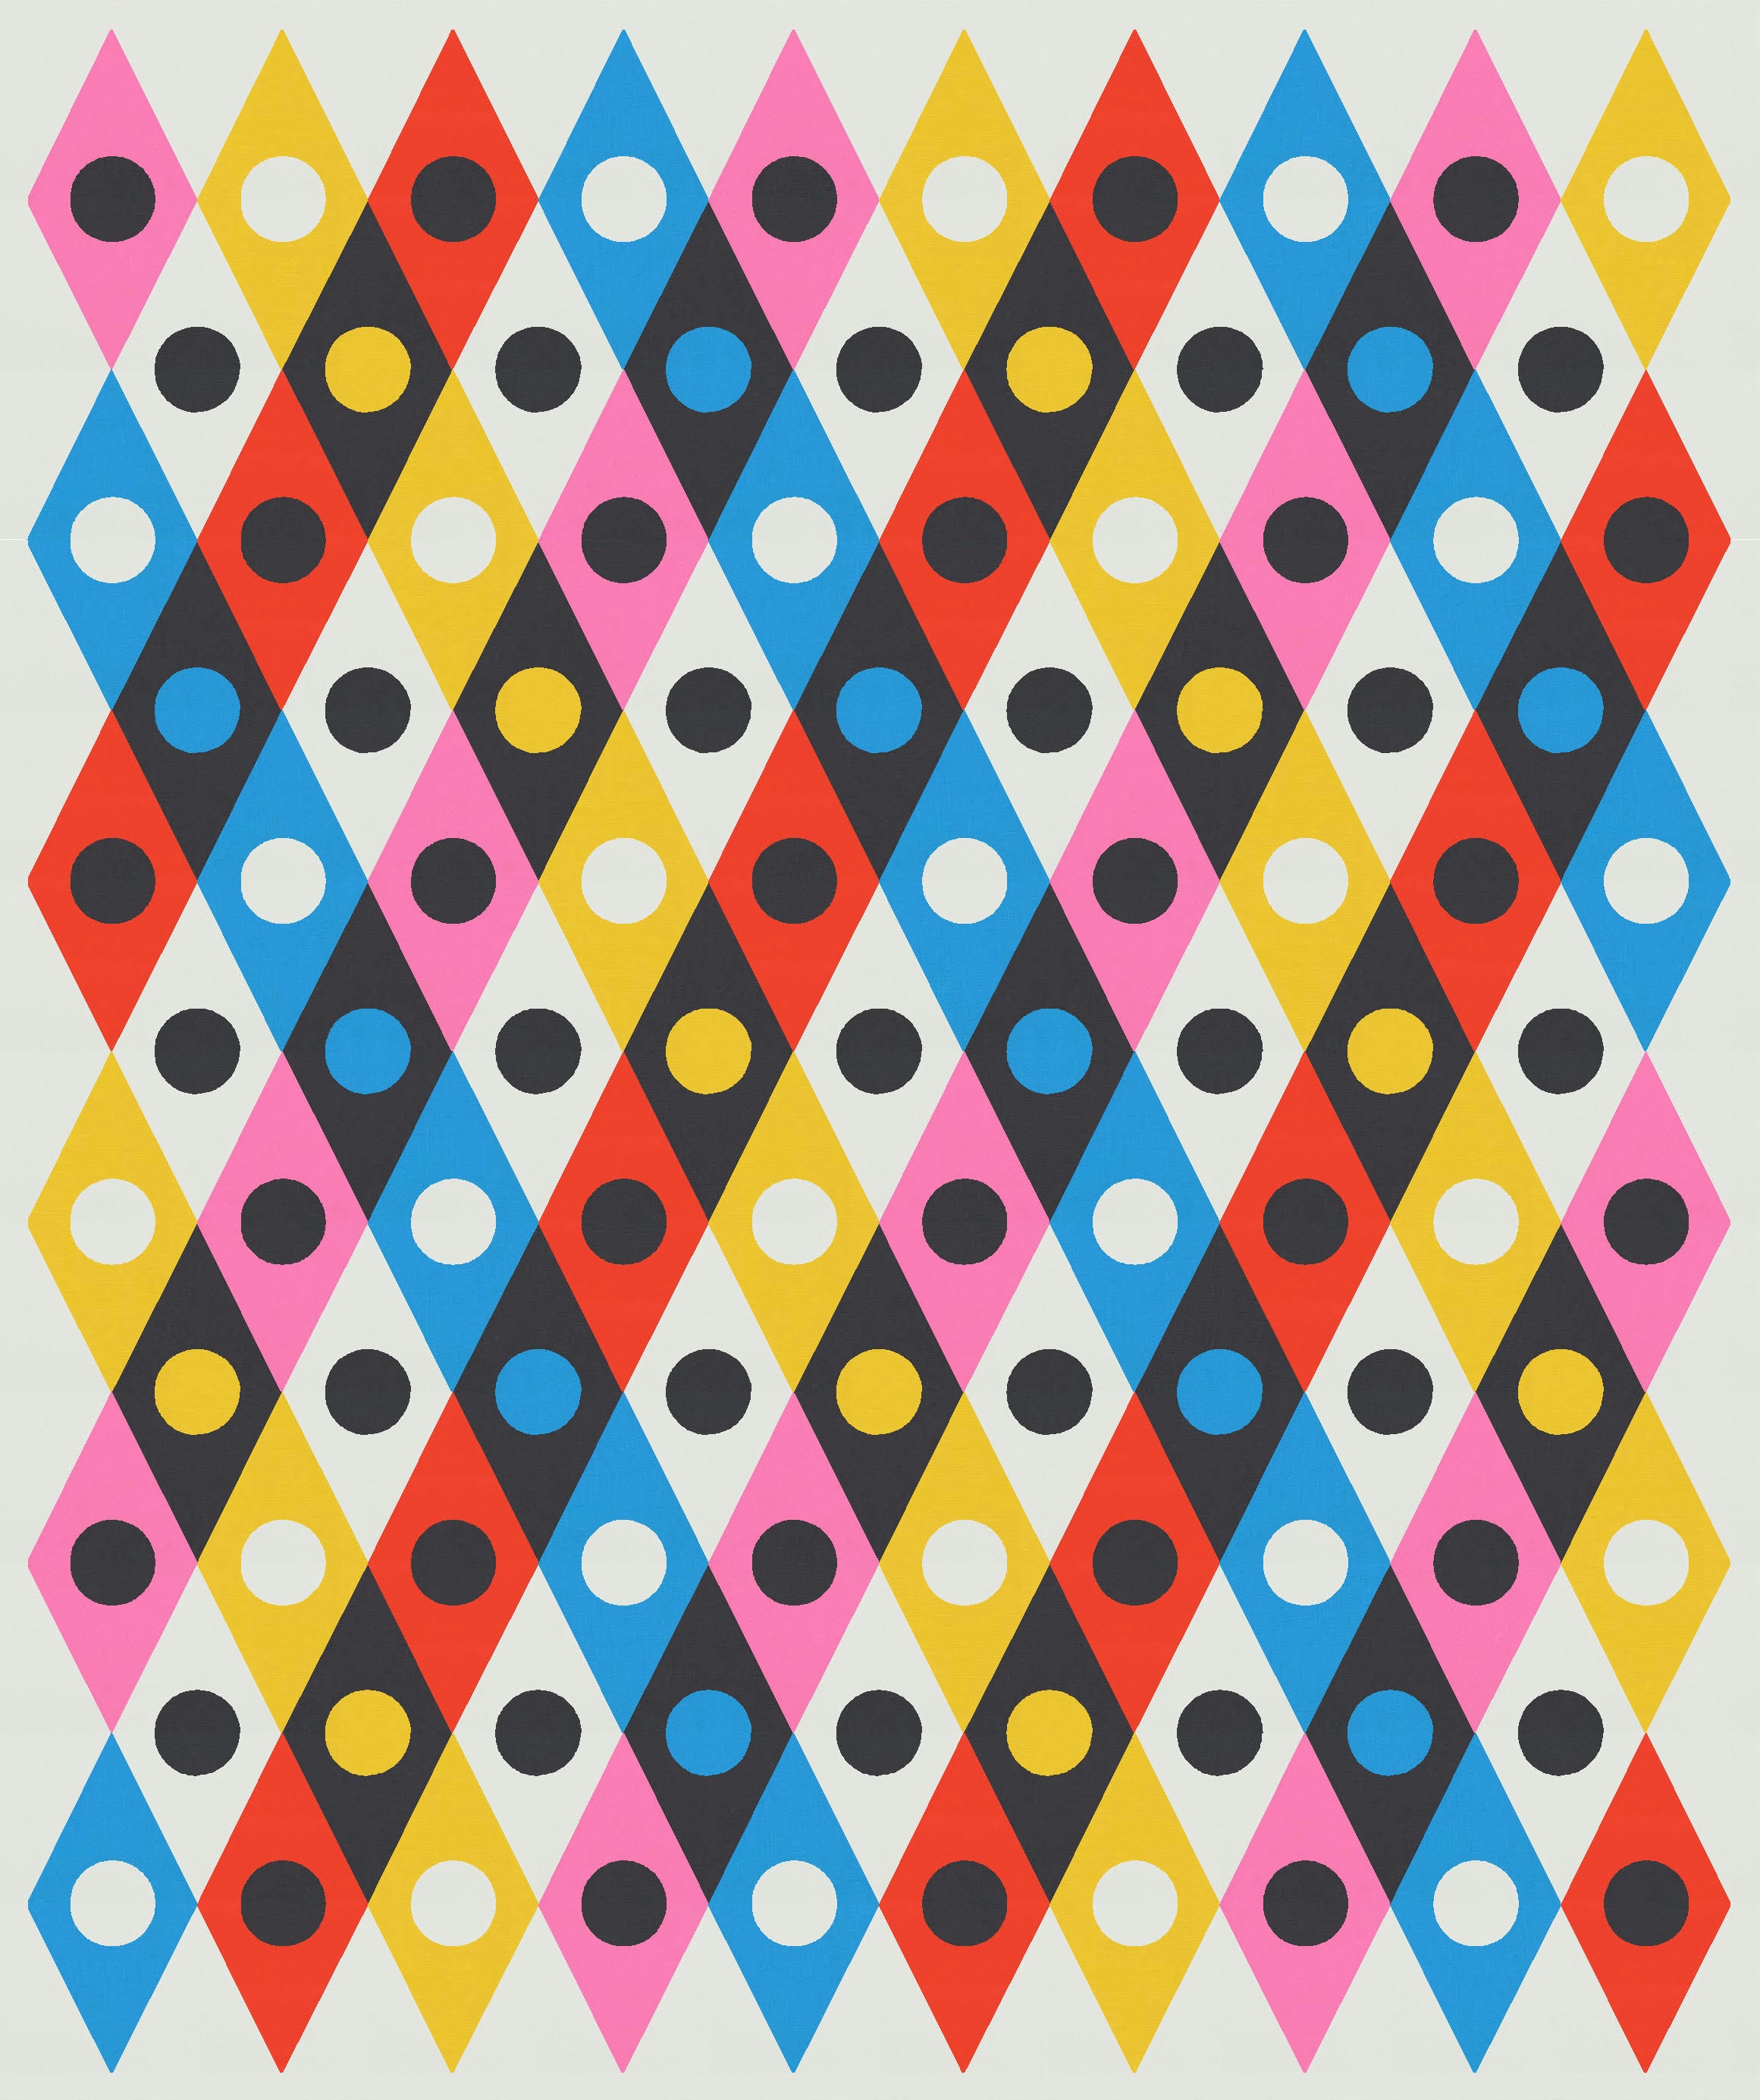
So far I’ve shown a two-colour version and a three-colour version. Let’s kick it up a notch to a four-colour palette…

This colour placement helps to create some clearer lines within the design. The colours of the diamonds help to draw your eye either left or right, depending on which diagonal column dominates. How the stars are coloured also helps to lighten or darken the diagonals (and the spaces between them). Notice the difference between these next two versions, in which the only change is the colours of their stars.
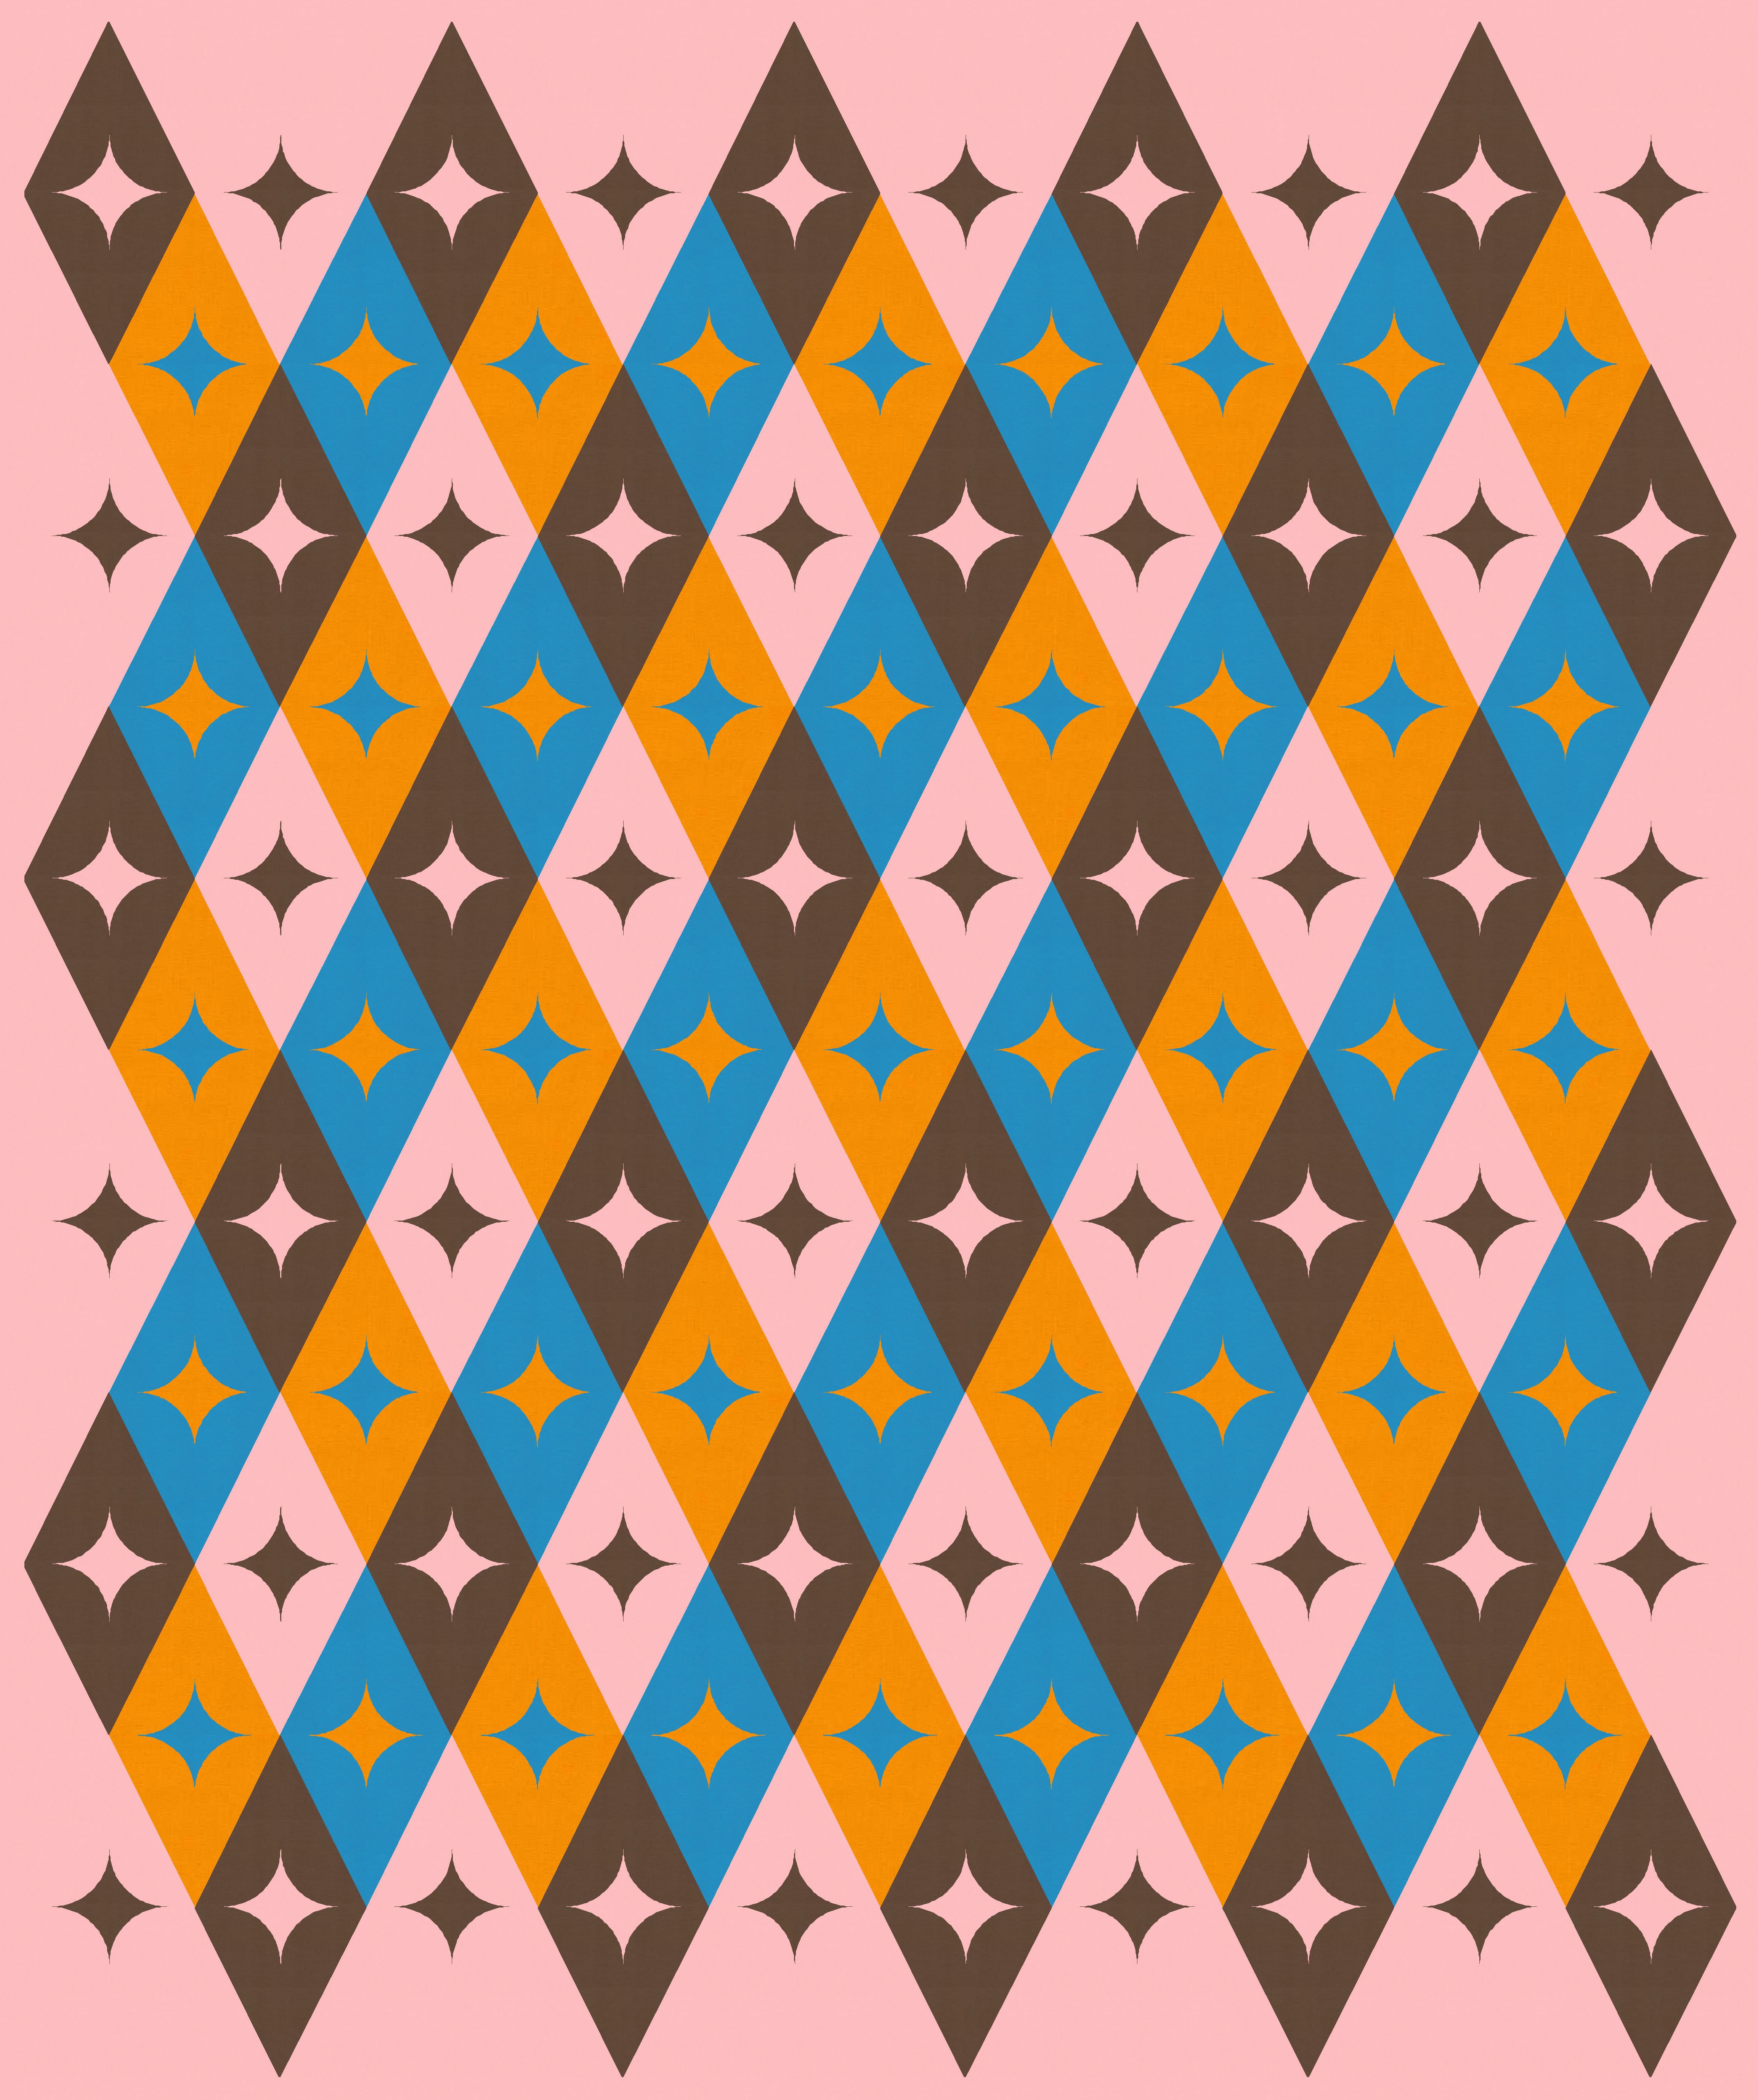
I could play with different colour combinations all day!
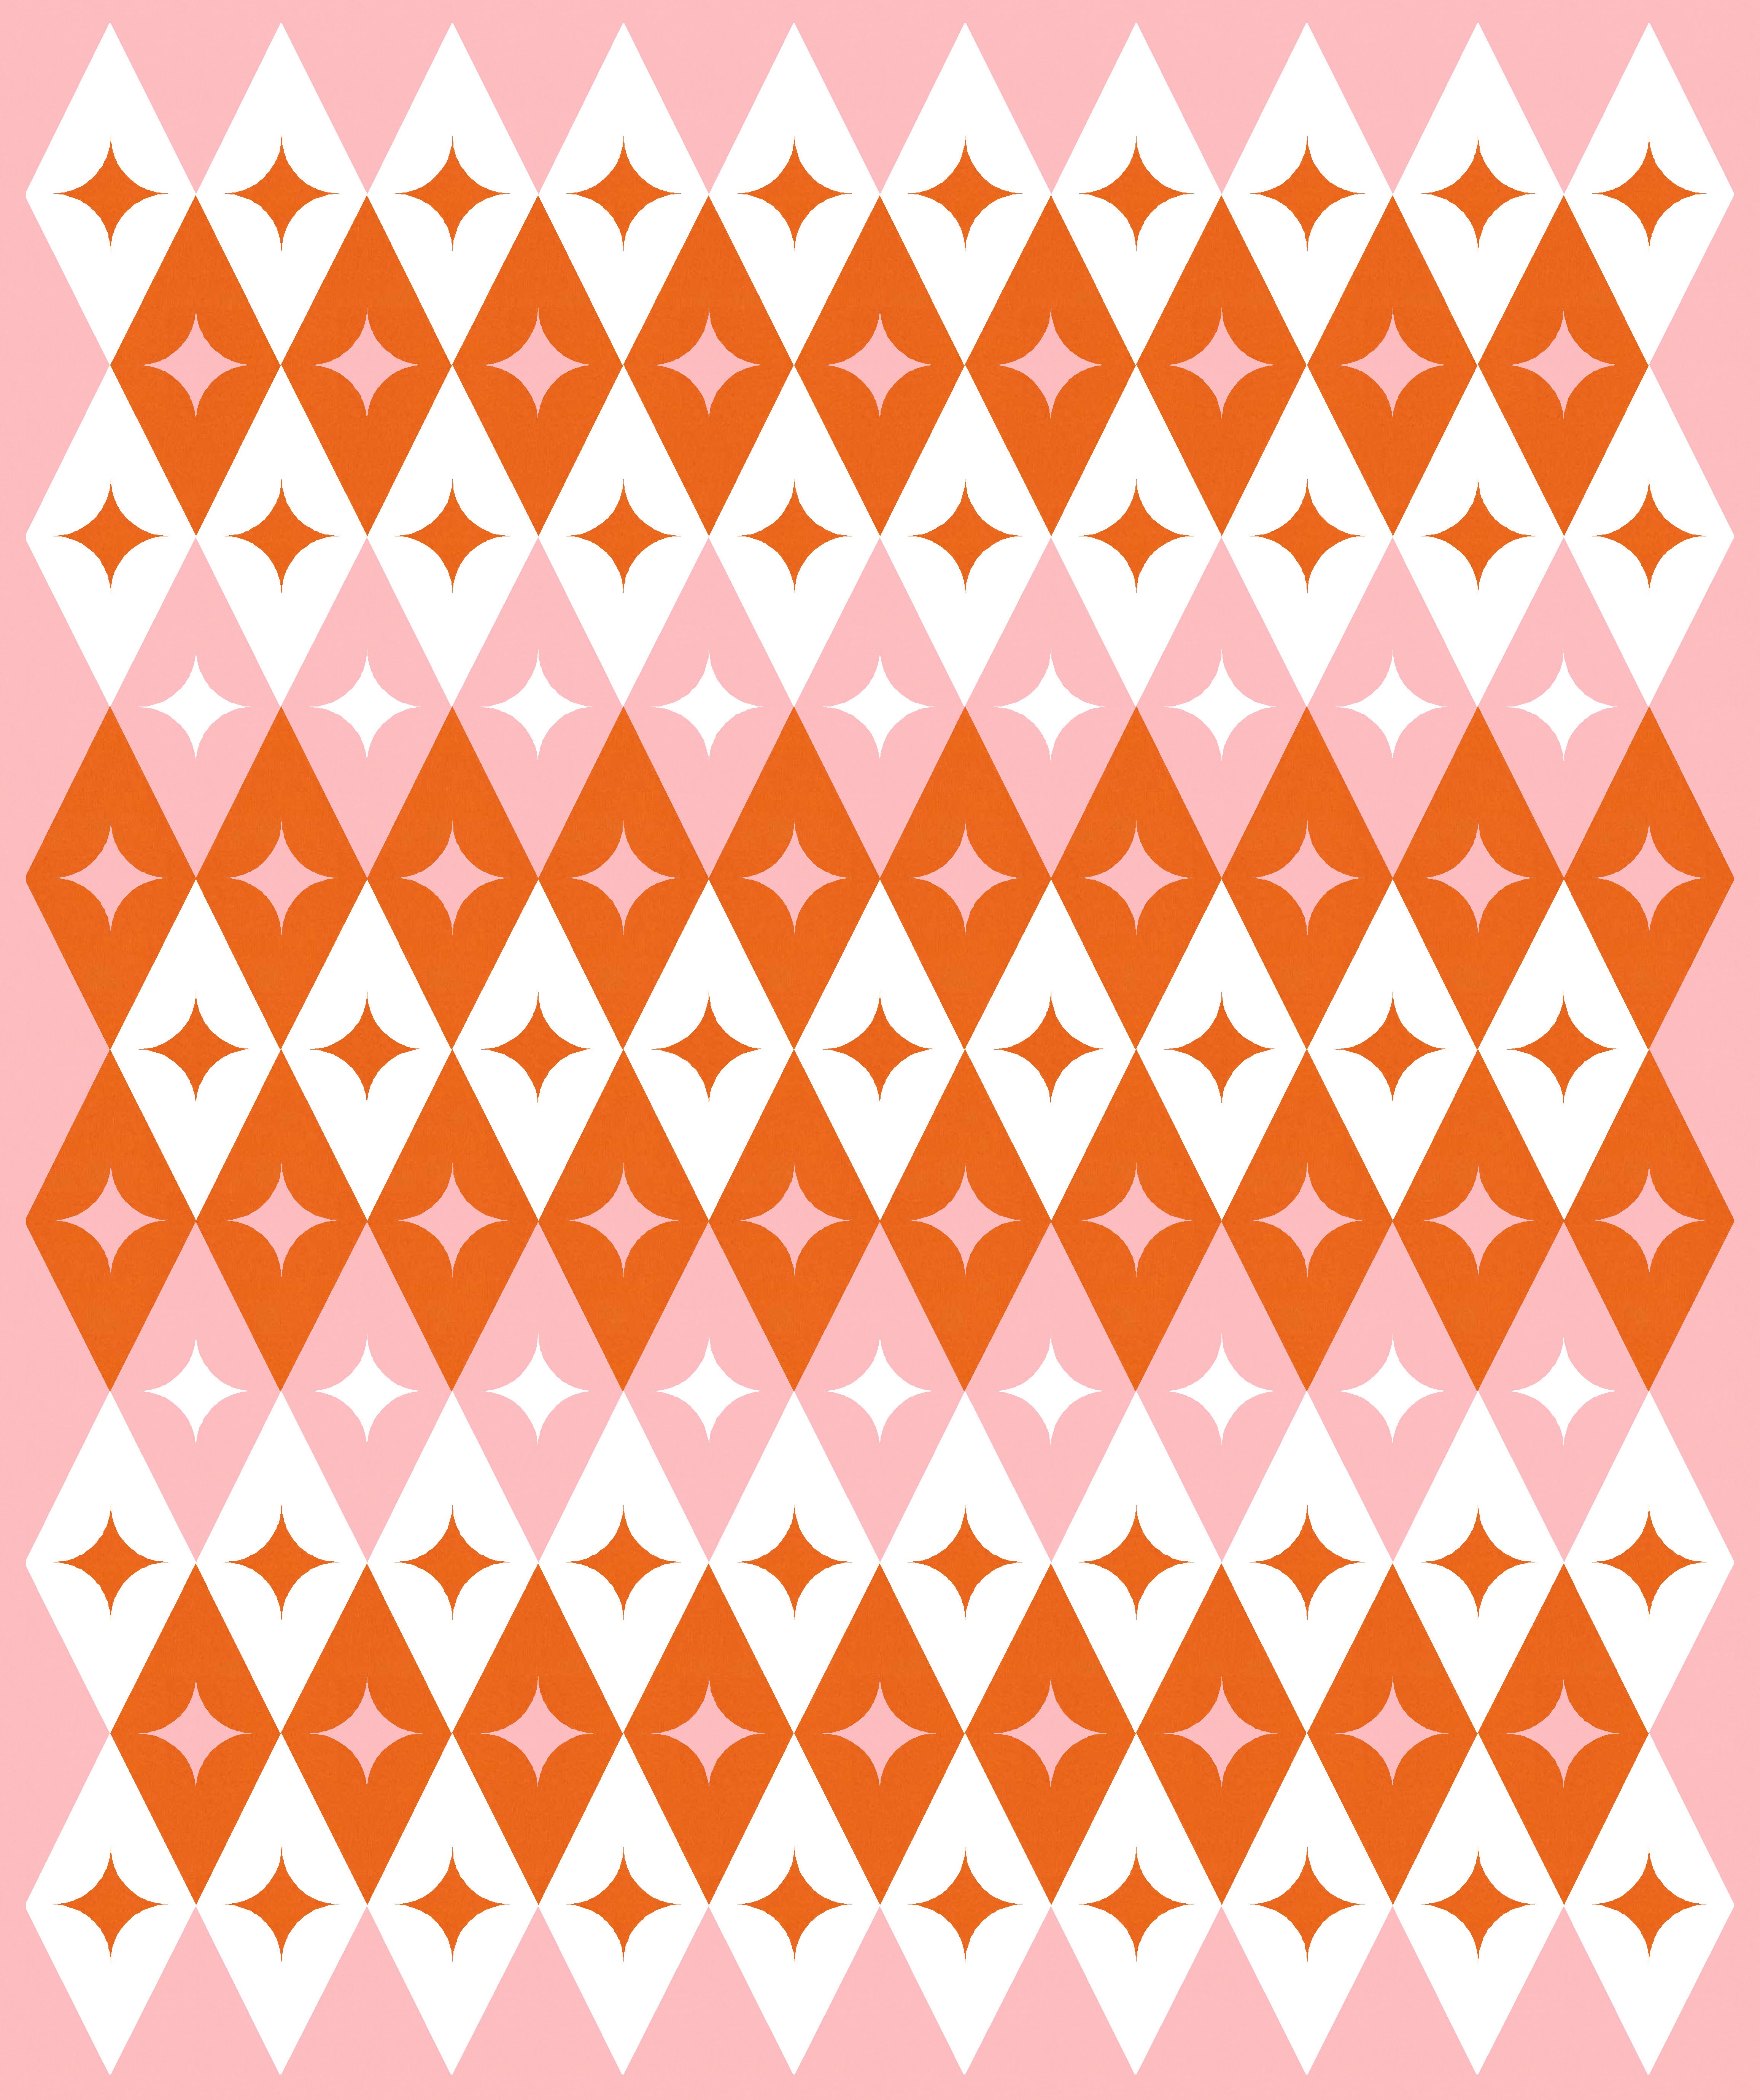
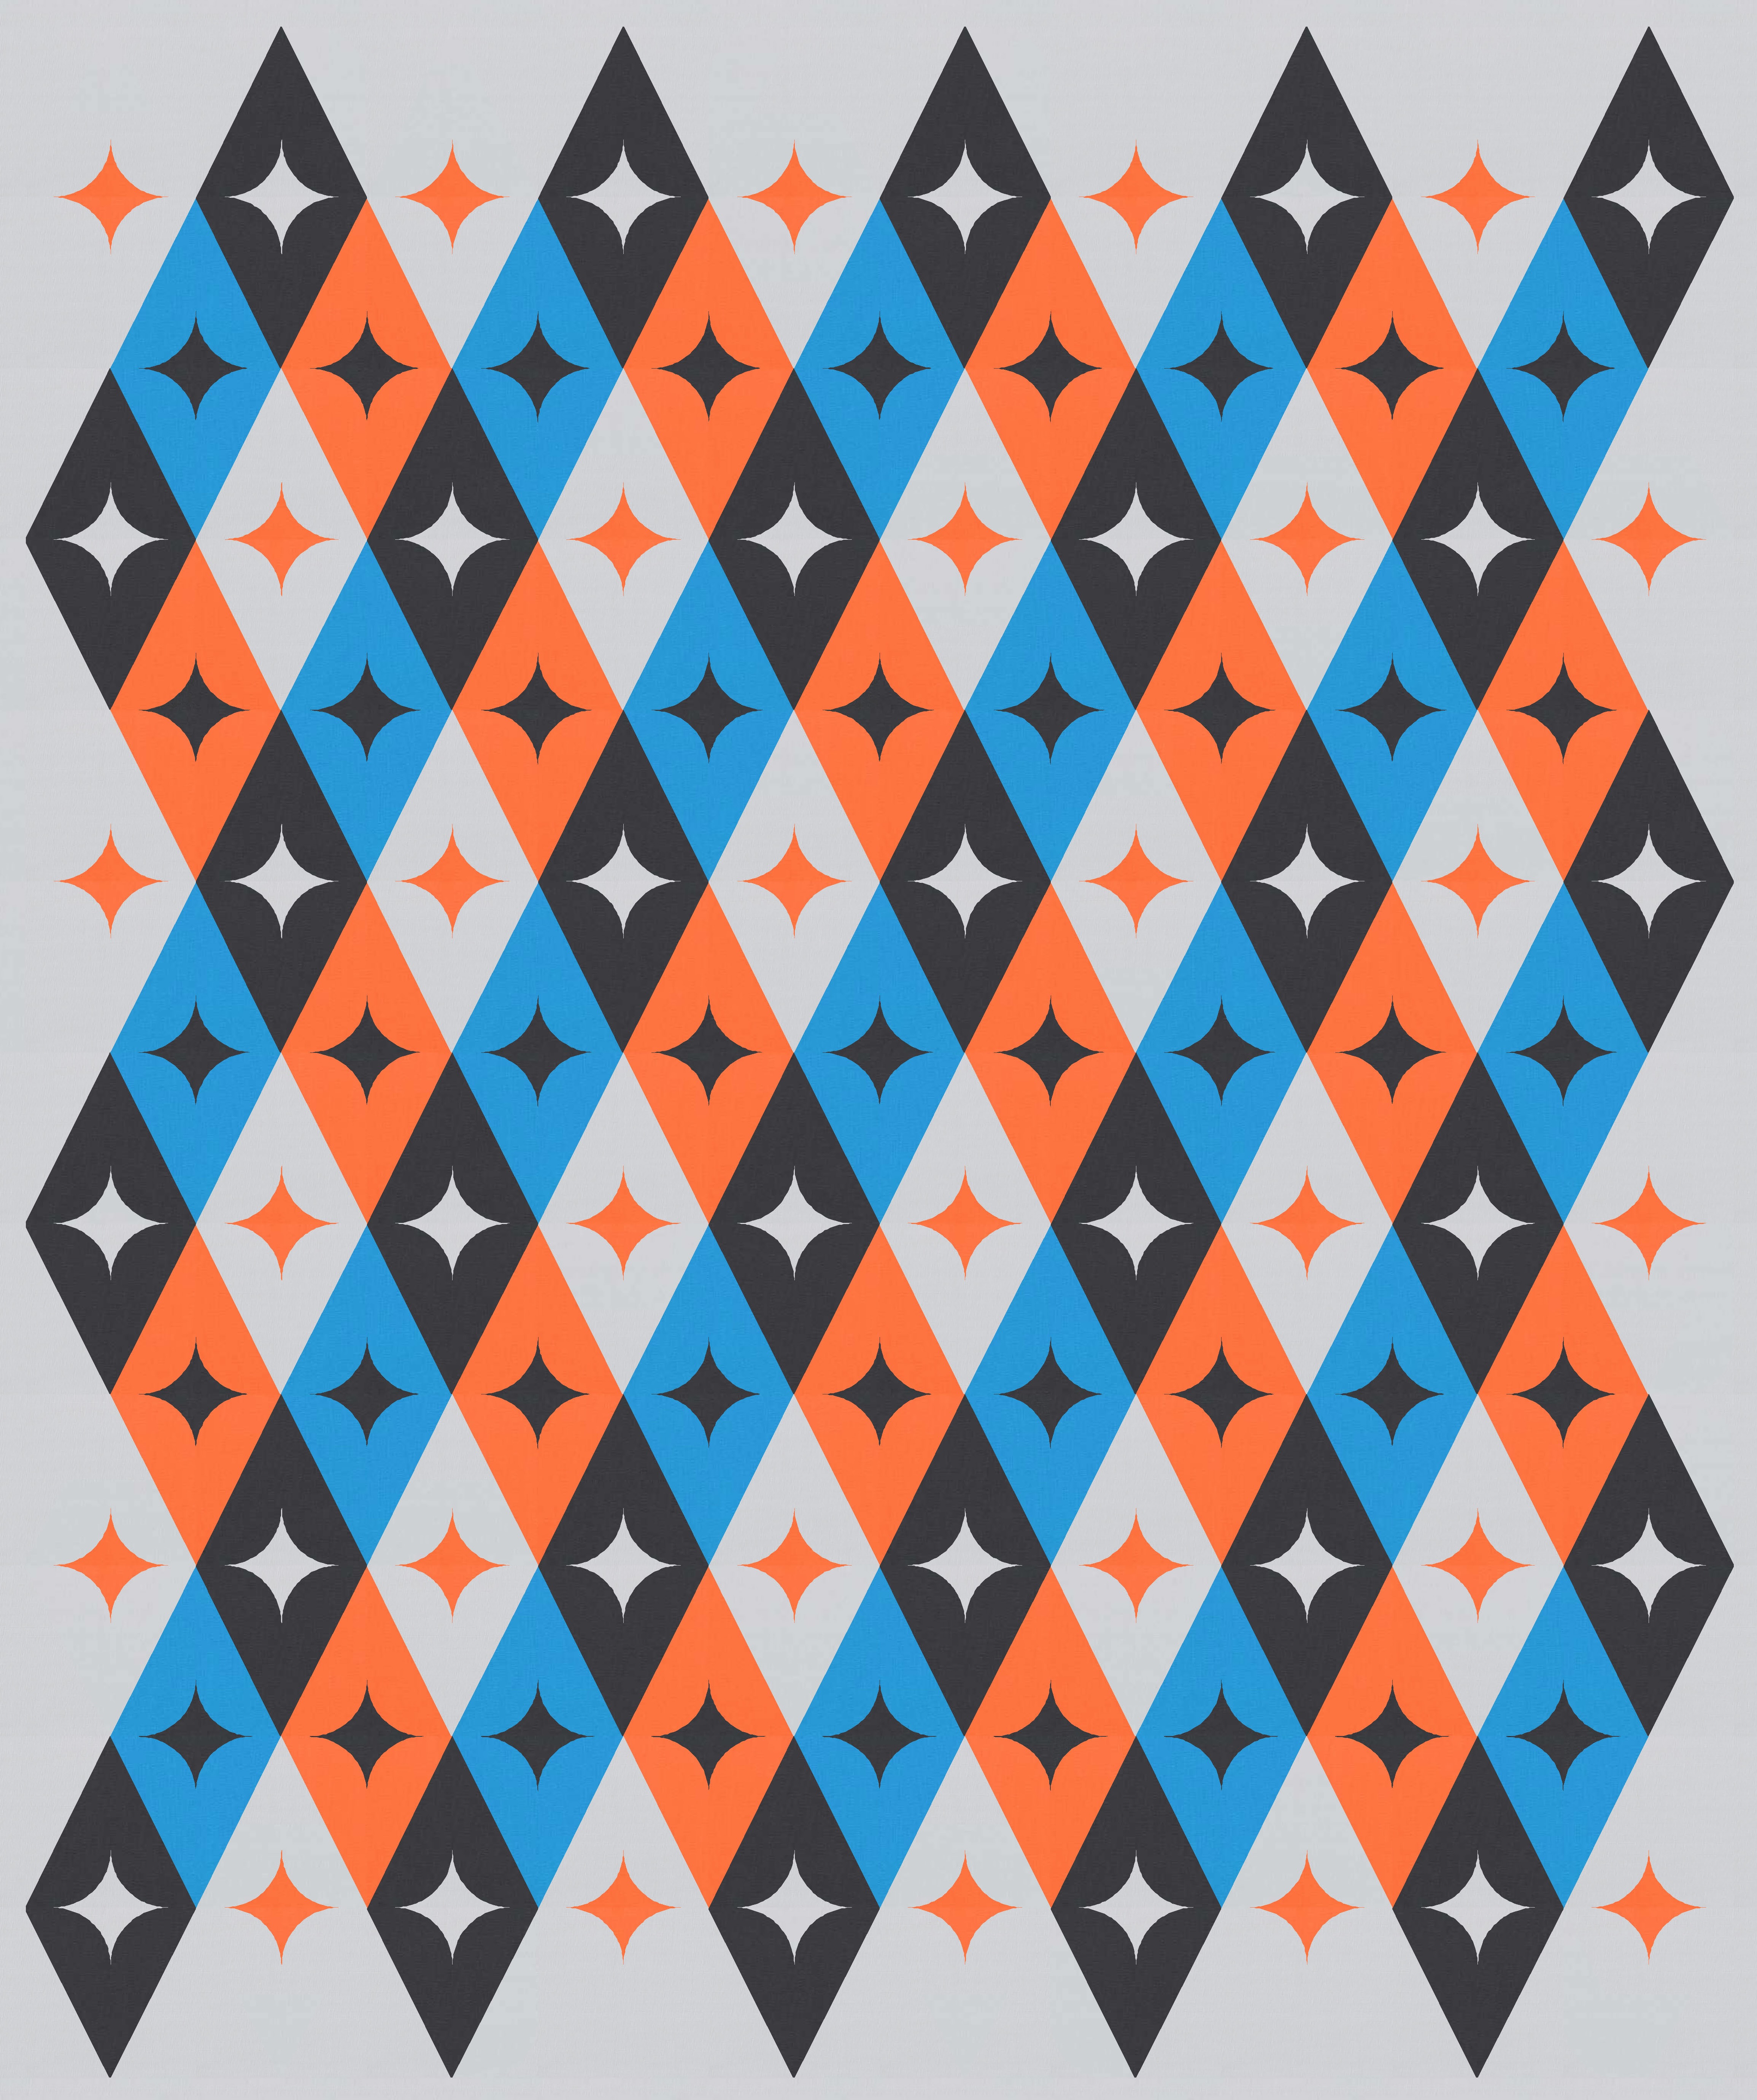
At some point I ended up switching some colours around, so now the beginning and ending diamonds are at the bottom left and top right. (In the four-colour designs above, they were the top left and bottom right.) If you start with one of these diamonds and trace the diagonal lines of diamonds up and down and across, you’ll cover all of them before you reach the end – the design is one long string of connected diamonds. Little features like that make me inordinately happy.
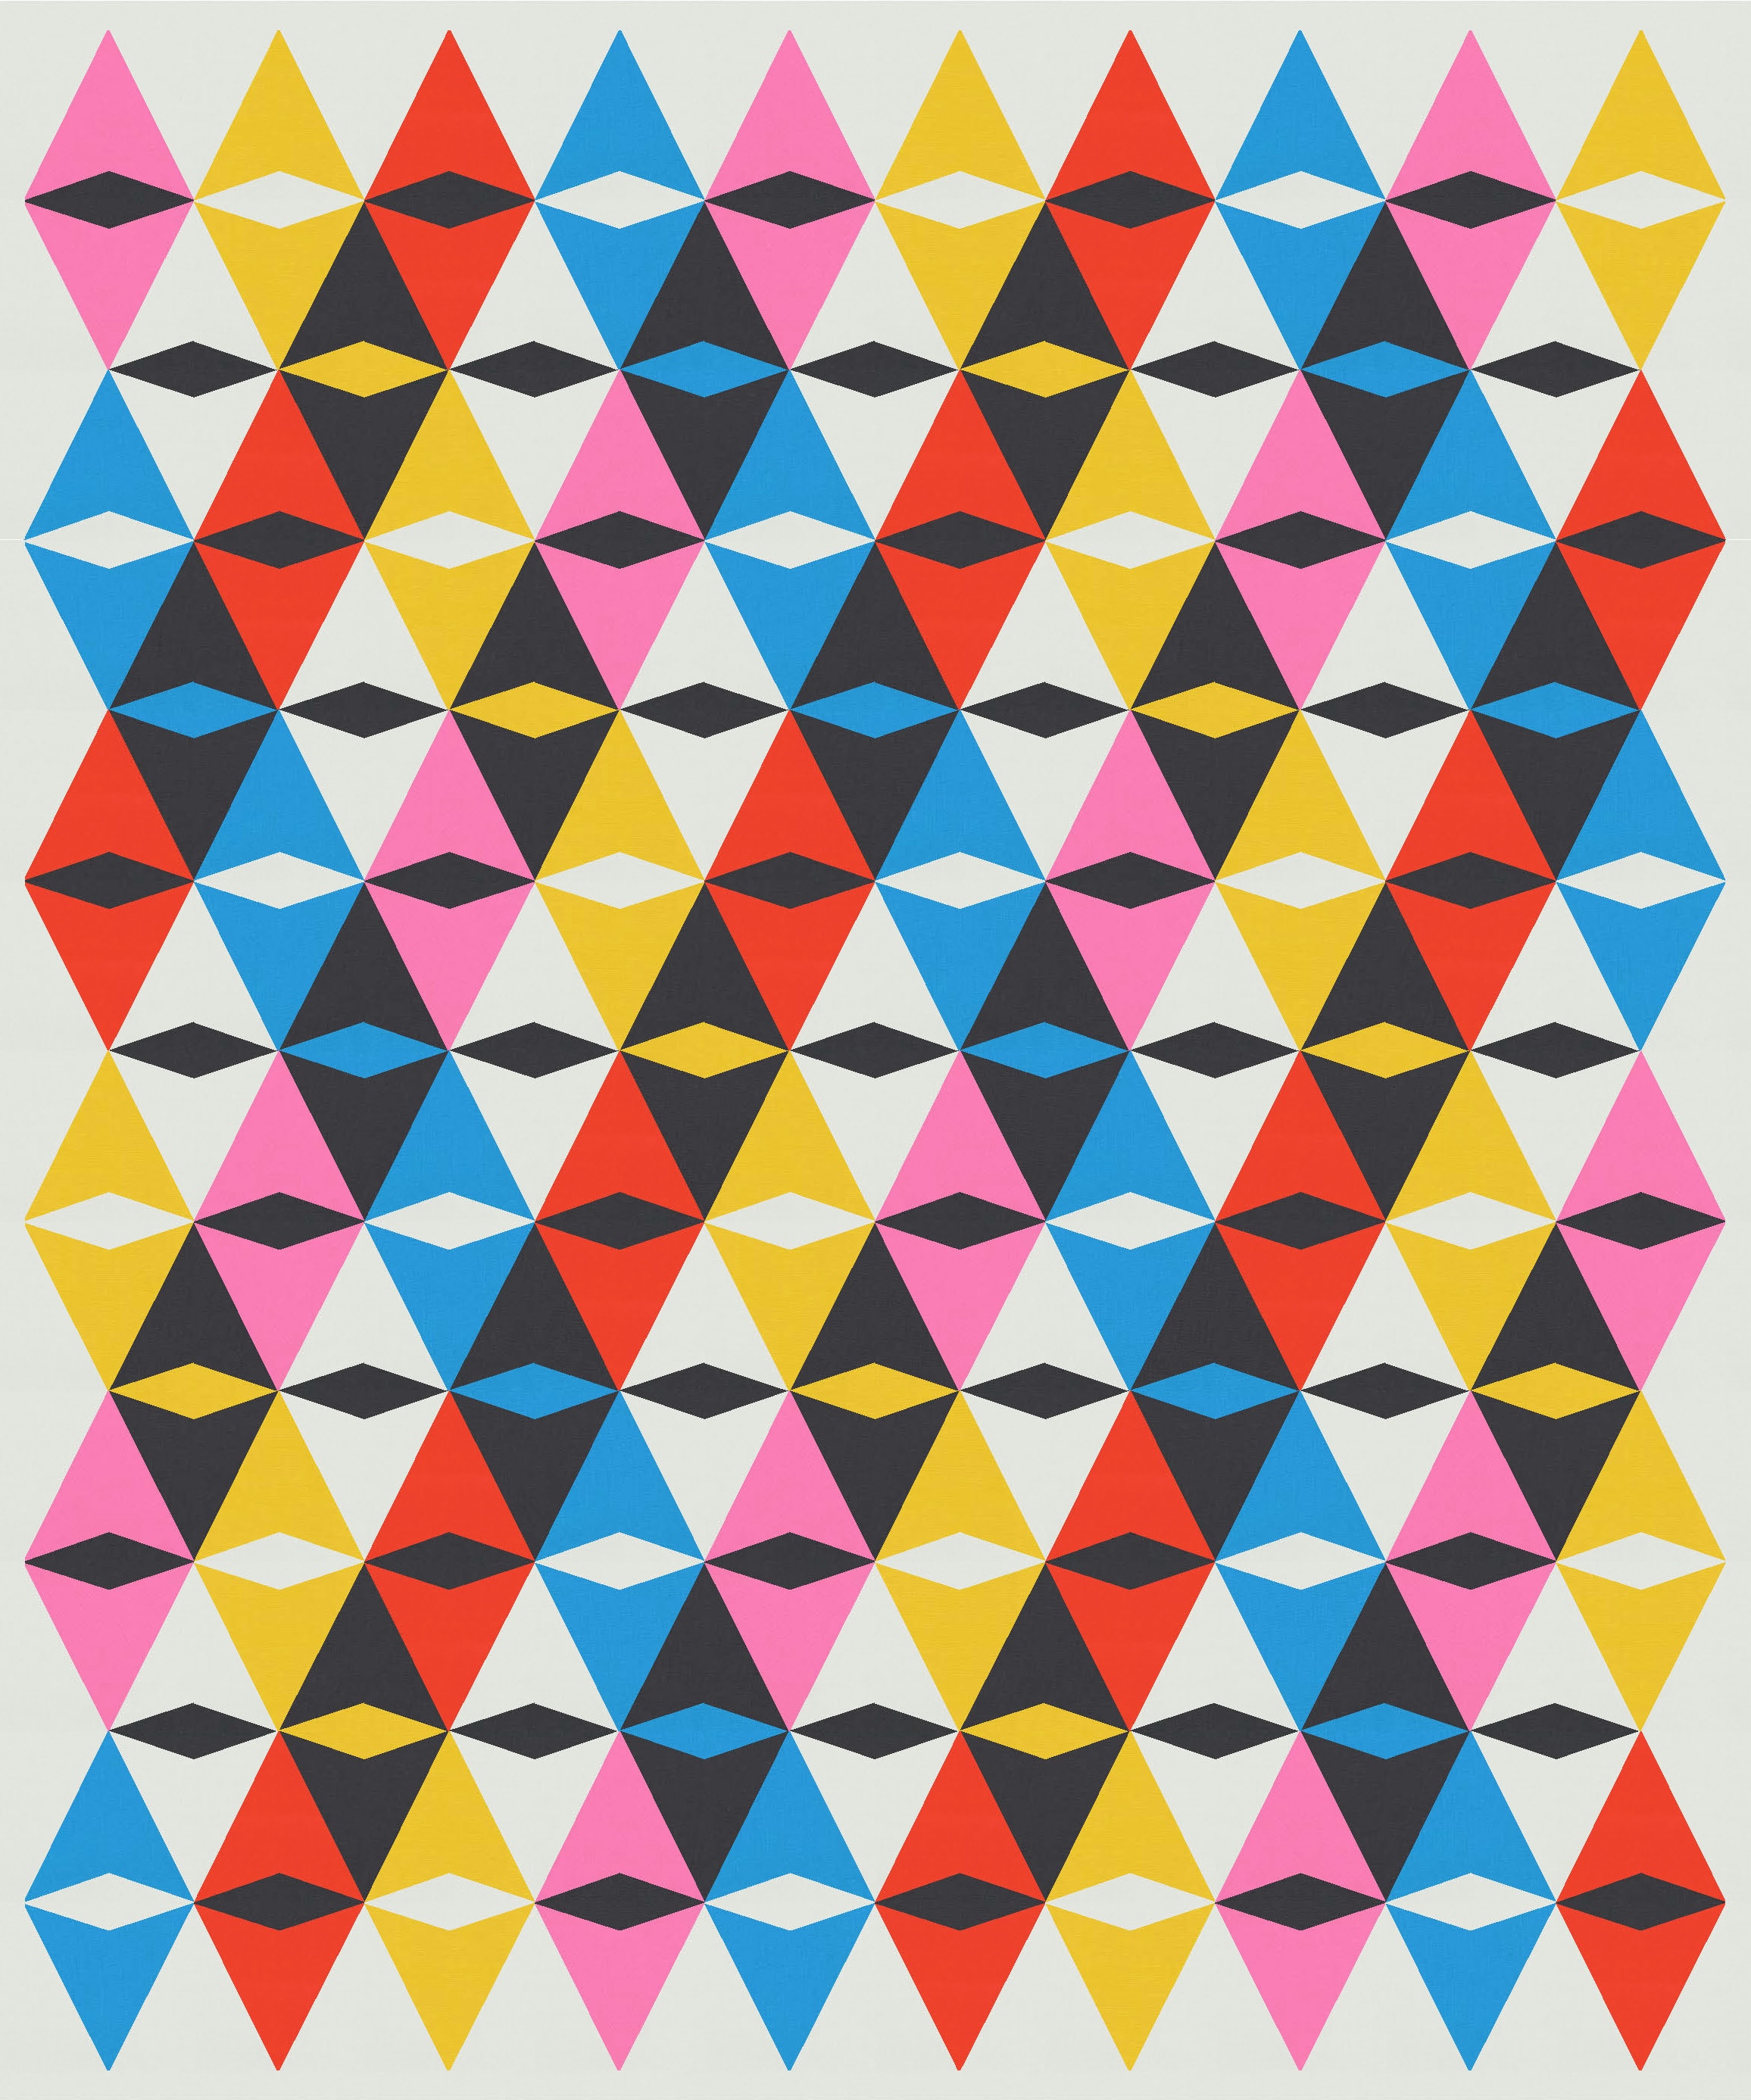
I also tried removing the outer curvy stars – see what you think of the difference between the top row and bottom row. Which do you prefer?


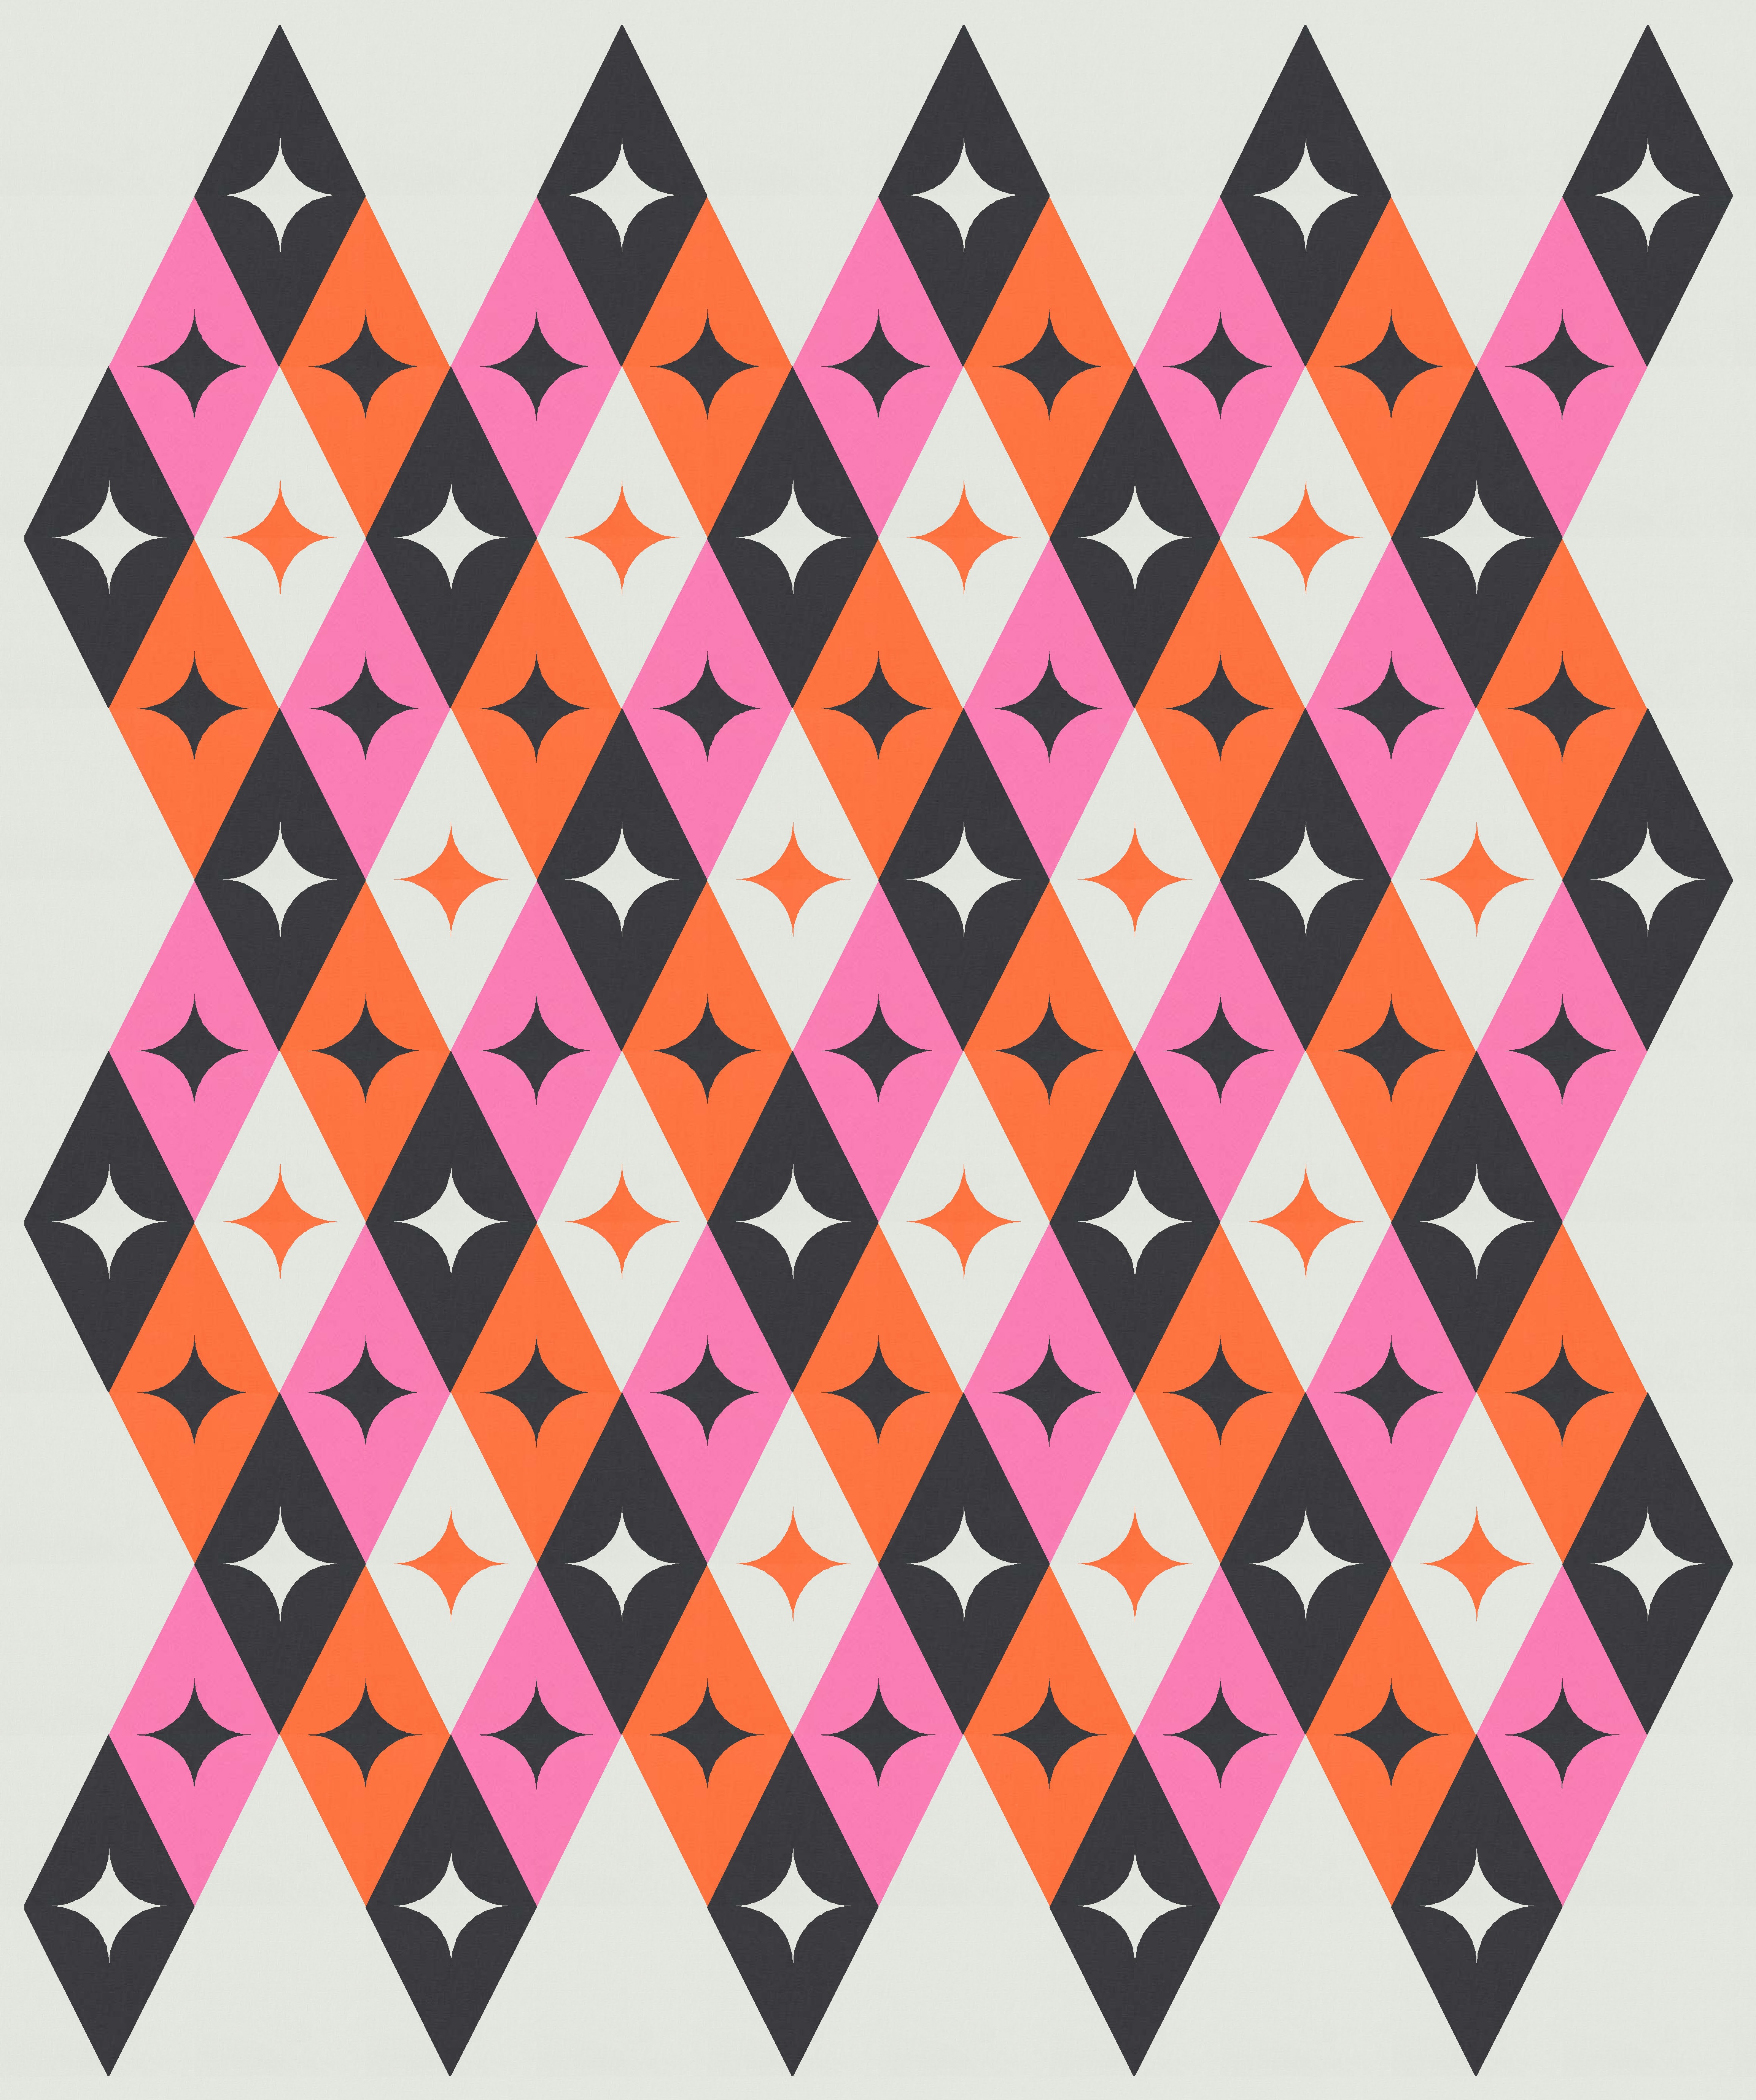
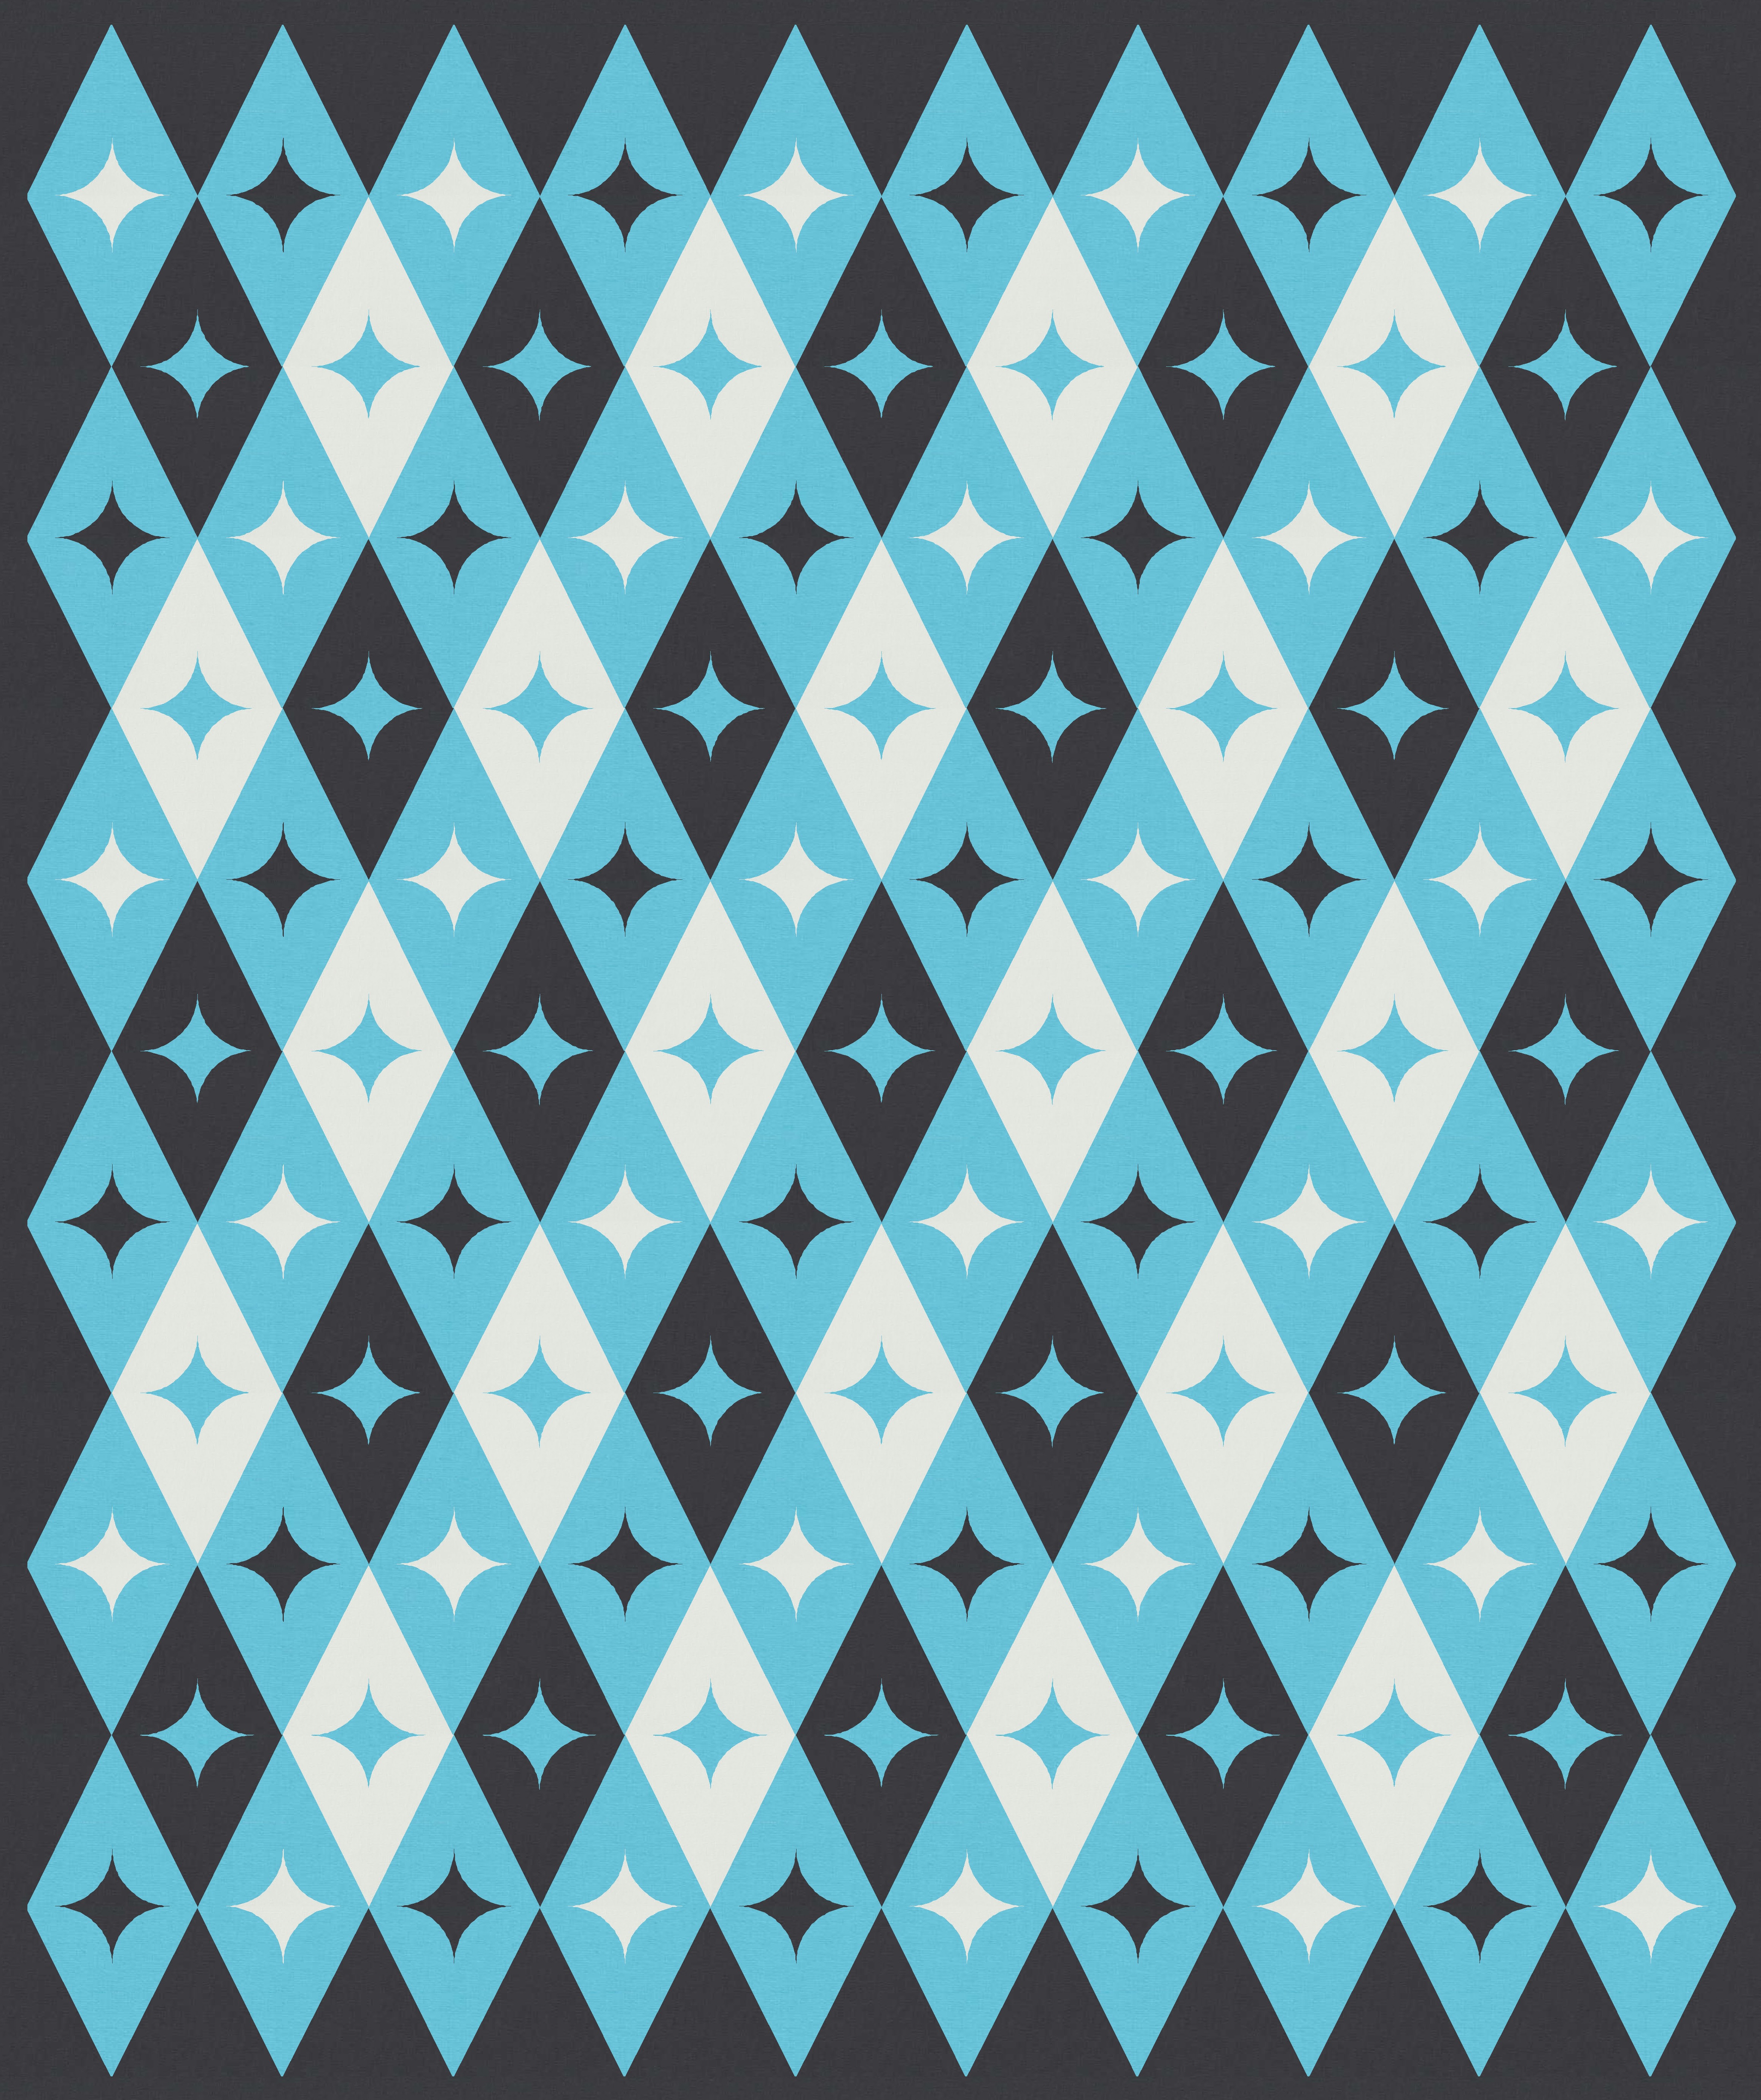
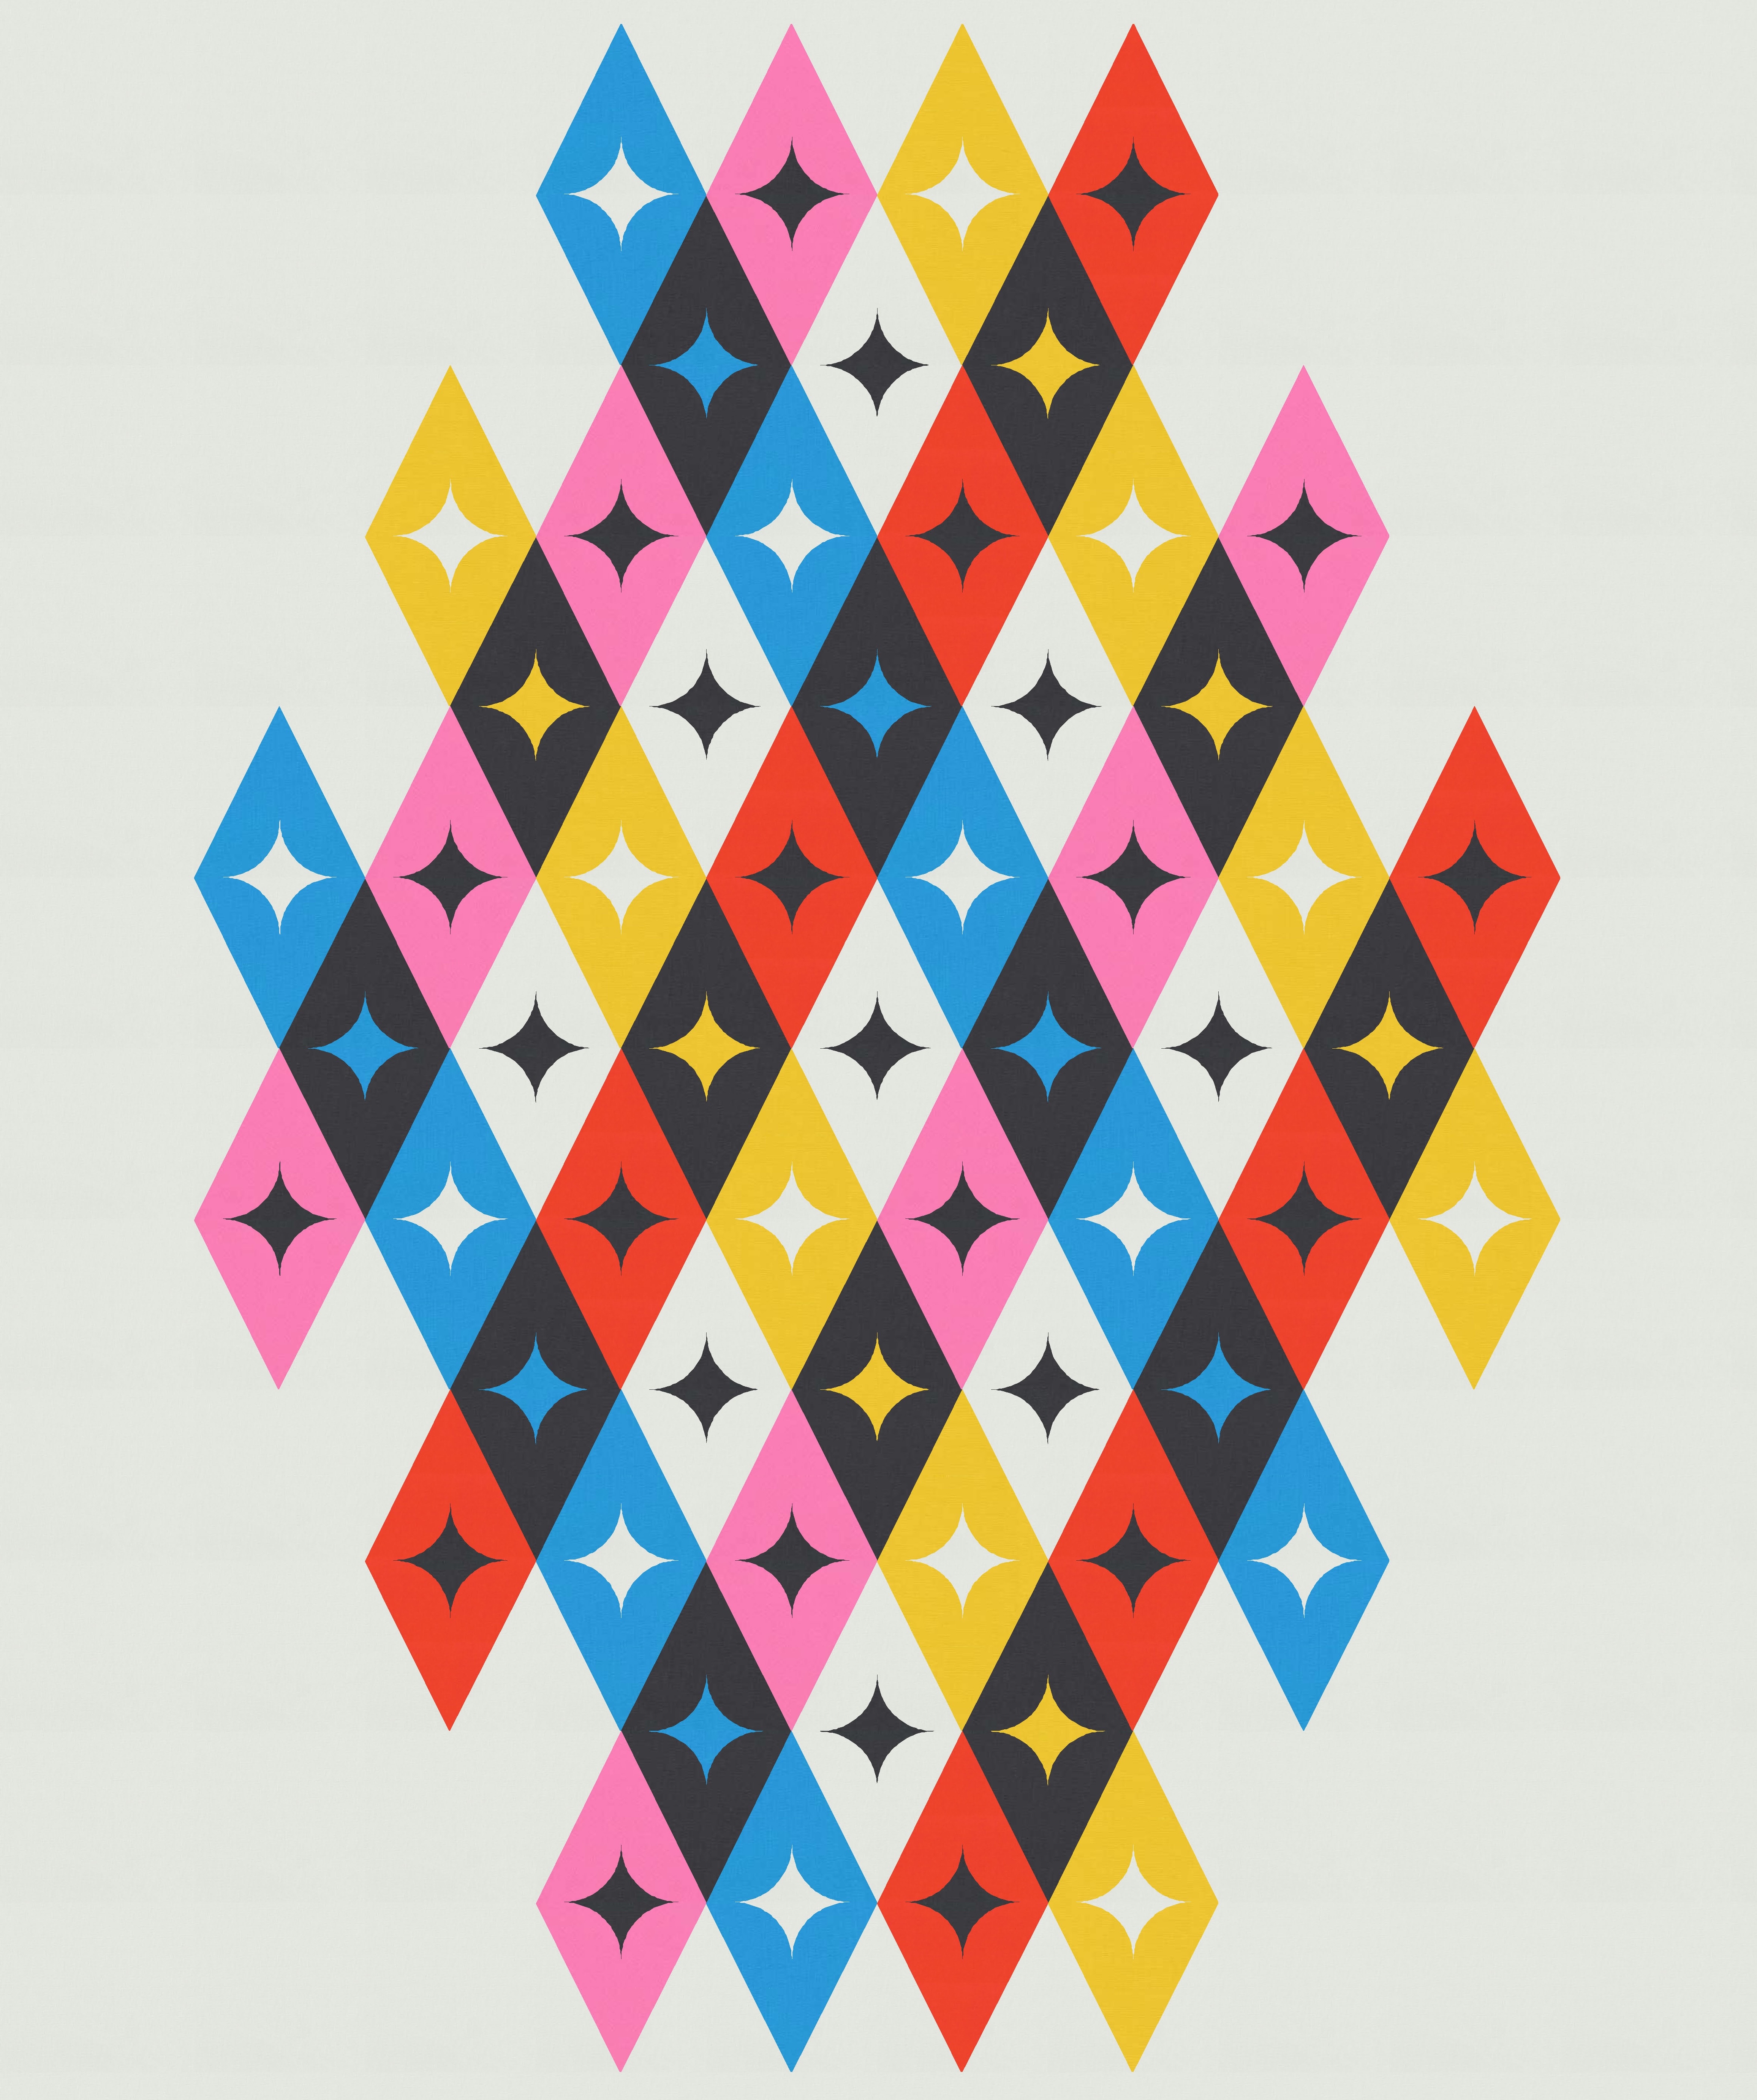
And just when I thought I couldn’t love a design more, I added one more colour to create a five-colour palette….
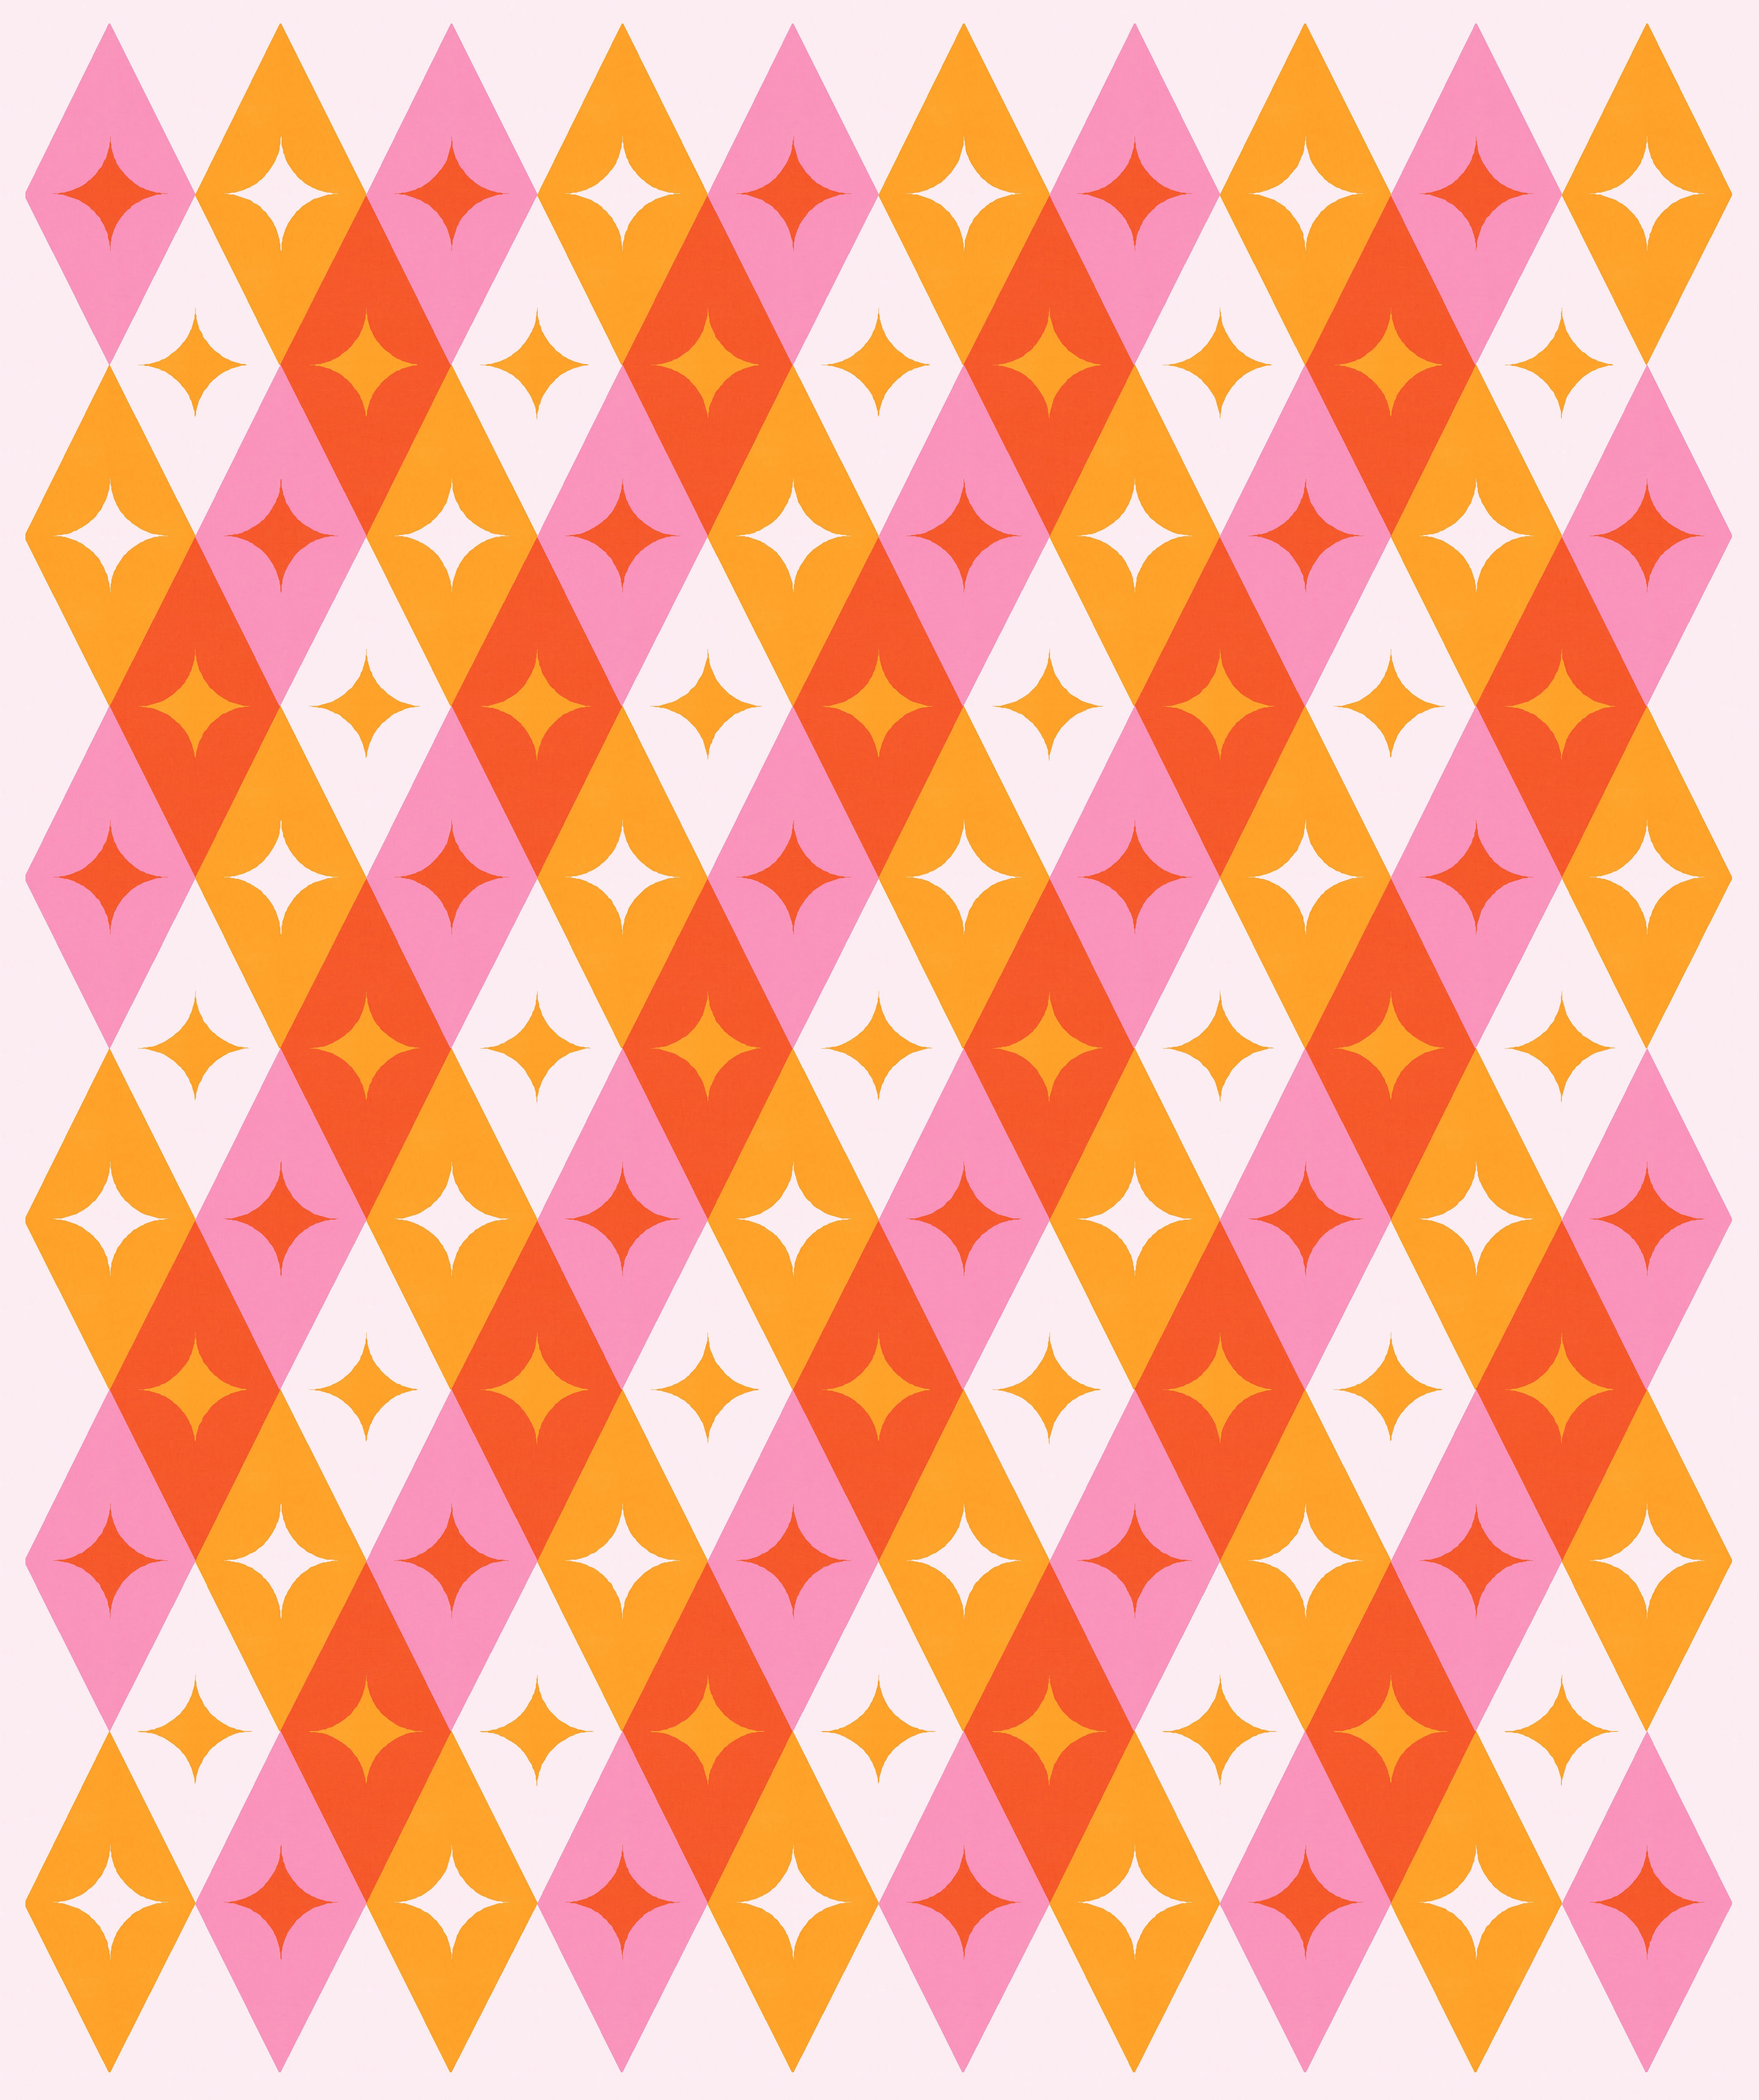
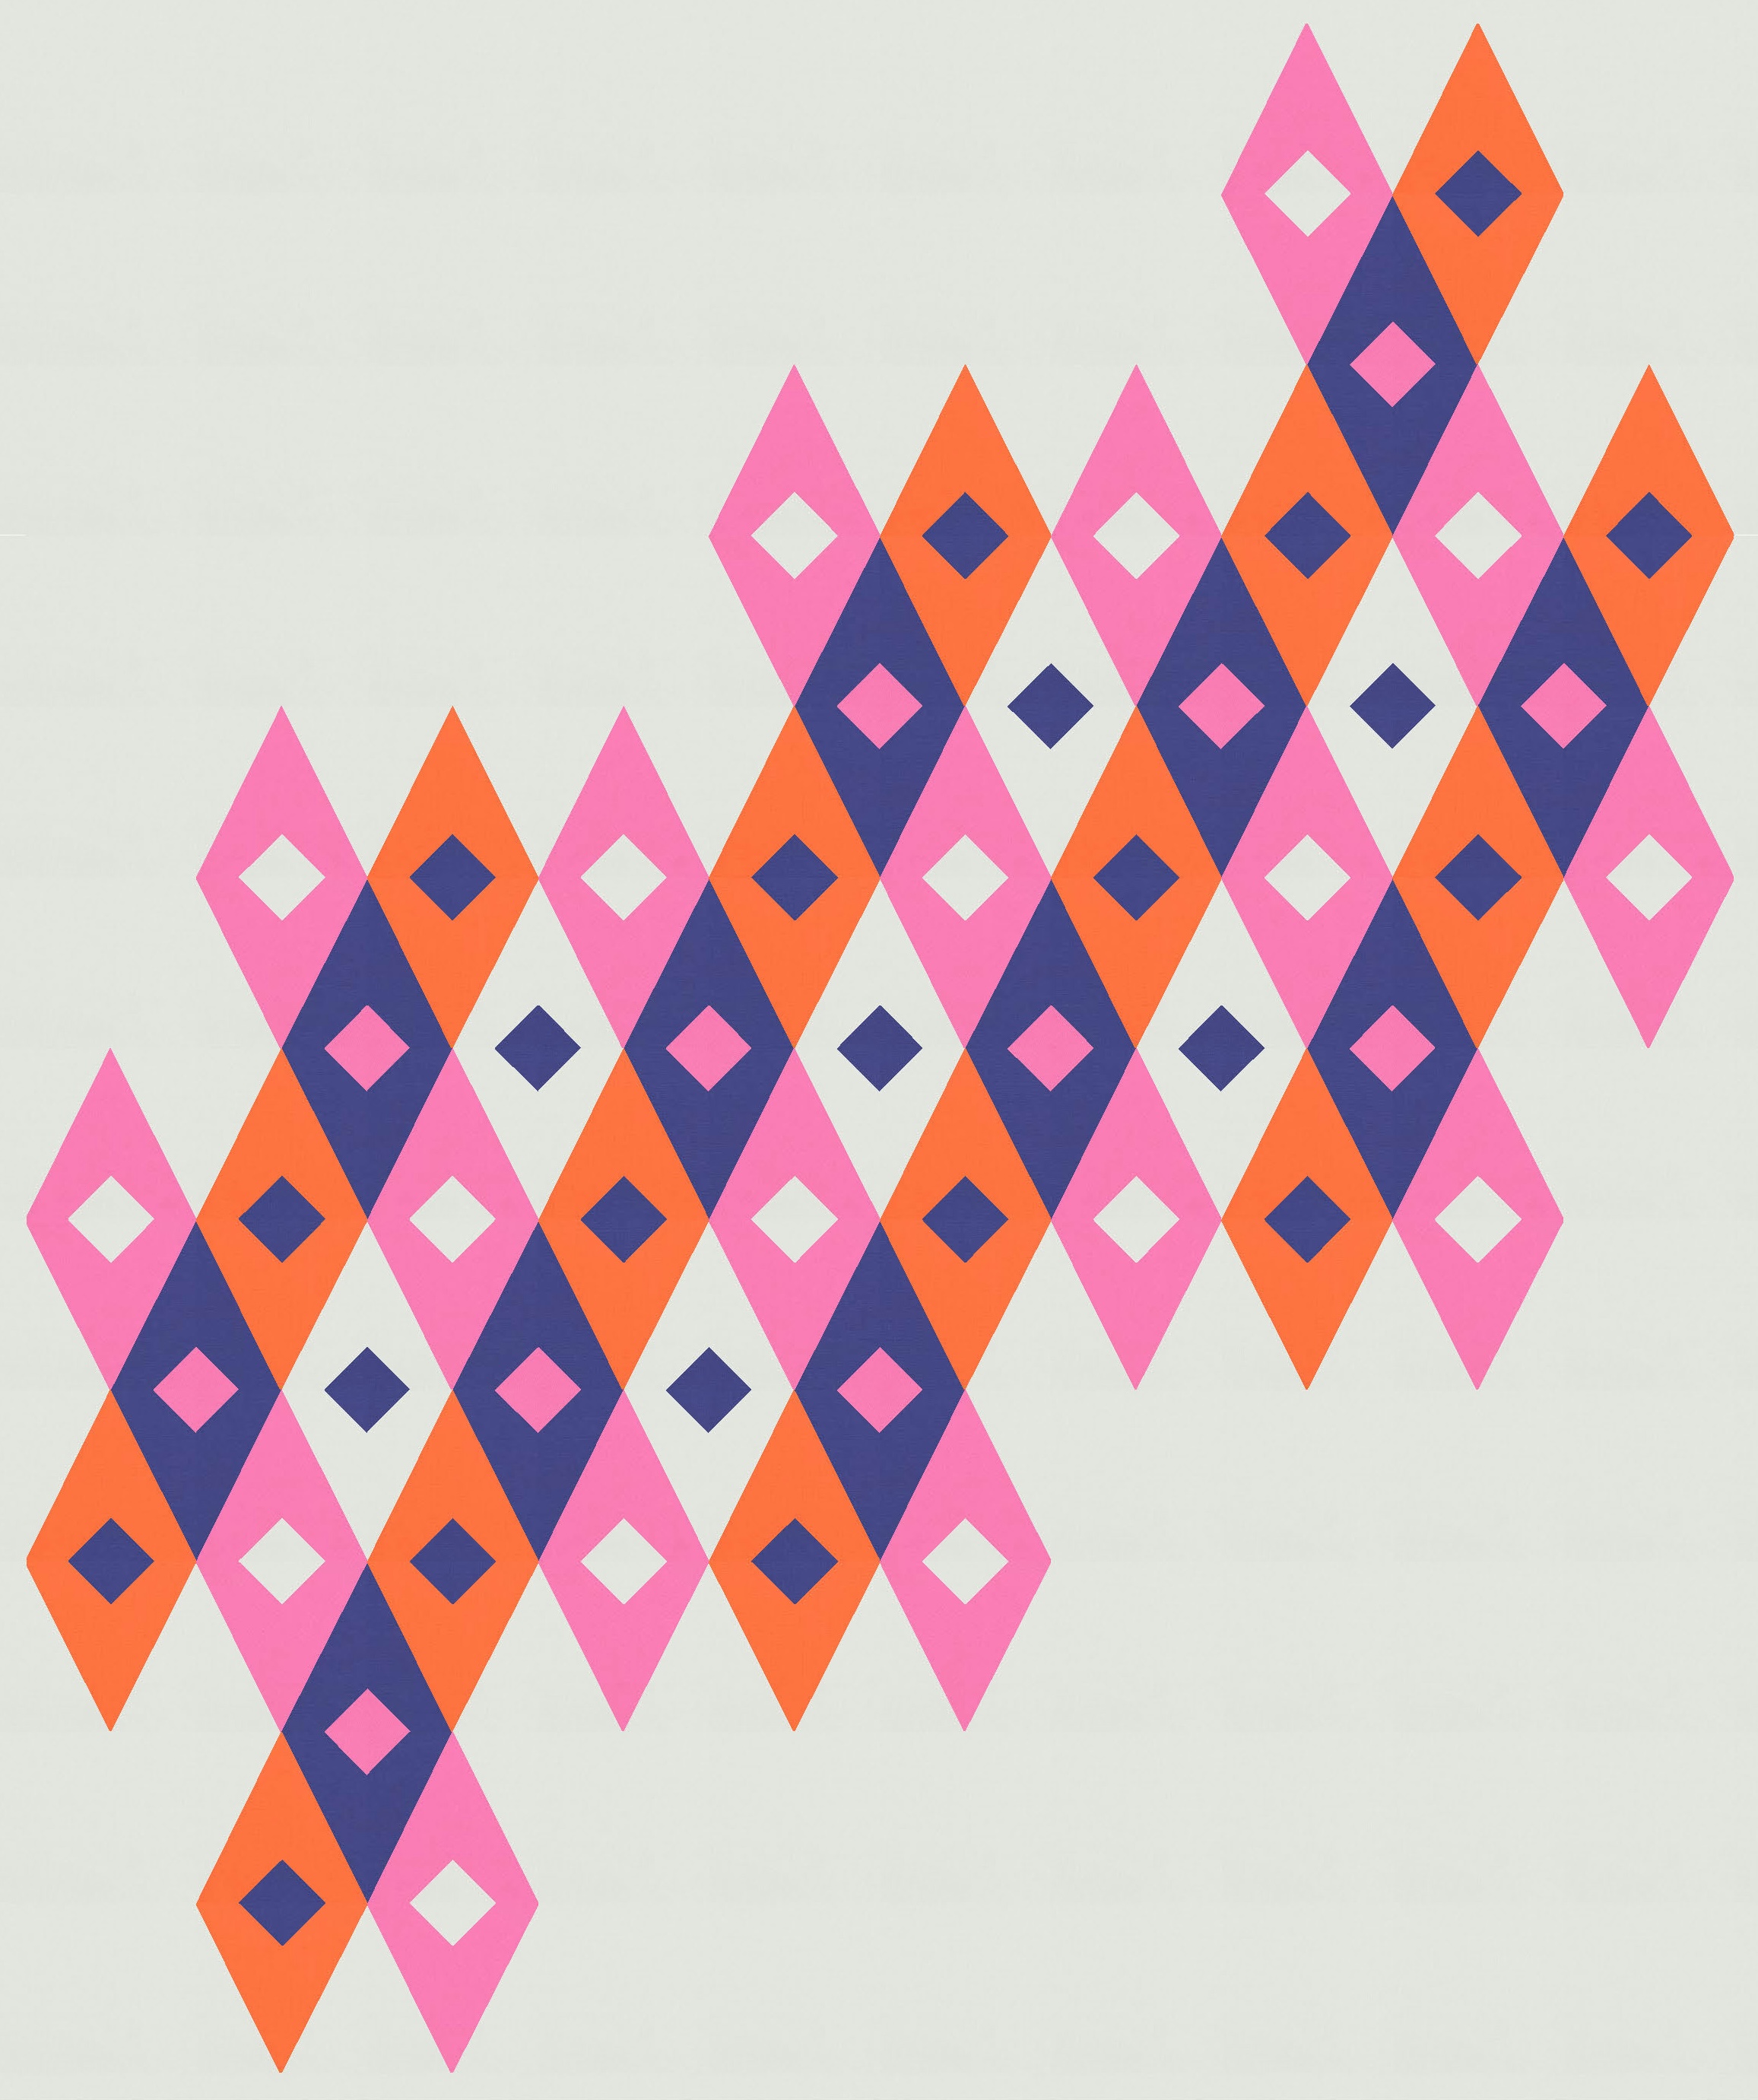
Keeping certain colours within diagonals helps to retain the movement; using the background colour for some of the curvy stars helps to lighten things a little. But it’s also possible to use the background colour for some of the diamonds – and even to increase the size of the palette once again. Here’s a six-colour version…
The ‘woven’ appearance can really be emphasised by paring back some of the diamond shapes to show those diagonal overlapping lines.
Now, as much as I love this design, there’s a teeny tiny voice in the back of my head pointing out that actually making this sketch into a quilt could be… difficult. Getting a curvy star into the middle of a diamond might be easy enough if its four pointy ends reached the corners of the unit (where they’d be sewn into the adjacent units). But in this case, I don’t want the ends to reach that far. I want the ends to extend only about half of the distance between the star’s centre and the side corners of the diamond, so that the star floats within the diamond with a bit of space on every side. Actually piecing that is a bit more complicated than normal. (I’ve tried to explain why about three times while writing this blog post, and I can’t find an easy way to do it. Yvonne Fuchs’ Inset Curve Star Tutorial shows one way to do it, but not the way I was thinking of. You’ll just have to take my word for it for now; if I find a way to describe my intended approach clearly, or try sewing it myself, I will update this blog post!)
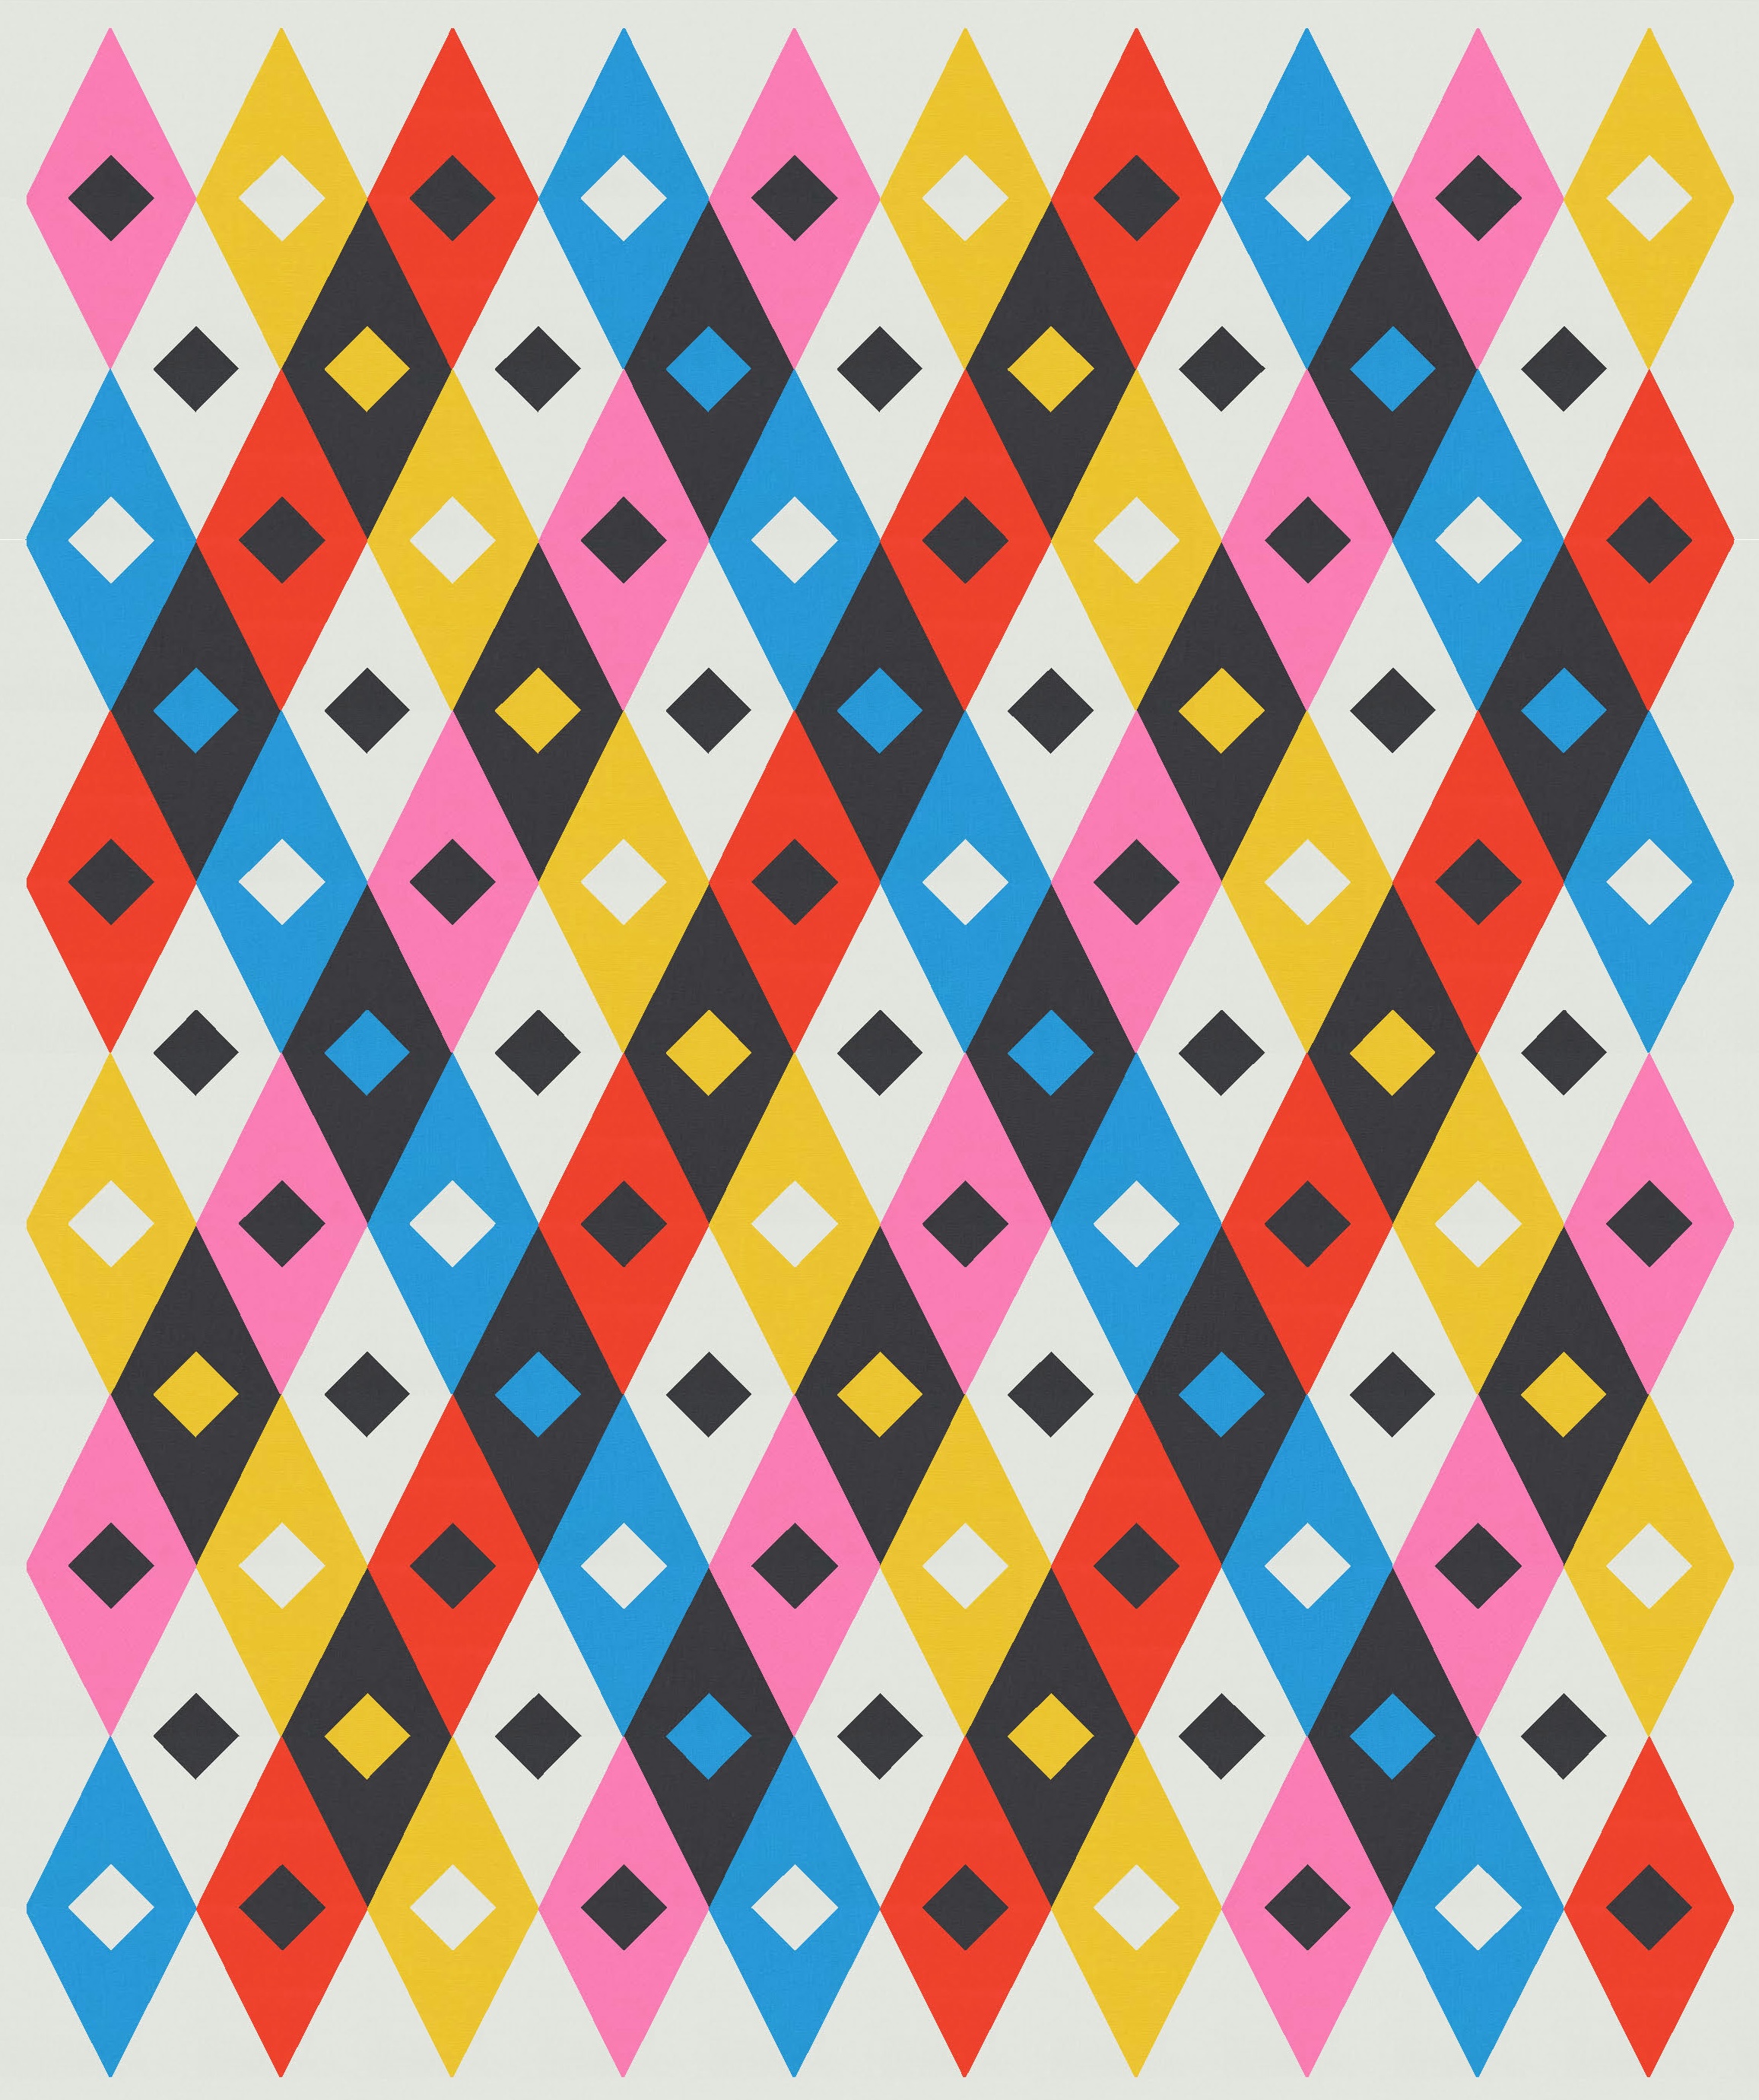
Anyway… I tried different inner shapes just to see if I could find something that felt as fun while also being a bit more straightforward to piece.
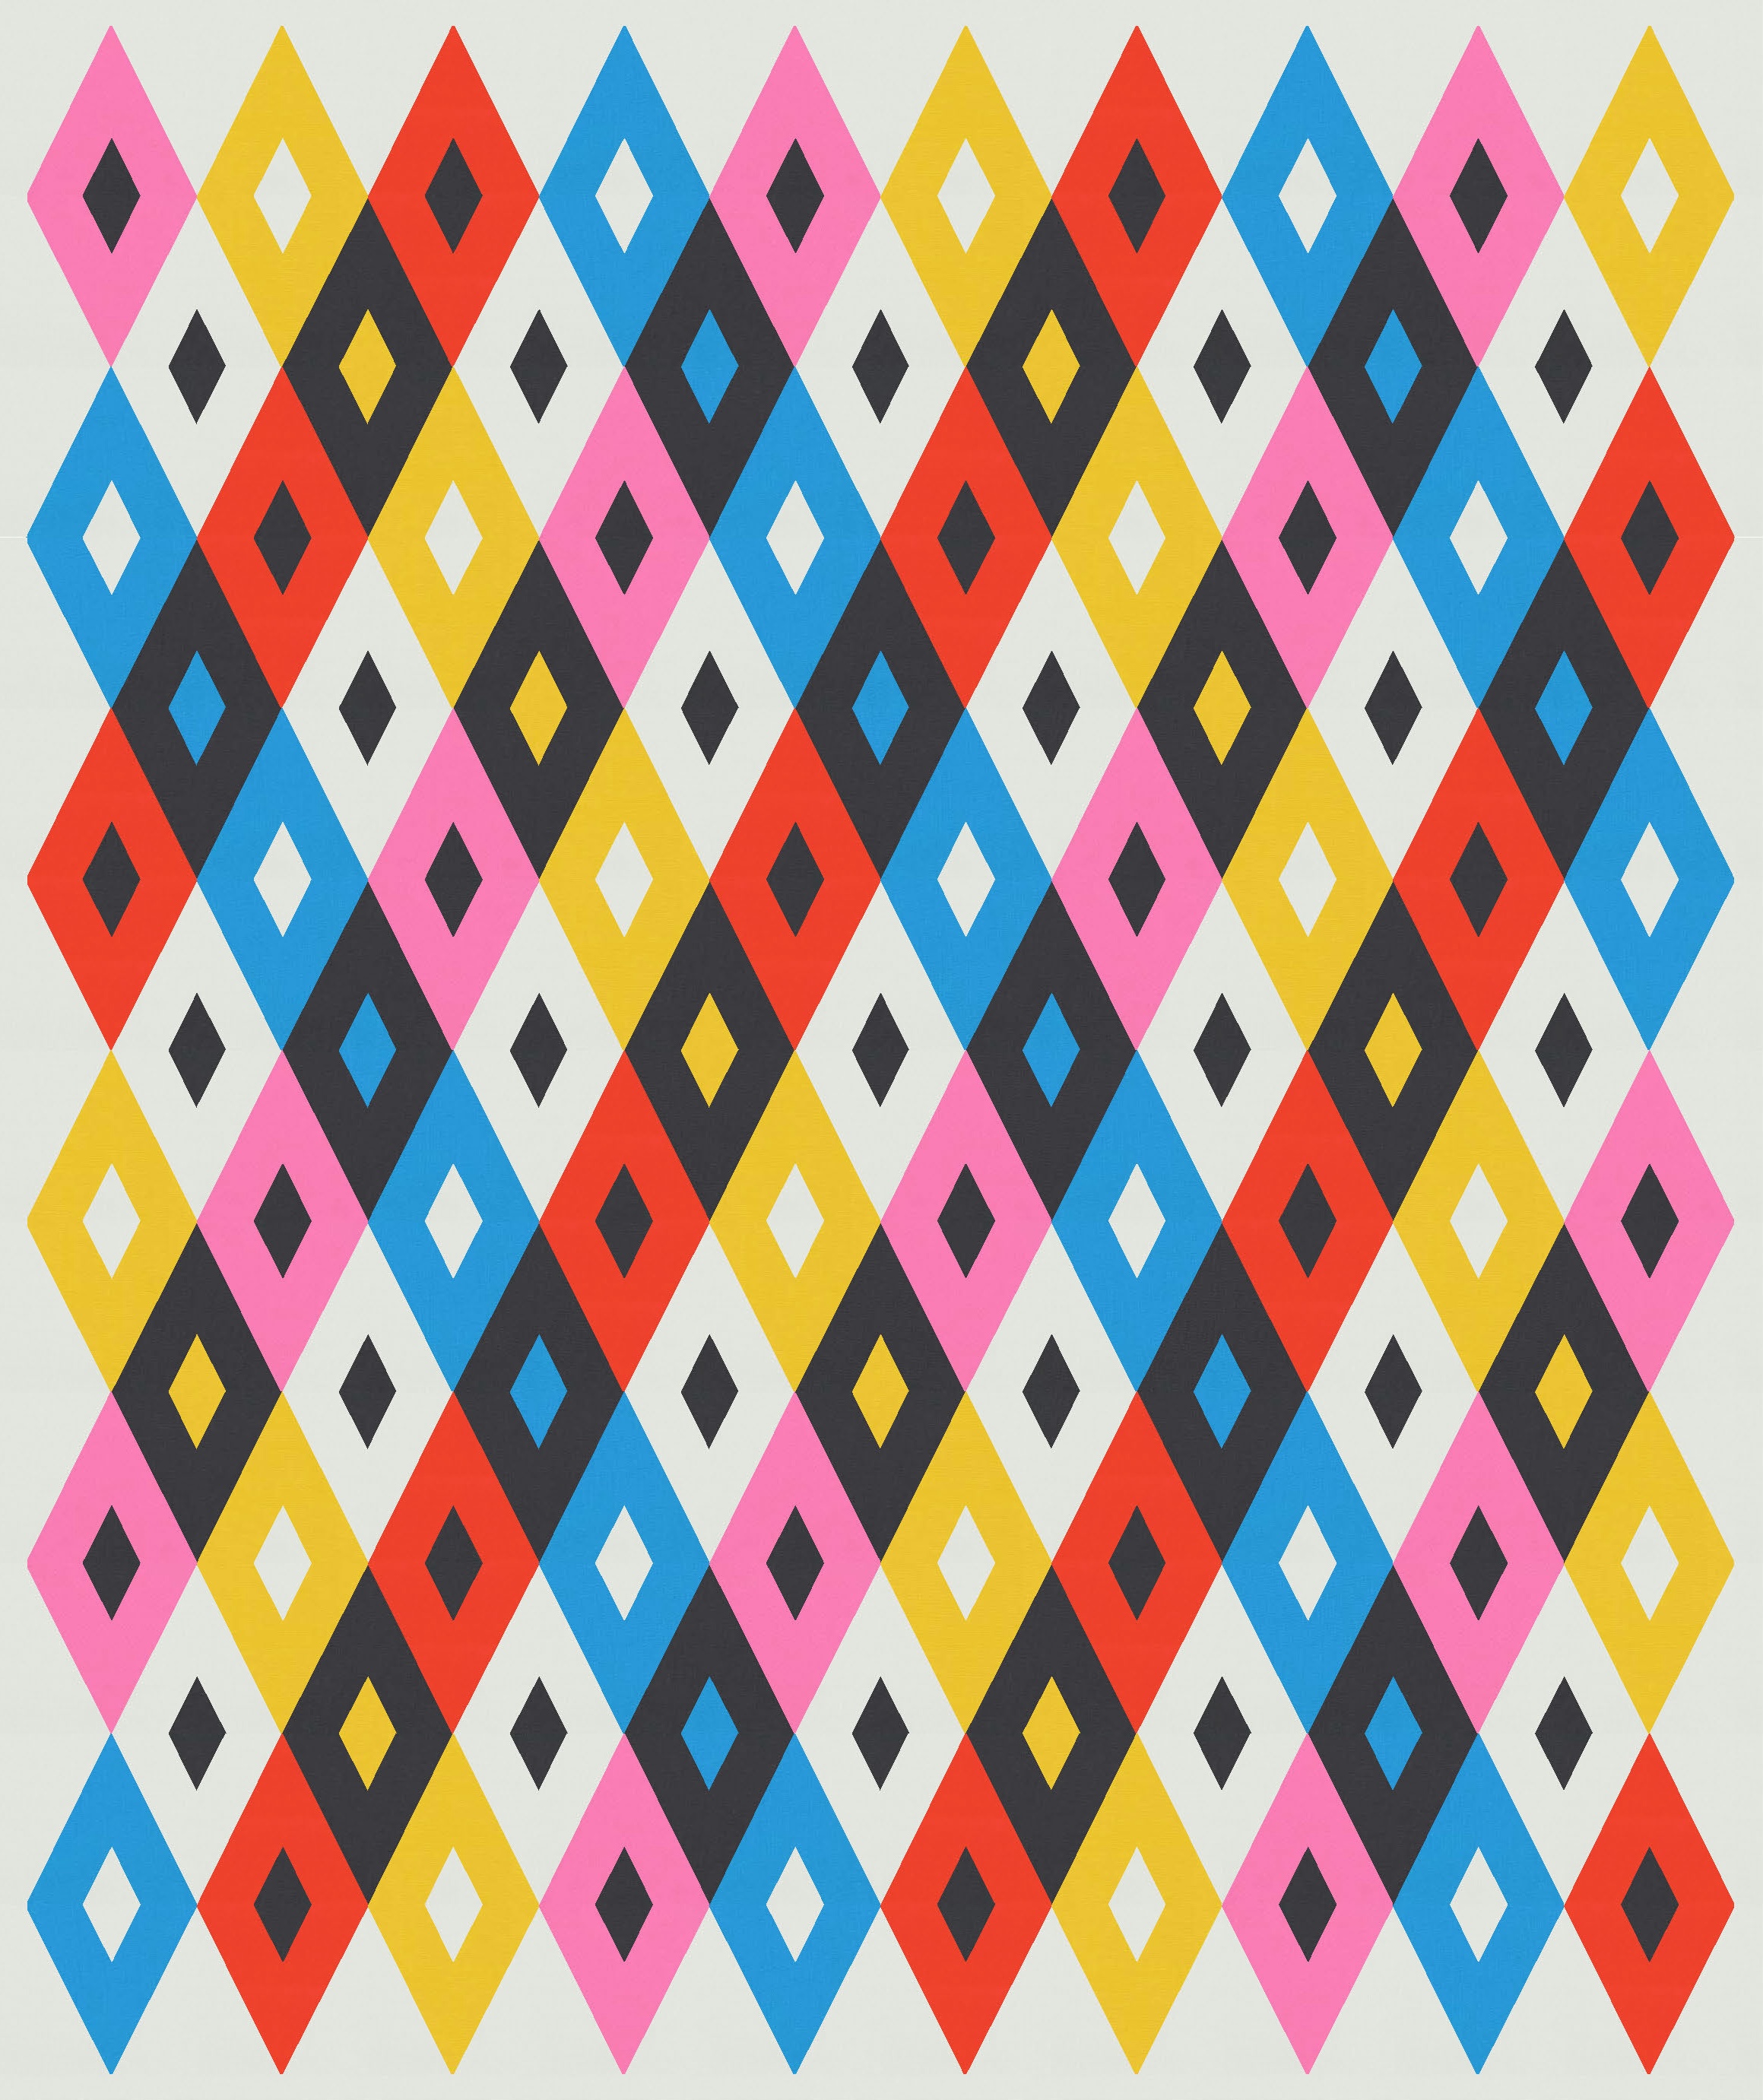
I don’t like the vertical diamonds as the small inner shape – they’re just a bit boring. I think the circles are super-cute, but I’m not great at piecing small quarter-circles, so I’d find that version pesky to make (unless the diamonds were really big). The slim horizontal diamonds work well, but similar designs have been done already. Saija Elina has the Diamond in Diamond paper piecing pattern (you can see the full quilt on her Instagram feed), which uses the same approach with a fine border around the inner shape. And I know I’ve seen an even closer design on Instagram recently (without the fine border), but can’t for the life of me remember who posted it. If you’ve seen something like it, let me know and I’ll update this blog post!
Anyway, I also tried a square, which I think is kinda cute, and would avoid many of the difficulties in actually making any of the other variations. You’d just have to snowball-corner the half-rectangle triangle units.
Don’t get me wrong – I still prefer the original with the curvy stars, but I might choose a simpler approach if I were actually going to make this one.
Speaking of which… there are at least two approaches for making one of these designs into a quilt. In Electric Quilt 8 (which I use to design most of my Sunday sketches and actual quilts), it’s easier for me to use a square or rectangle block. So that’s how I designed this one – the basic block is a half-rectangle triangle unit whose other two corners have part of the inner shape (e.g. a quarter-circle or triangle). That means that each diamond is actually made from 4 adjacent blocks and would thus have a vertical and a horizontal seam running through it.
Obviously the other approach is to create each diamond on its own before joining them all together. Creating each diamond with a shape in the middle would probably require paper piecing (at least, that’s how I’d do it) and would still leave you with those internal seams. So I’m not sure that this approach would be any easier or simpler than the first one?
I’m still tempted to try the first version of this week’s sketch with the curvy stars. As I mentioned, putting a curve on the corner of a block like that could be tricky, but I’d like to try it and see how tricky. And if I try it, I might manage to describe why it’s so tricky…!
Discover more from Geometriquilt
Subscribe to get the latest posts sent to your email.
