Sunday sketch #464
When waiting for a train at Flinders Street Station in Melbourne recently, I noticed that the scalloped edges on the roof cast a nice shadow on the platform. What better inspiration for a quilt design?
I often say that quilty inspiration is everywhere (OK, most quilters say that). But it’s true! Here’s this week’s sketch:

And here’s the inspiration:

Platform of Flinders Street Station, Melbourne. Wikimedia / Windmemories. Creative Commons BY-SA Intl
At the bottom left of the image, you can see the scalloped shadow on the platform, which is formed by the edging shown at the top middle of the photo.
Anyway, that got me thinking about curves and how to introduce a scalloped effect in a quilt.
I started out with a block-based arrangement using thick lines separated by thin lines. After creating those outer, curved blocks, I decided to fill the centre of the design with simpler squares. I wanted that scalloped edge to be the most interesting feature.
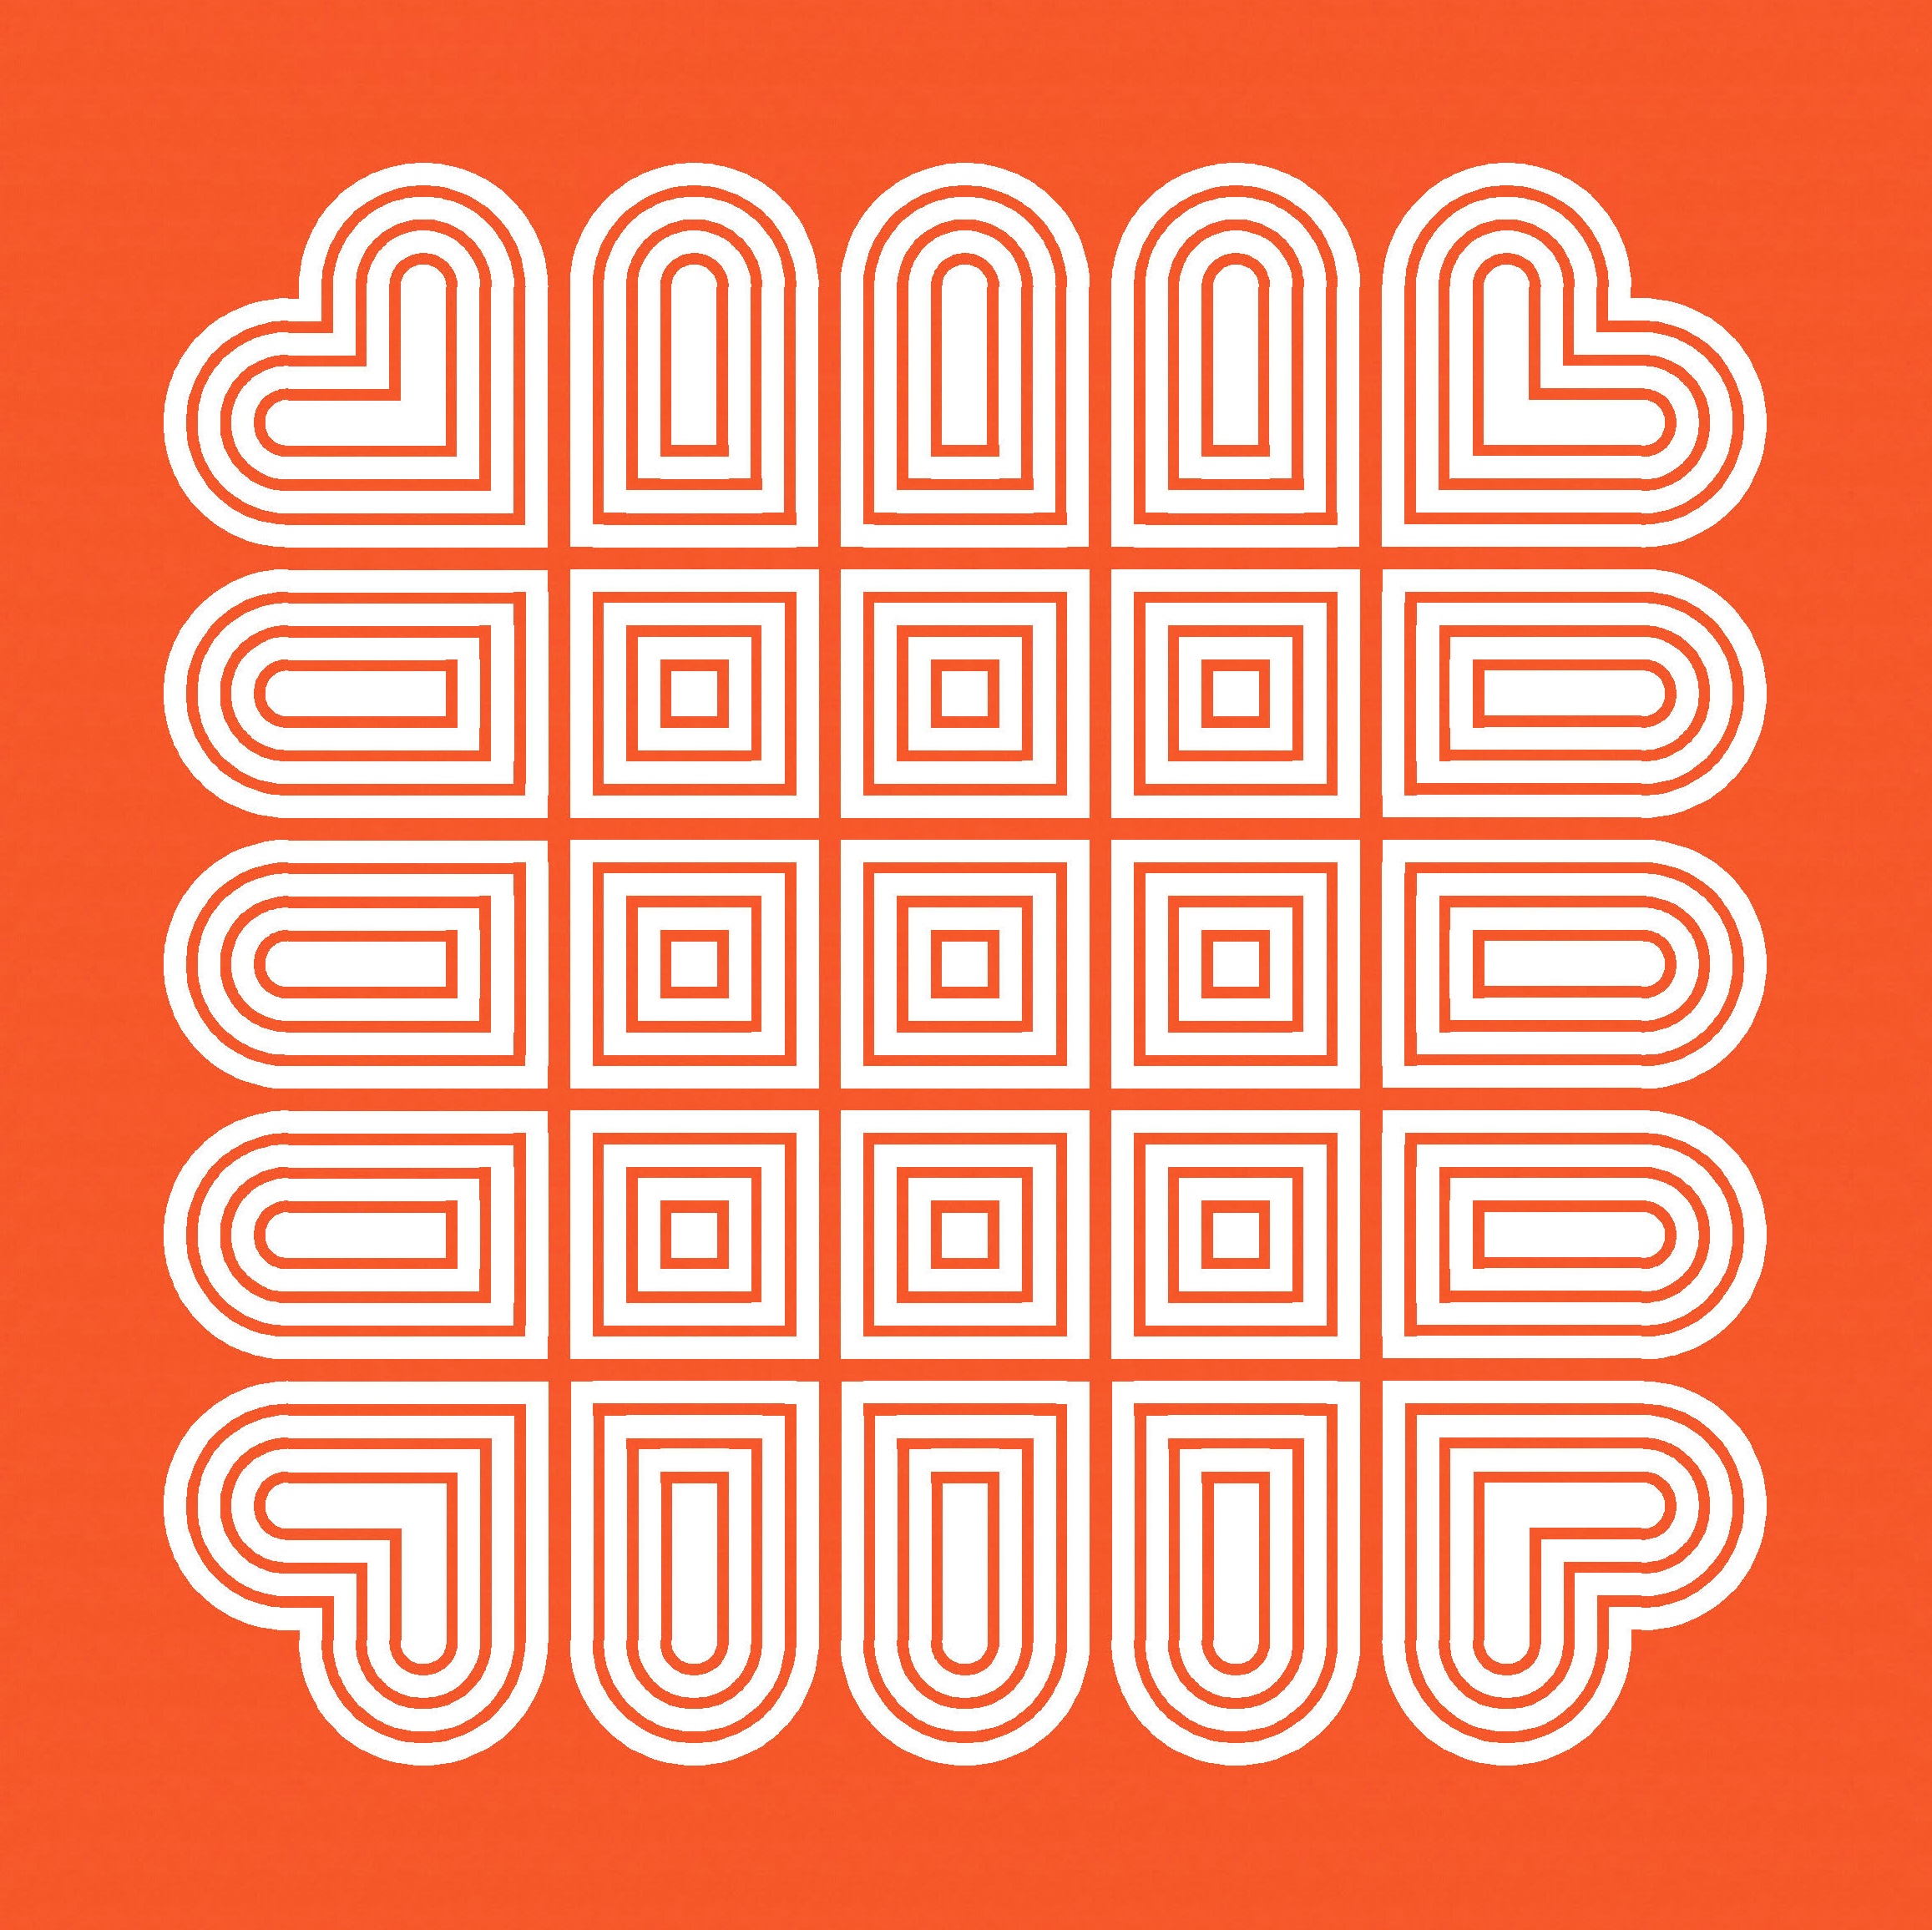


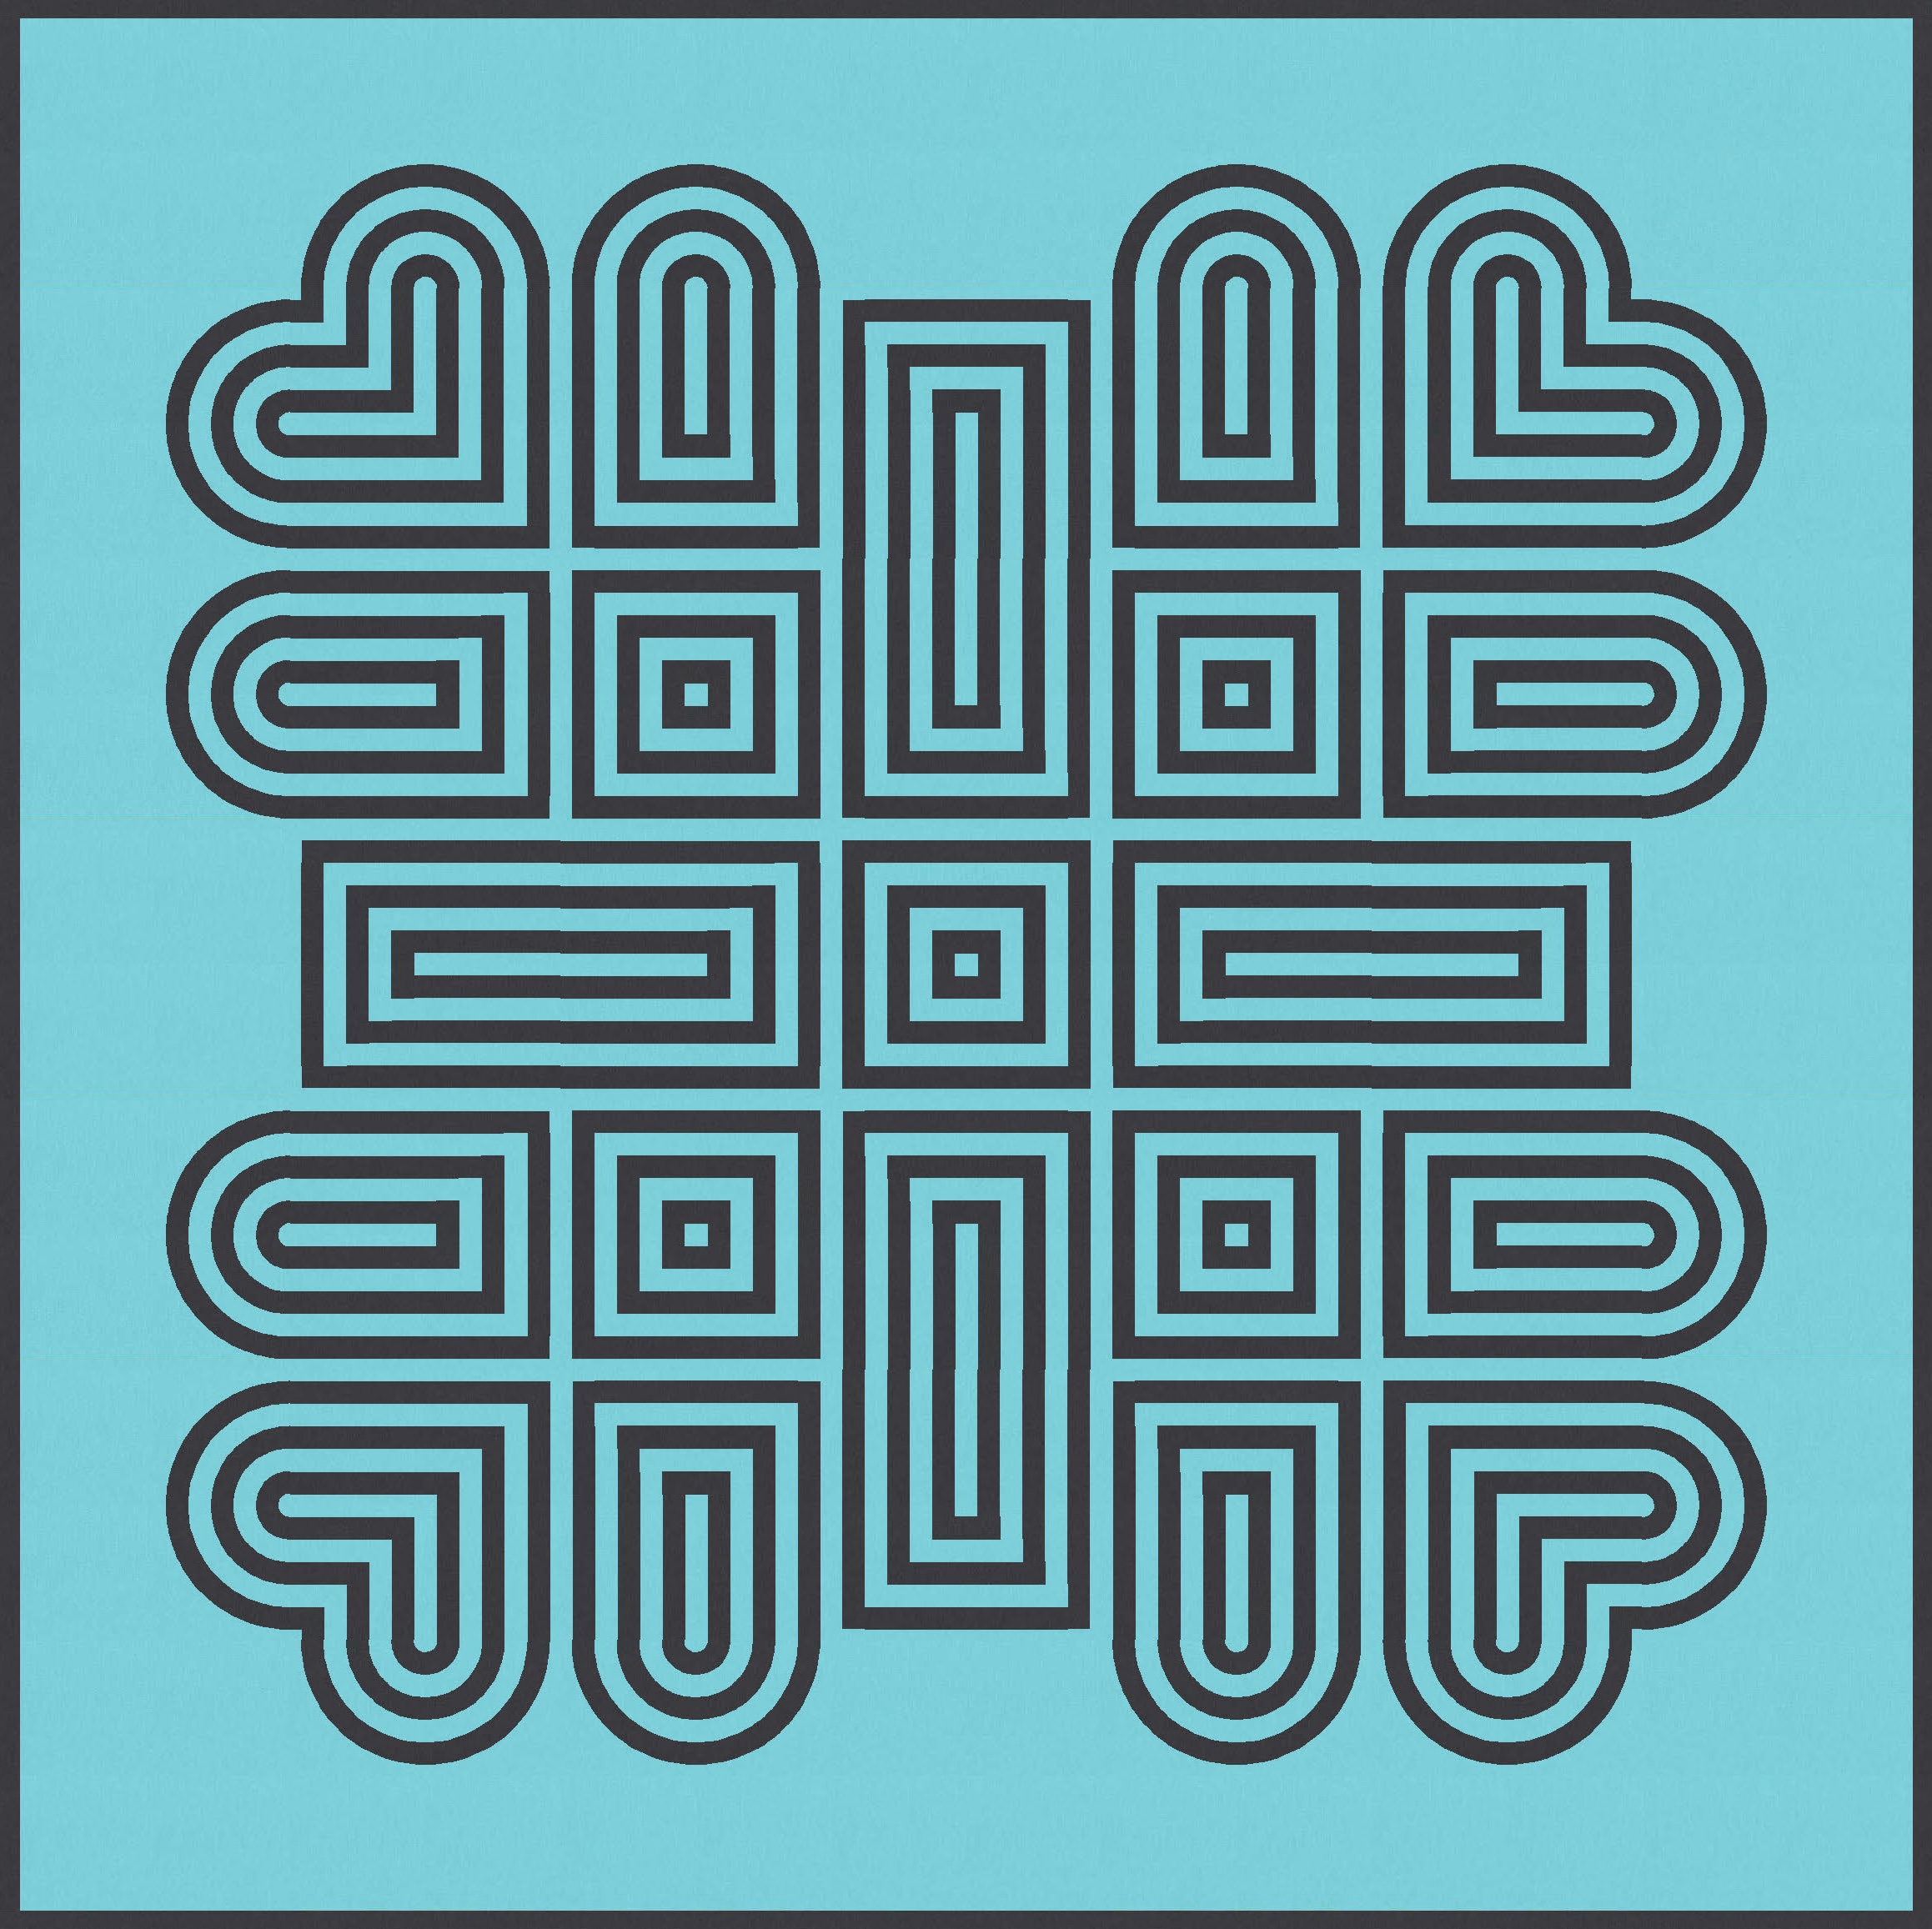
I like the thicker inner pieces that resulted from my use of thick and thin lines – they help to draw the eye to the outer edges of the design – but I decided that I’d prefer if all the lines (both within and between the blocks) were the same width.
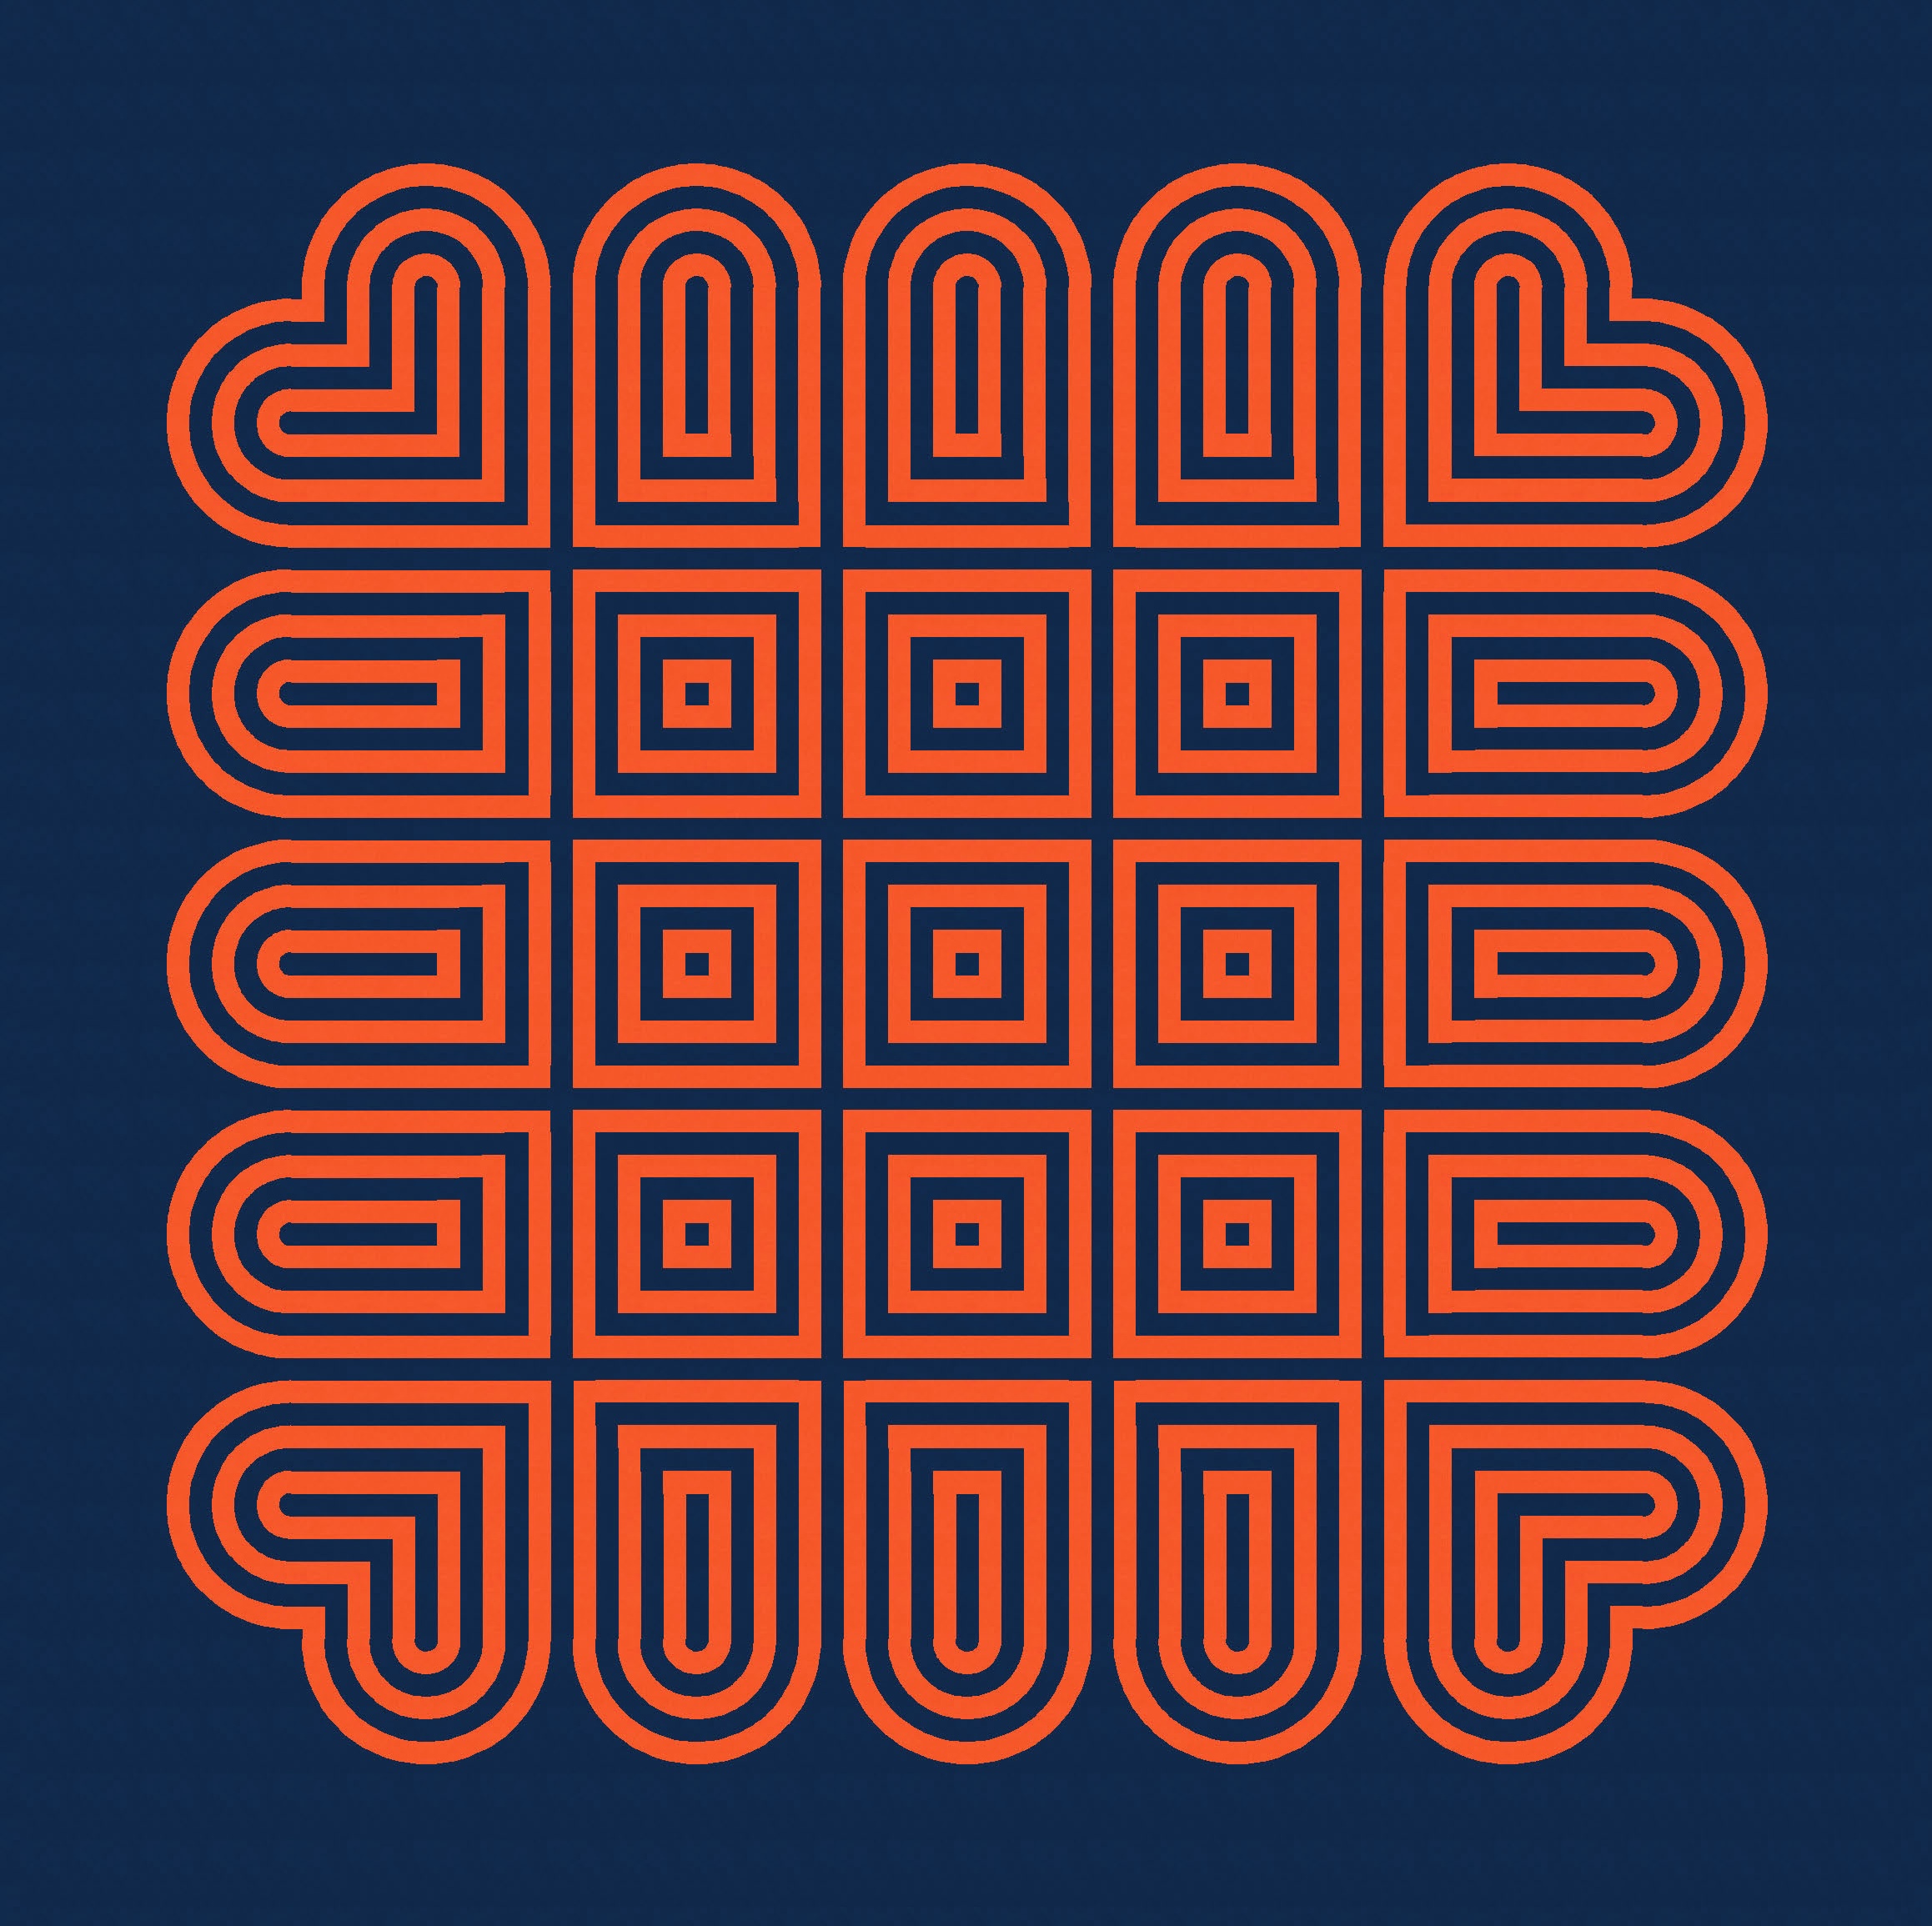
That does mean, though, that the eye is not naturally drawn to the outer edges anymore. Instead, I’m seeing a lot more of those diagonal lines that emerge in the middle. There is often a bit of give and take when iterating a design – which version you end with just depends on which feature(s) you like the most.
In this case, I also decided that the design needed a border in the same width as the block strips.

Adding more colour helps to disrupt those diagonal lines. Judicious use of colour value and placement can also help to enhance the design.

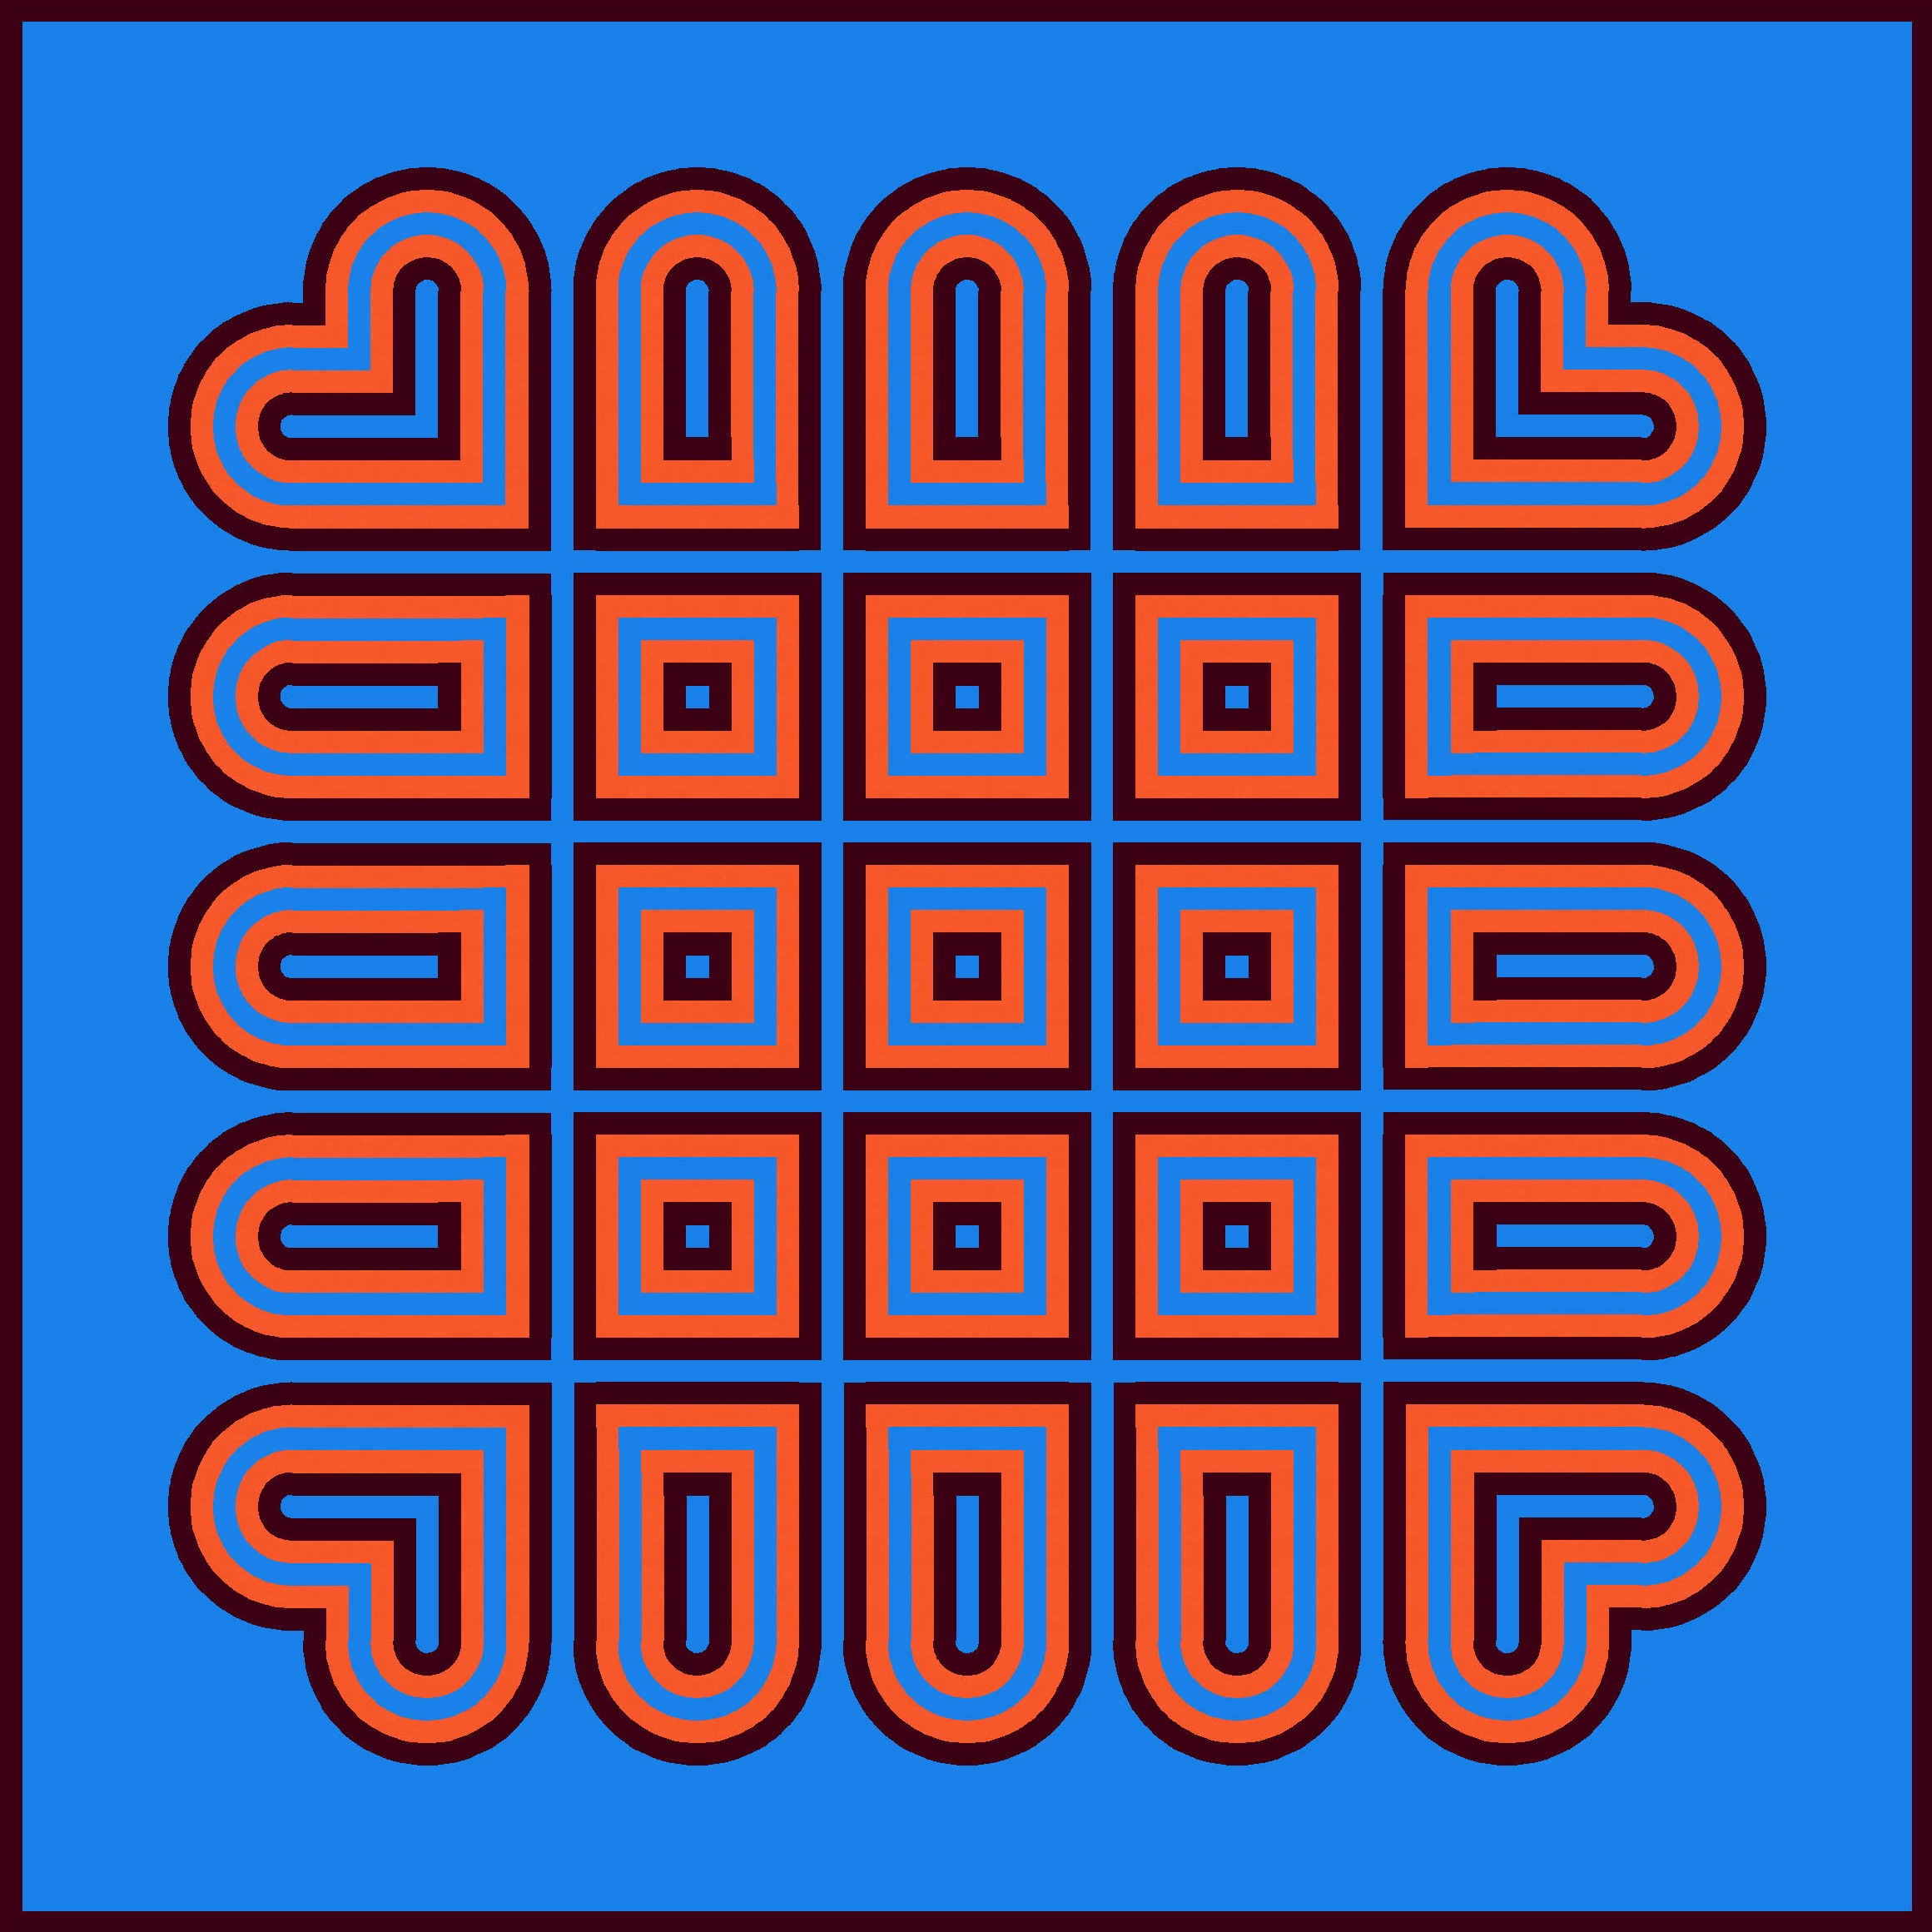
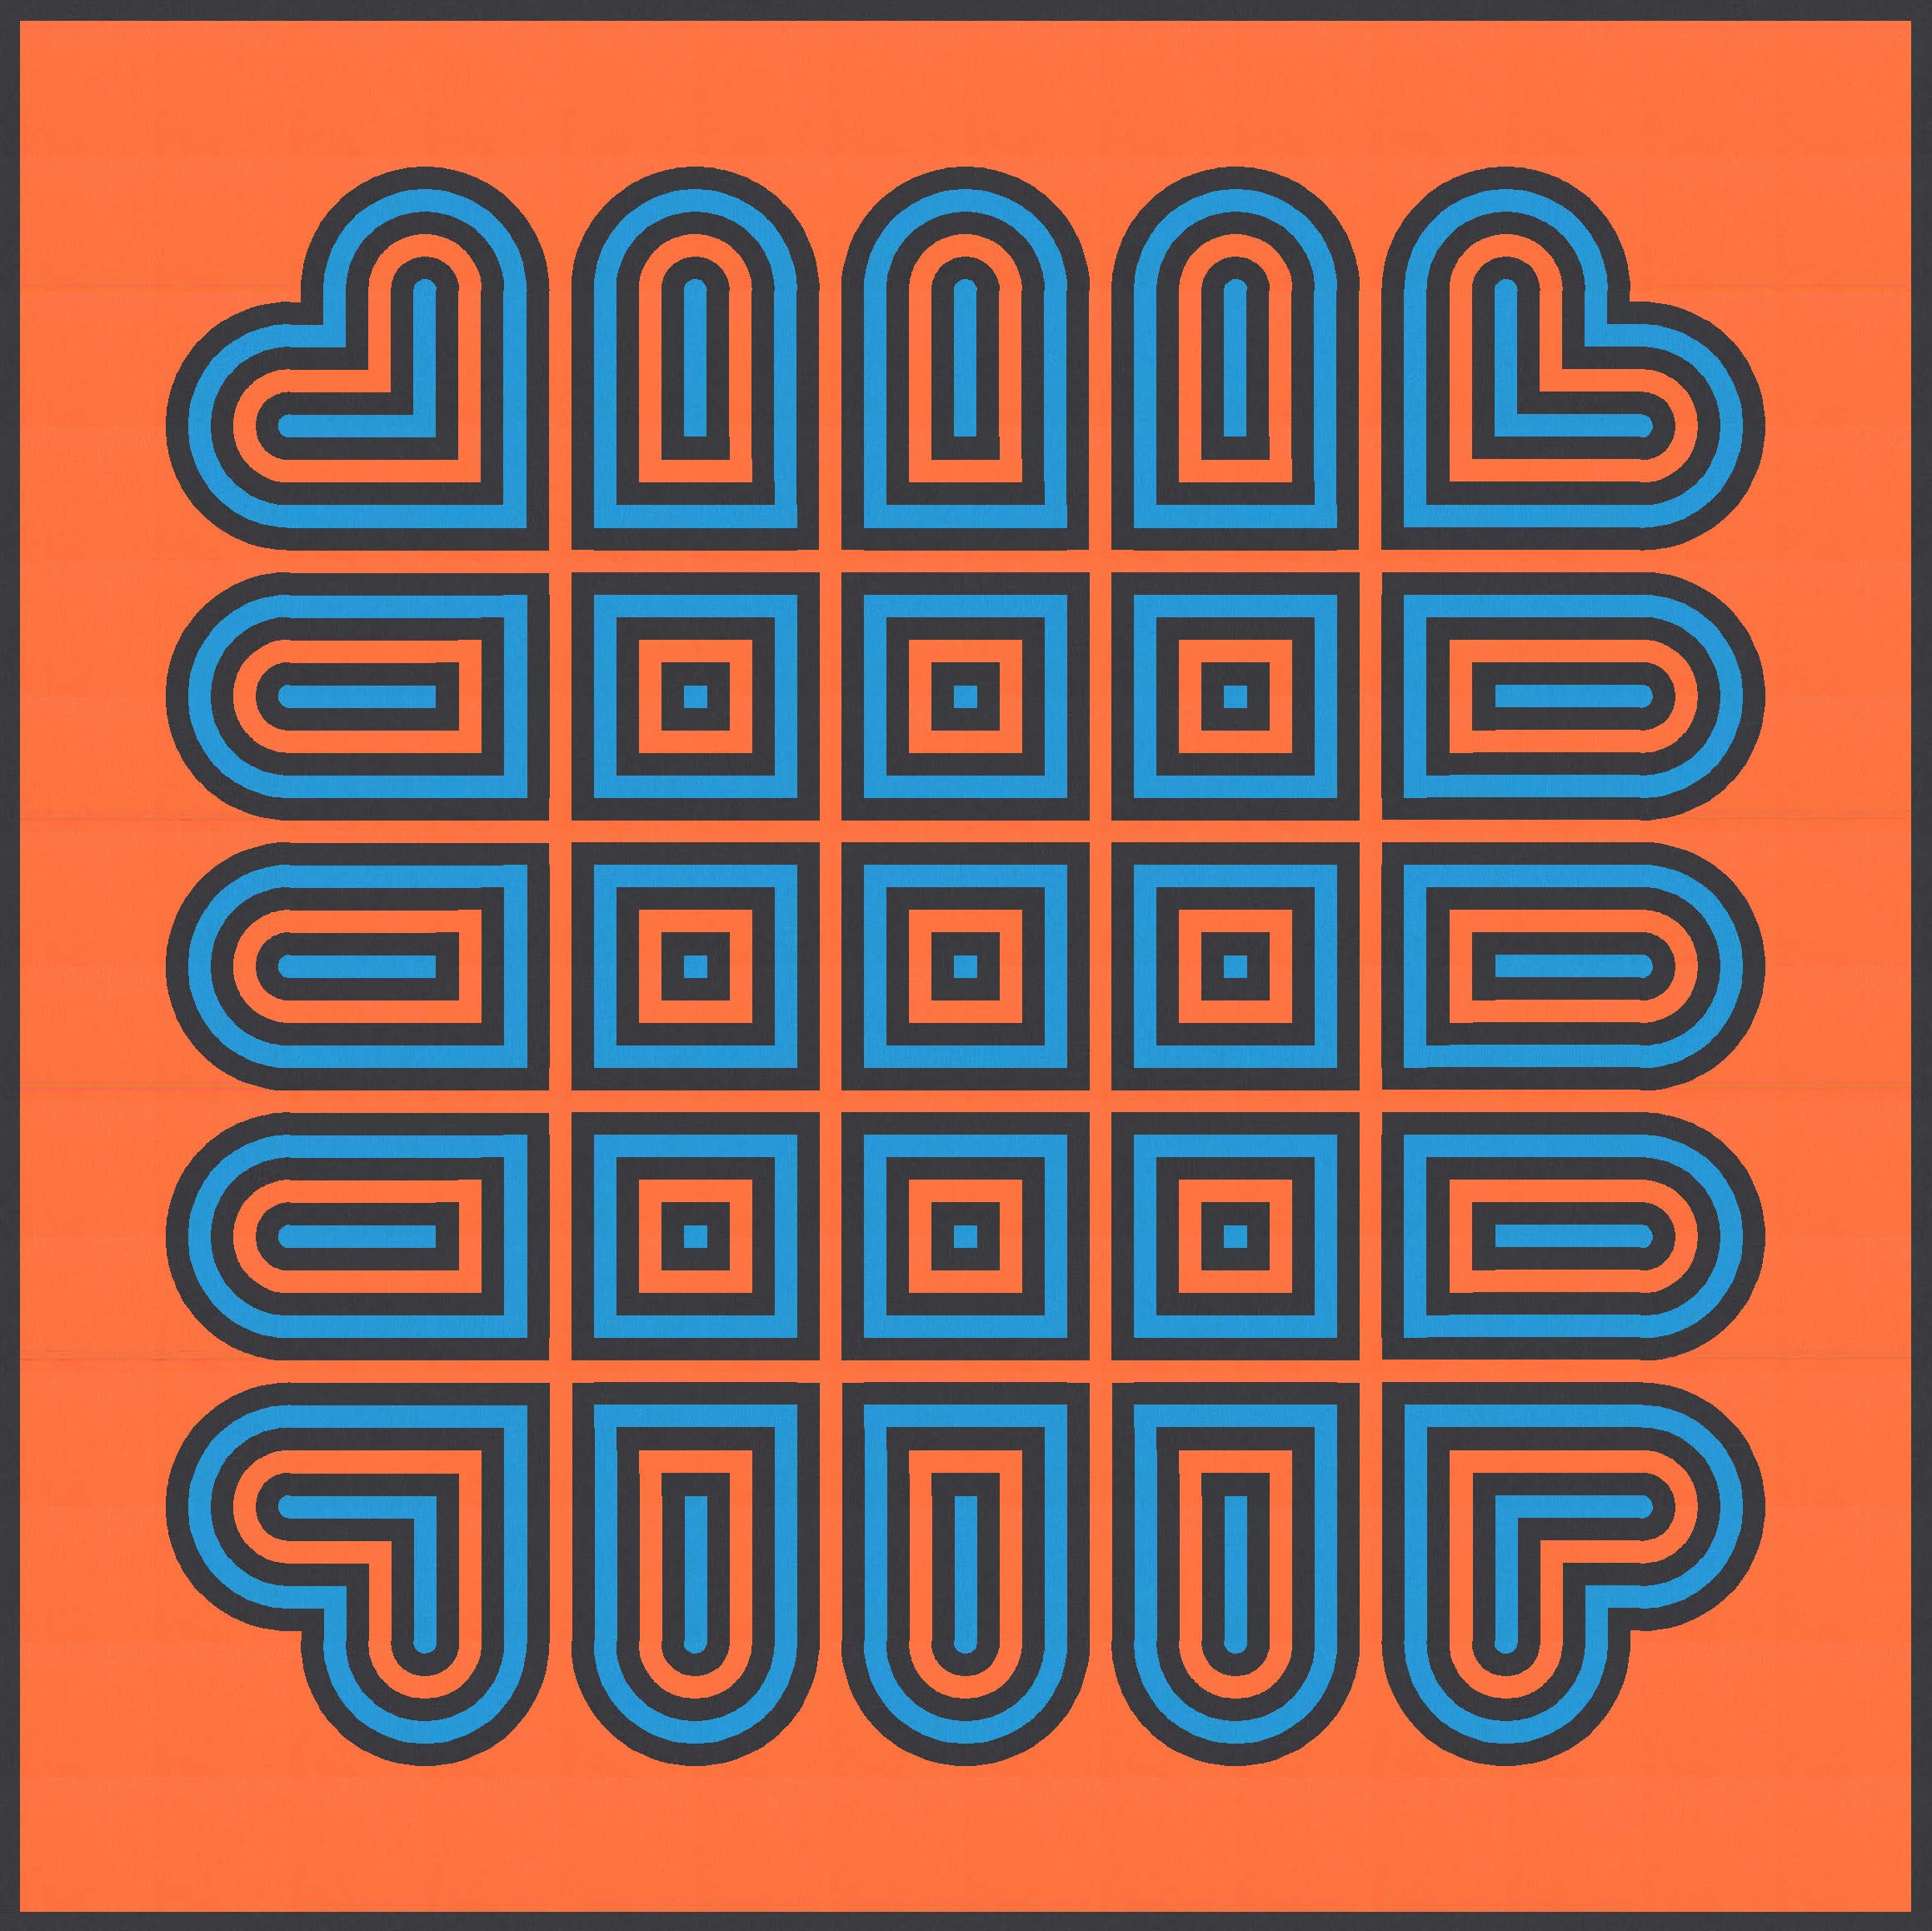
In most cases, though, I prefer the two-colour version. It’s quite a busy design, and more than two colours can be a bit too much for me.
I played around a little with other blocks, adding a longer block that spans the width of two normal blocks. That helps to disrupt those diagonal lines too. Although maybe it just emphasises the few that are remaining?


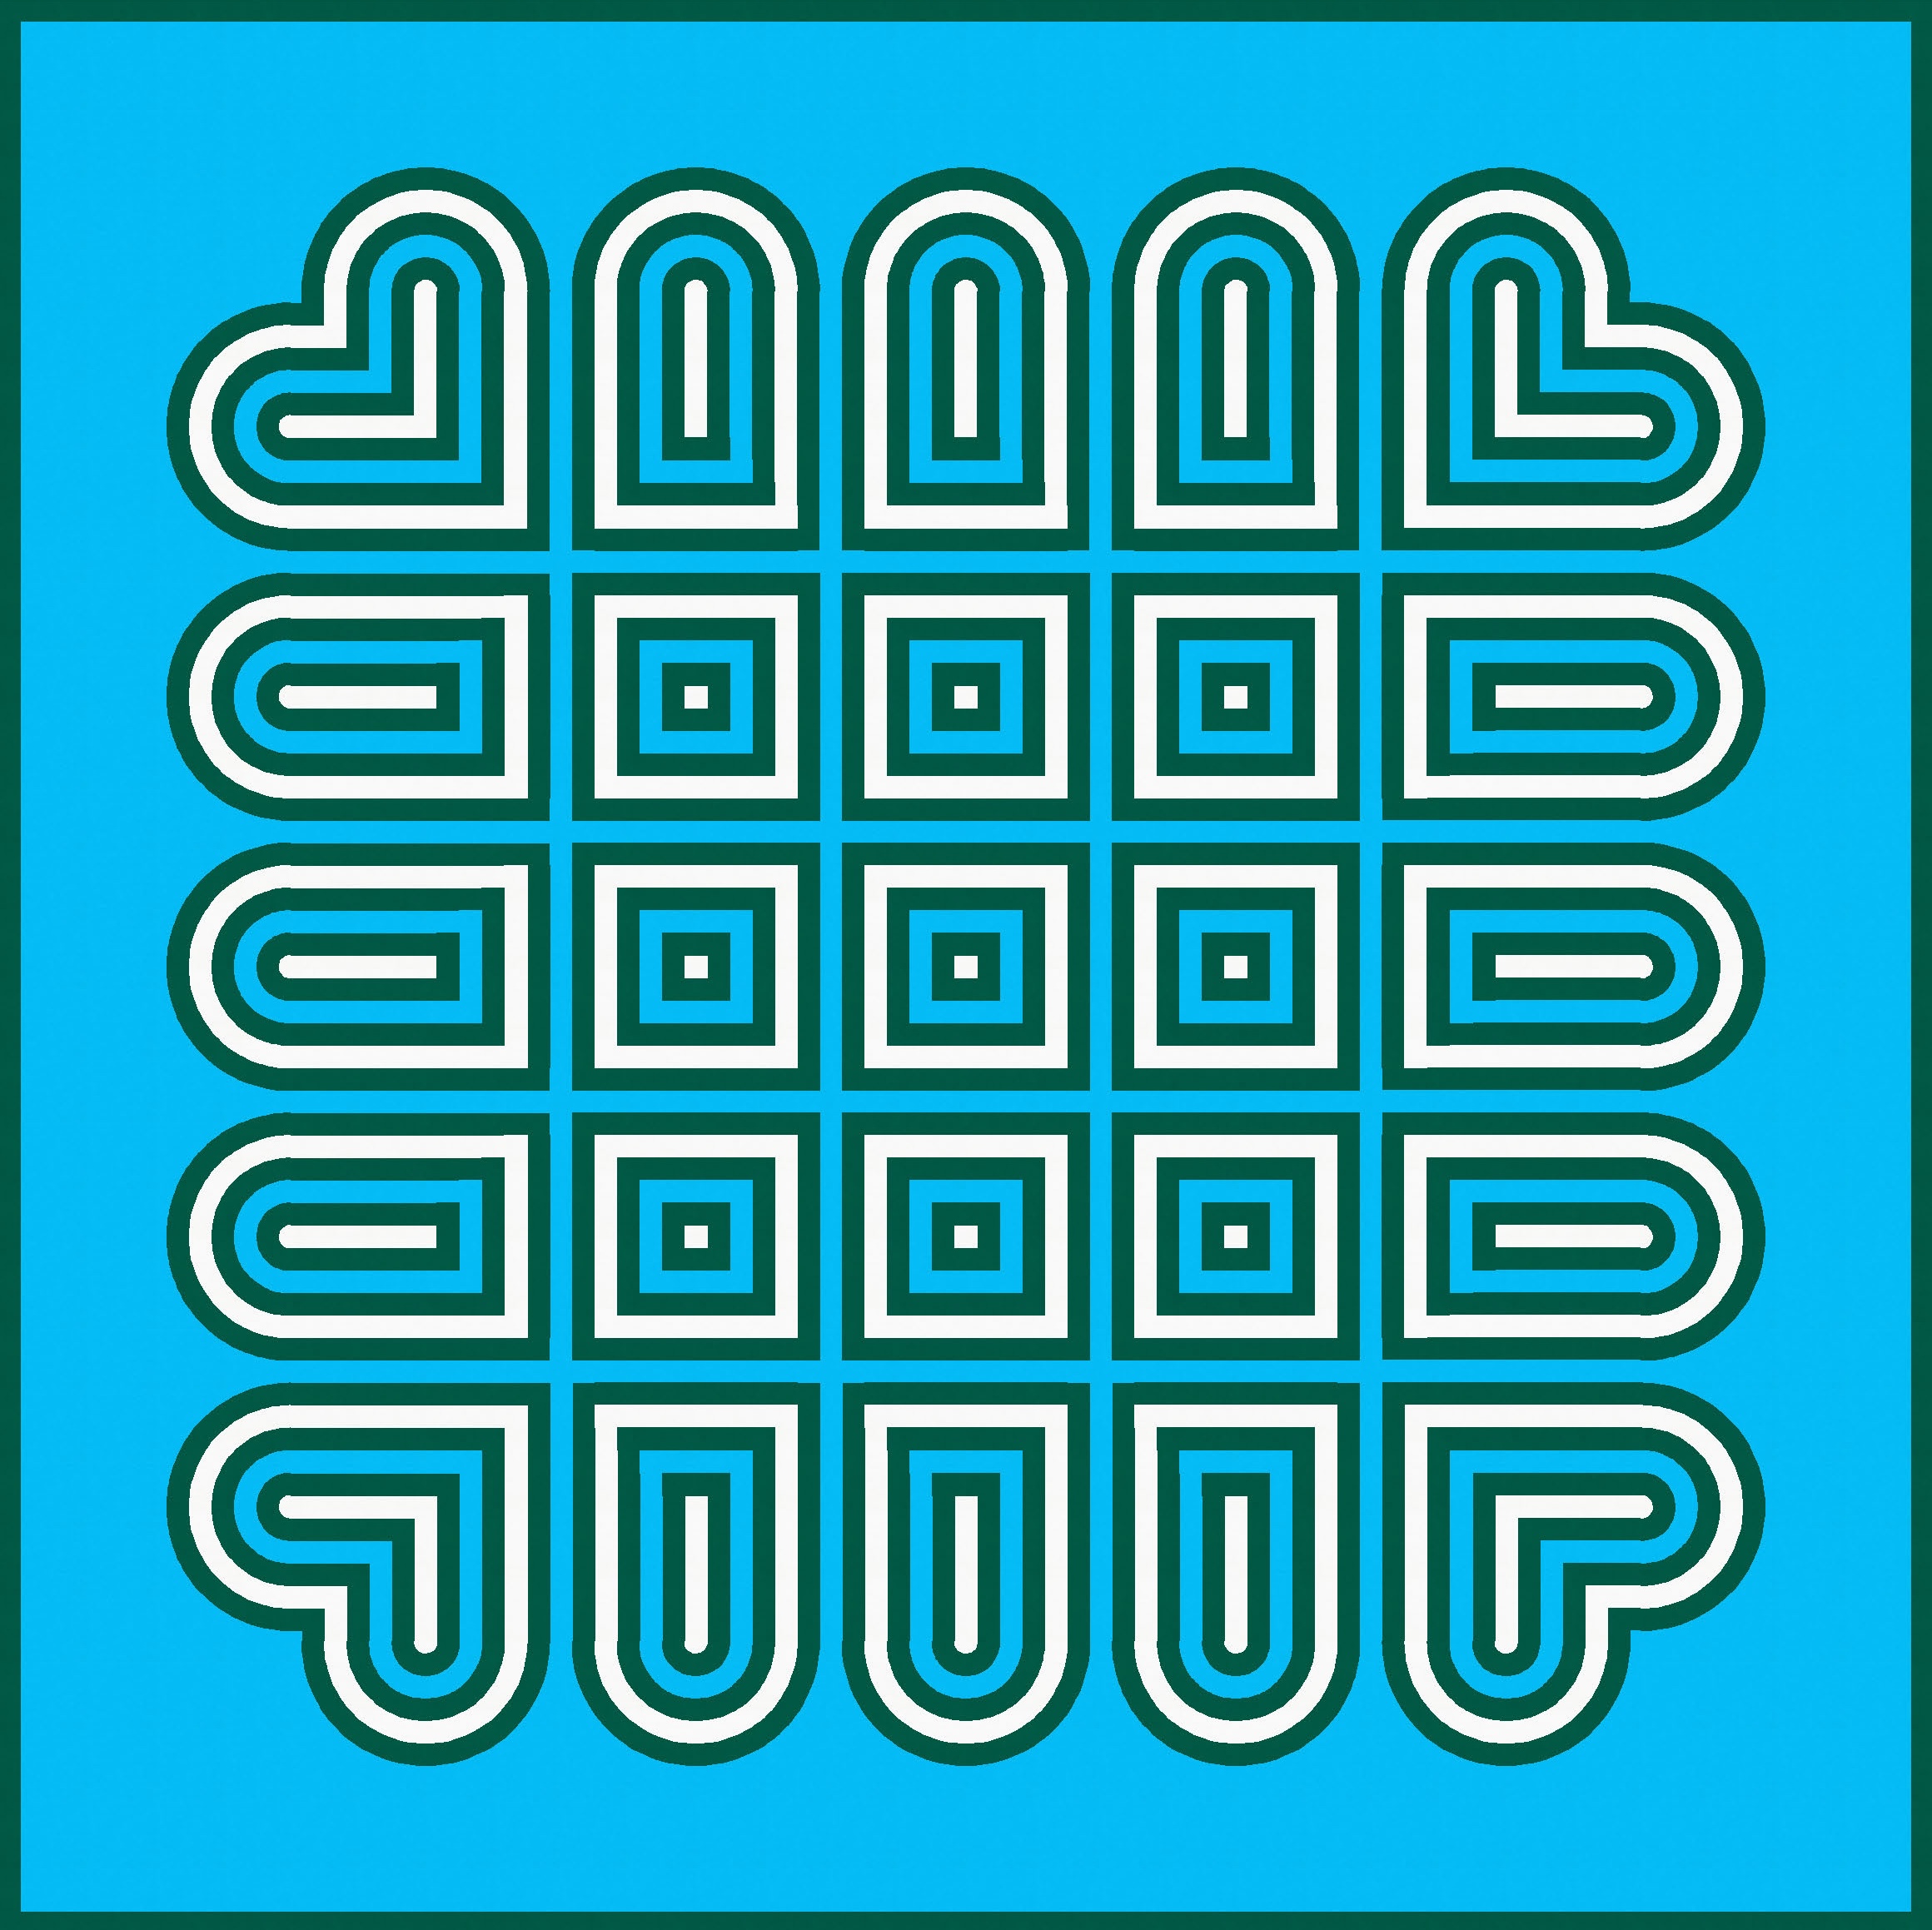
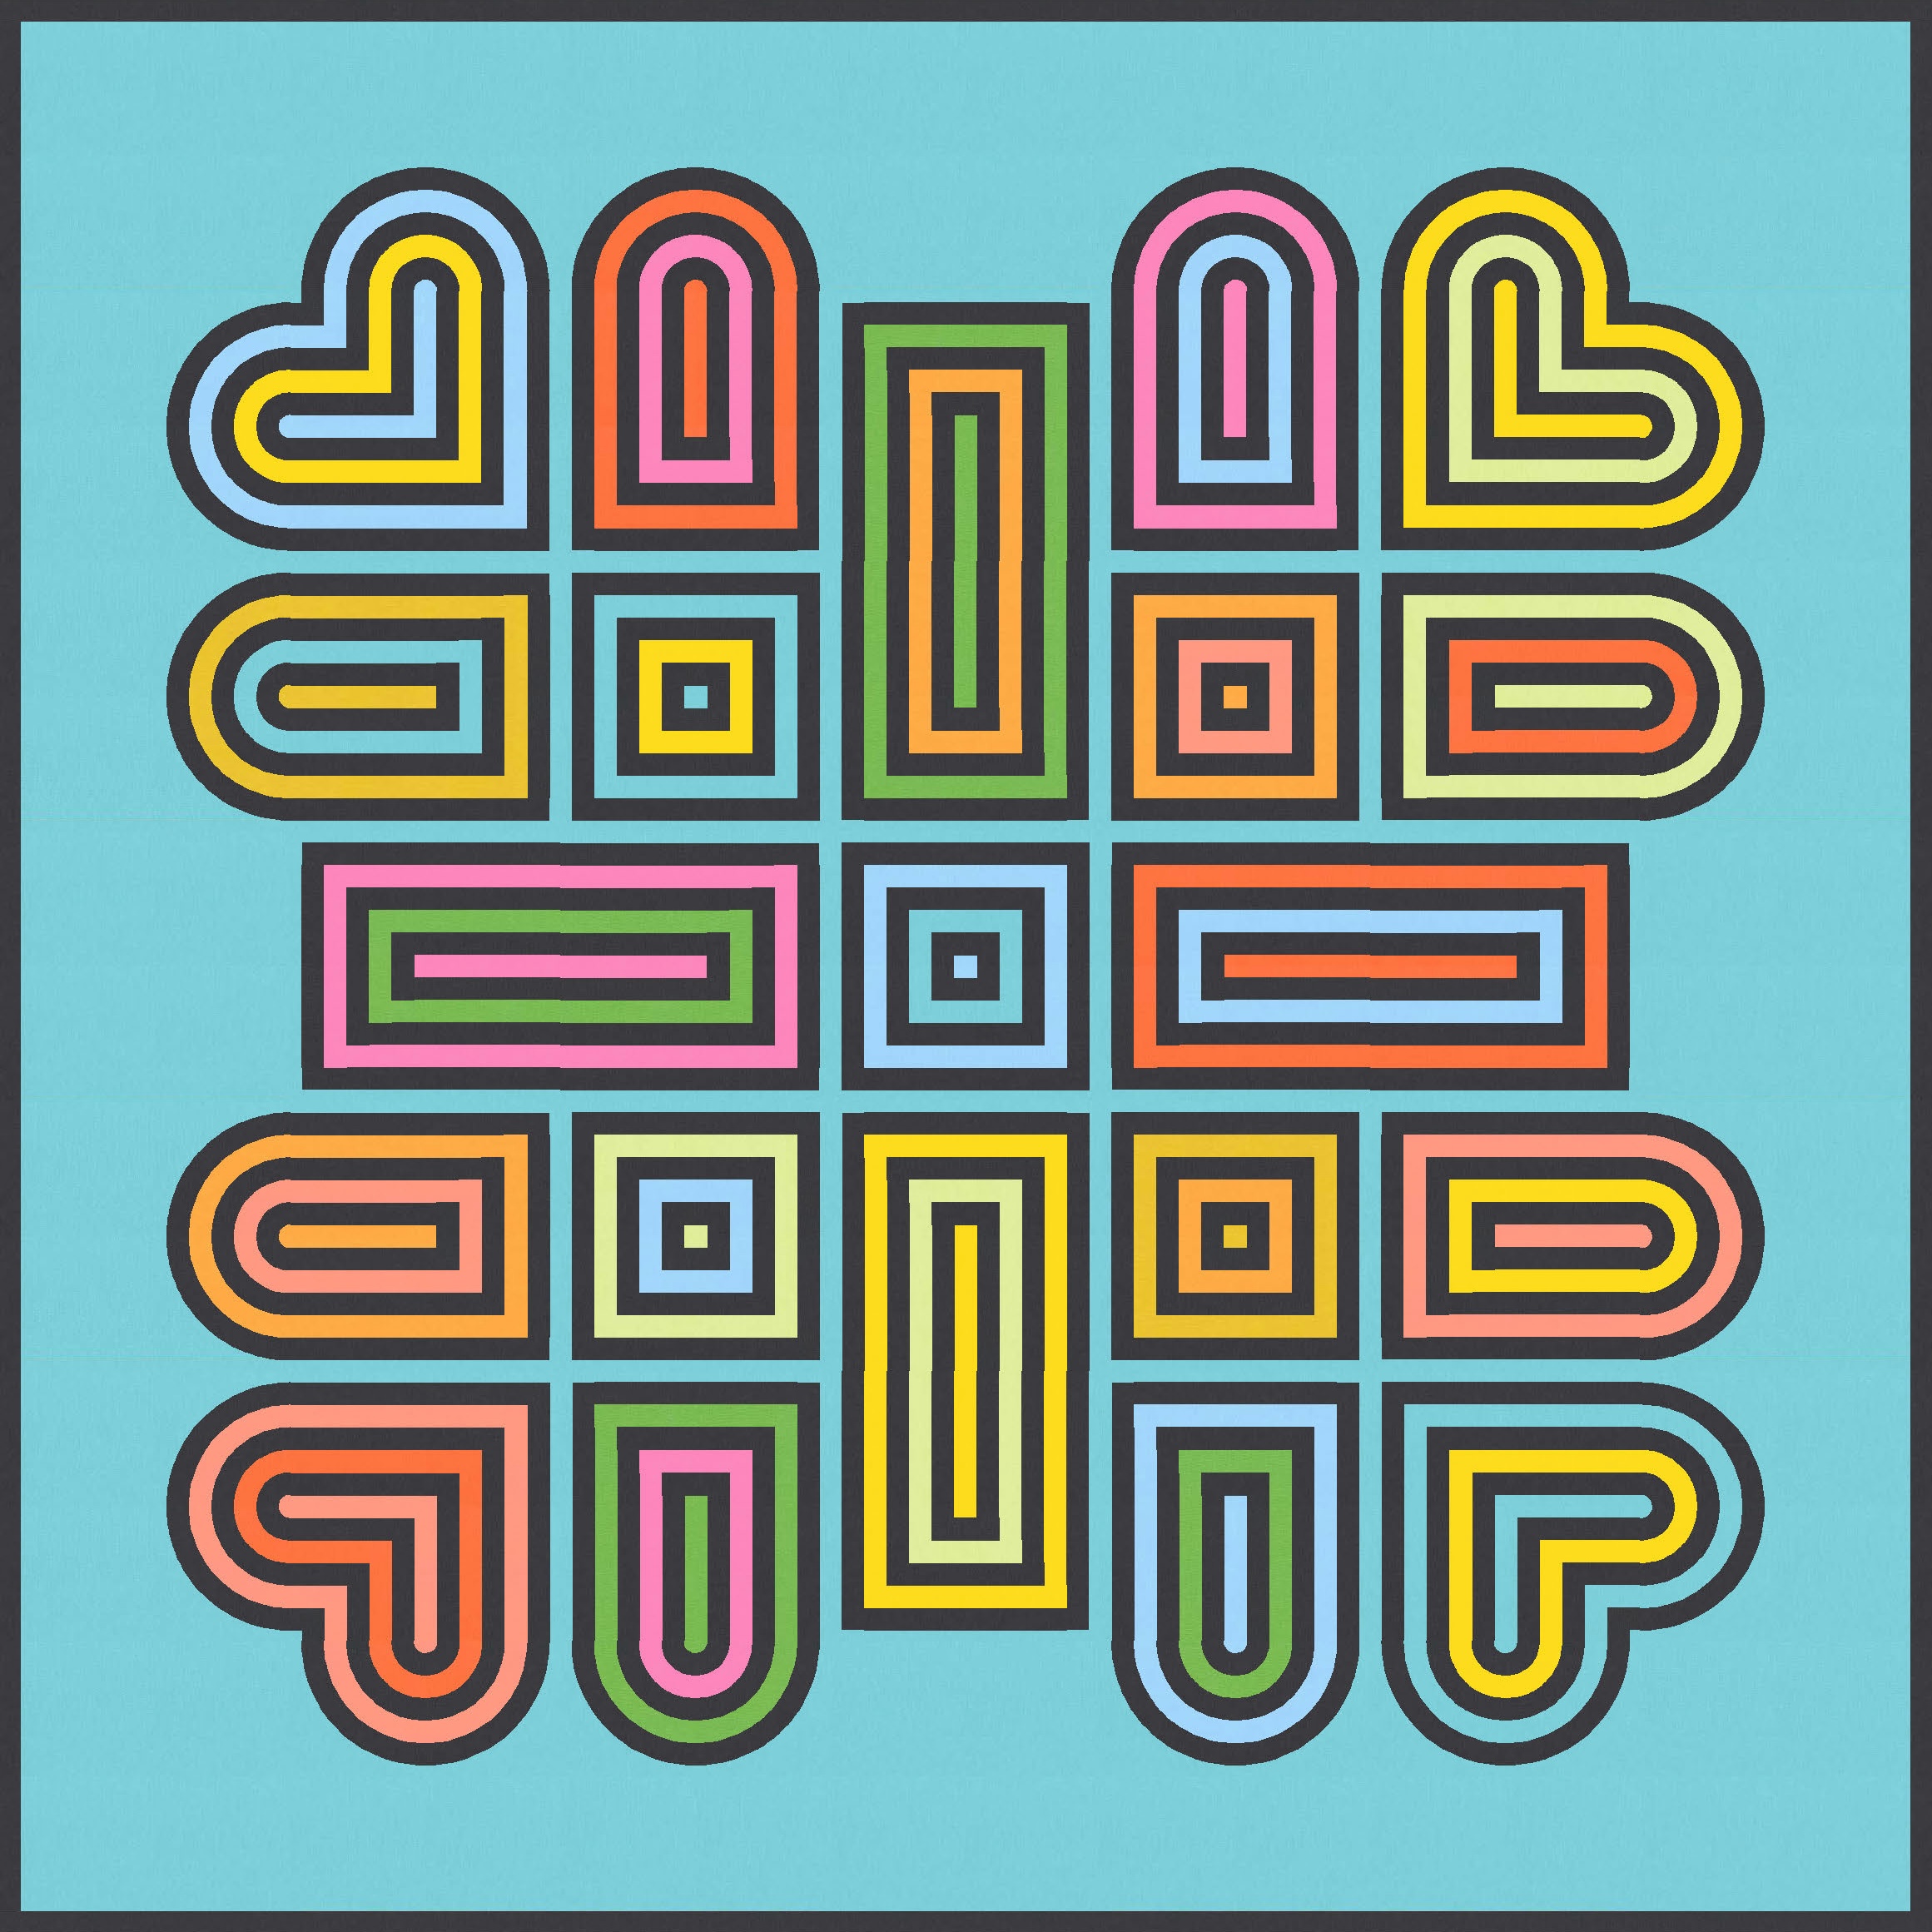
Unexpectedly, I found that adding even more colours helps to minimise the feeling of busy-ness. A few and a lot seem to work well, while a middling amount is just, well, middling. Perhaps more colour makes it easier to discern the individual shapes, which means the brain has less work to do?
I started with one colour per shape, just alternating between the colour, dark border, and background colour.


And then decided to go full-on maximalist with two colours per shape. There is still a little space for the eye to rest thanks to the sashing between the blocks.

Obviously you could keep iterating on this design by introducing new blocks or just rearranging these.
To make this design into a quilt, you’d need to tackle curved strips and straight strip piecing. The square blocks are essentially courthouse steps or log cabin blocks. In my design, the curved shapes comprise two blocks joined together: one with concentric curves, and the other with straight strips. At the corners of the design, there are two curved units and one square unit in which the strips meet diagonally in the middle.
The layout I created in Electric Quilt 8 was based on a 5 × 5 layout of 12″ blocks with a 12″ border, which would make this design into a quilt measuring around 84″ square. The strips themselves measure 1″ finished. So if you wanted a smaller quilt, you’d need fewer blocks, a narrower border, or thinner strips.
Discover more from Geometriquilt
Subscribe to get the latest posts sent to your email.
