Tagged: curves
Sunday sketch #279
This week’s design is the logical evolution of Sunday sketch #278 – just extending the top and bottom of each ‘lemon’ shape using more curves.
I tried it in a bunch of two-colour palettes, and they all look good!


I didn’t try an expanded palette, so I’m not sure how I’d introduce a third or fourth colour into this design. I kinda like the simplicity of this version.
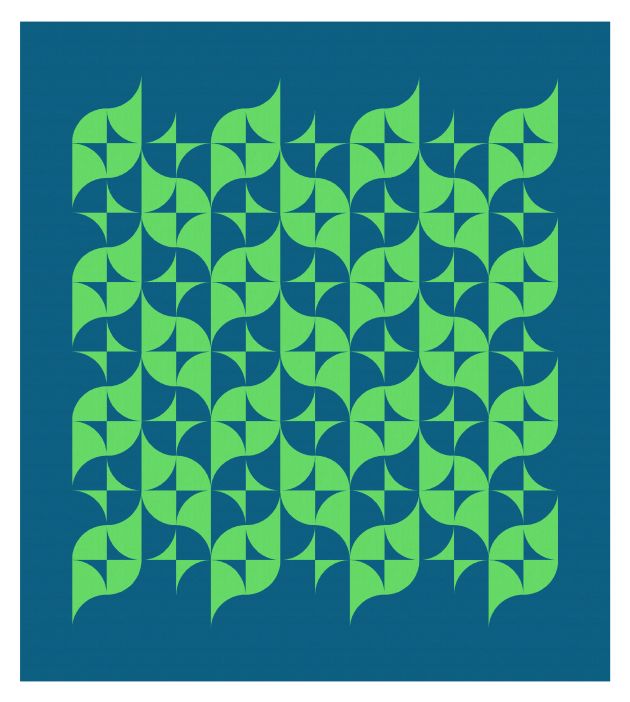
This week’s design is made up entirely from drunkard’s path / quarter-circle blocks. With a two-colour palette, you could make the entire quilt (minus borders) just by chain-piecing two block colourways.
Sunday sketch #278
On to something a bit different this week! No more wedges for awhile….
It’s back to curves! All drunkard’s path blocks again. Or are these quarter-circles? I have a feeling that the curves in drunkard’s path blocks don’t extend to the edges of the blocks, but I’ve never found a definitive description. Anyhoo, here we go.

I love this sorta teal blue / golden yellow combo. I discovered this cut-out lemon shape when tiling a completely different block, and decided to run with it. I love the secondary shapes that emerge… up top, there’s like a lacework of ‘D’ shapes going to and fro across the design. By just tweaking the direction of the lemons and the cut-outs in the negative space, the lace overlay becomes a series of alternating circles and squares. Can you see them?

The designs look just as good in the reverse colourway. (In the version on the left, I staggered the layout so the lemons sit in the corners.)


I can tweak the direction again, so the lace overlay becomes a series of new lemons, all facing perpendicularly to the dark blue lemons.

I love how much movement a single block with a few curves can give a design. And how many options there are for arranging blocks to create entirely new layouts.
These designs could be made using drunkard’s path blocks (or quarter-circle blocks) and squares. That’s it. I’ve only used two colours here, although obviously you could expand the palette. But with two colours, you’d just have to chain-piece your way through a bunch of curves and – voilà! – you’d have the prettiest quilt top. I really love this one (I know I say that all the time!); I really want to try making it!
Sunday sketch #275
Perhaps I stared too long at a clock this week, but I suddenly had an idea for a block featuring a circle cut in half and half again. (Or maybe I was inspired by last week’s split quarter-square triangle block.)

I imagined using some bright colours in the design, but instead settled on this dark green with an orange. I love the bright pop of colour against the murky background.
You can see if I rotate the circles, new secondary designs (squares) appear.


Or I can rotate the designs to create ’empty’ squares where the filled squares were.

Or just rotate randomly to create a bit of disorder. (Although if you look closely, you’ll see there is order here: the first and third rows are the same, as are the second and fourth rows. This makes each quadrant of 4 circles the same, too.)

This is just a single block in a 4 x 4 layout, surrounded by a wide border on all sides. It could be created in four quadrants, or perhaps one semicircle and two quadrants. There are lots more ways you can rotate the blocks, or use colour to create secondary designs. Endless fun!
