Sunday sketch #441
I’m pretty sure this week’s sketch is the first time I’ve used overlapping curves. In this design, the curves are what I’d consider ‘standard’ – one’s a circle and the other one’s a quarter-circle (or drunkard’s path). So nothing fancy. The only thing that’s new (for me) is that one crosses over the other.
(I’m not counting the pointed arch as an overlapping curve, although I guess it kinda is in a way… but I feel like it’s just a new standard shape now.)

When creating quilt designs, I tend to stick with elements that I know how to sew: triangles, squares, rectangles, half-square triangles, half-rectangle triangles, quarter-square triangles, quarter-circles, long oval drunkard’s paths… you get the idea. I don’t often come up with more complicated things – not because I’m afraid of them or think they’re not possible, but they’re just not at the forefront of my mind. But as soon as I try a new thing, I can add it to the shape library in my brain 🙂
The thing I love about this design is how it changes by altering the background colour. Add a border in each one of the four colours, and watch how it affects the centre of the design without actually changing any of the colour placement in the blocks.

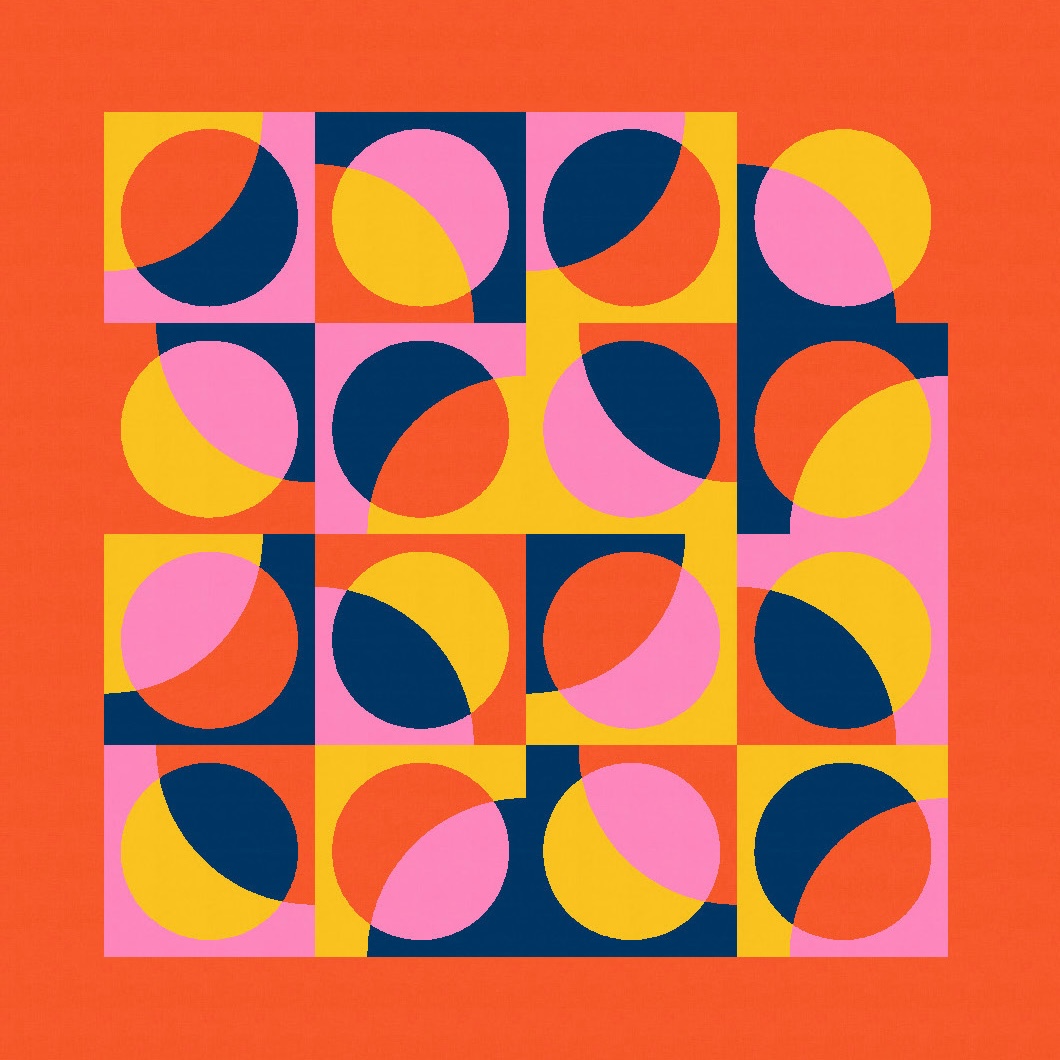


Changing the border colour pushes that colour to the background and pulls the remaining colours to the foreground. That also changes the edges of the design; what was a hard edge before is now an opening to the outer edges of the design, and vice versa. Look at the difference in the outer edges between the version with the red background (almost a closed square) and the one with the pink background (very open). The cut-outs move, and spaces open up. I love the bottom-right block in the yellow version!
Each block contains four curvy pieces (two that make up the circle, and two that make up the rest of the block). I’ve coloured this 4 × 4 grid with a 4-colour palette so that each curvy piece appears once in each colour across any row or down any column. Take another look…
Apart from helping to balance the colour placement across the design, this approach creates some nice edges and openings between blocks, which in turn help to draw the eye around the design. I also really like how the different colours play with each other, creating some interesting transparency effects.
I ended up sewing this one, it was easy and fun, and I love the end result. I’ll write up a separate post about it soon, with pics and more details of how I made it (hint: using templates). Now that my making brain has grasped the idea of sub-cut/overlapping curves, my design brain is sure to follow with more ideas!
Discover more from Geometriquilt
Subscribe to get the latest posts sent to your email.

love this, Carolyn!
🤌🏽💋
I’m excited to see your sewn up quilt top. Usually I can puzzle out how you constructed your blocks but I’m still baffled by this one. I loved the effect of the borders. Your sketches always teach me something about design!
Love the design and how the border changes it! I see some transparency and it would be fun to lean into that with different color choices.